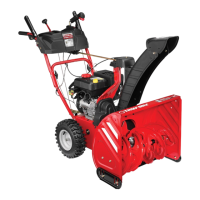
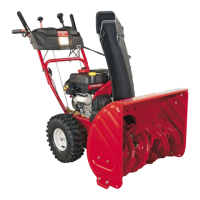
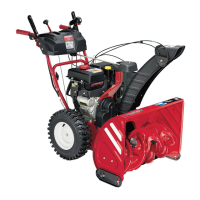
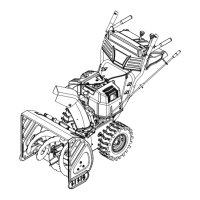
8 Section 3— ASSembly & Set-Up
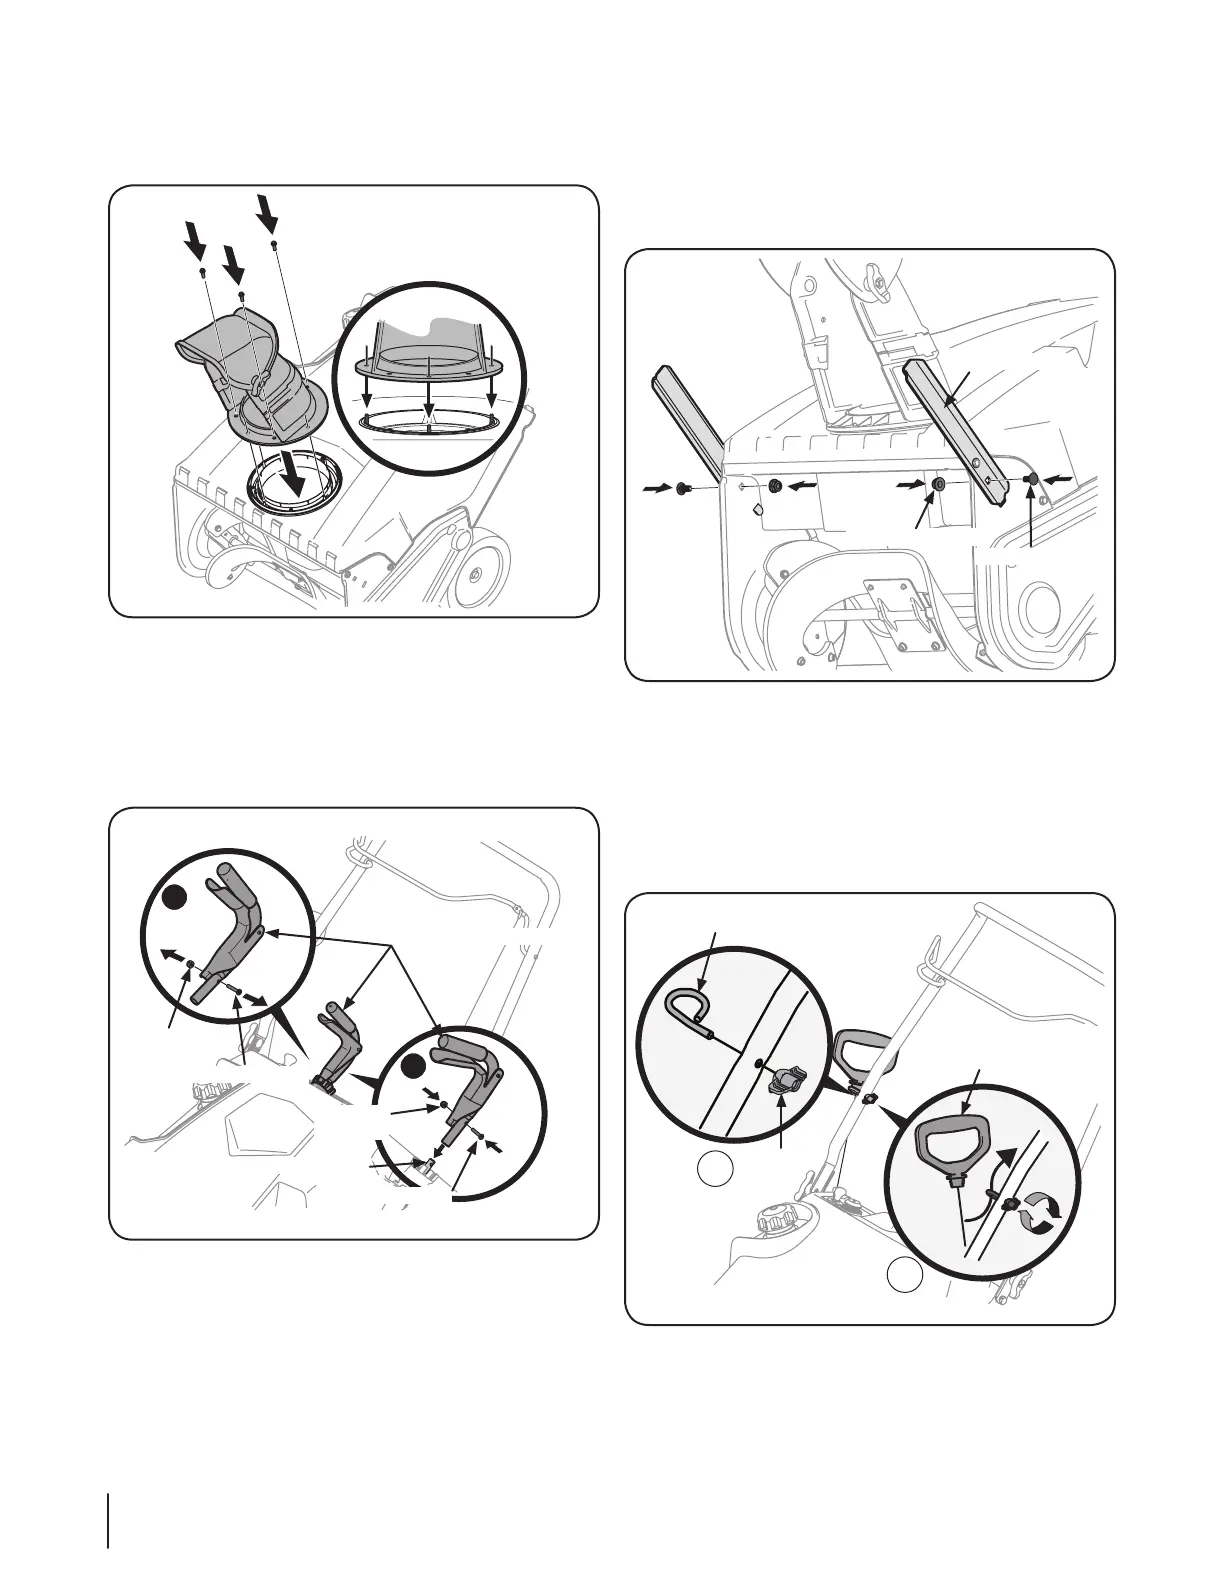
2. Align the holes in the chute base with the holes in the
lower chute and secure with the previously removed hex
Figure 3-4
Installing the Chute Rotation Control (If so equipped)
To install the chute rotation control (only models so equipped)
proceed as follows:
Remove the hex lock nut and machine screw from the
chute rotation control. See Figure 3-5.
1
2
Chute Rotation Control
Hex Lock
Nut
Hex Lock
Nut
Machine Screw
Machine Screw
Chute Control Rod
Figure 3-5
2. Place the chute rotation control onto the chute rotation
rod and secure with the hex lock nut and machine screw
Installing the Drift Cutters (If so equipped)
Remove the carriage bolts and flange lock nuts from the
drift cutters.
2. Install the drift cutters and secure with the carriage bolts
Drift Cutter
Flange Lock Nut
Carriage Bolt
Figure 3-6
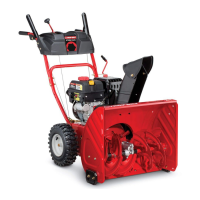
Installing the Recoil Starter Handle
Remove the eye bolt and handle knob from the manual
bag.
2. Place the eye bolt and handle knob on the upper handle as
shown in Figure 3-7. Do not fully tighten the hardware until
instructed to do so.
B
A
Eye Bolt
Handle
Knob
Recoil Starter
Handle
Figure 3-7
NOTE: The opening of the eye bolt should face toward the
back of the snow thrower.