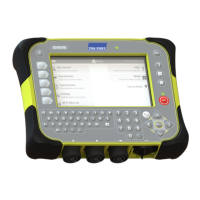
ID5000, XR5000 Level 1 Service Manual
Issue 4, 8/2017 26
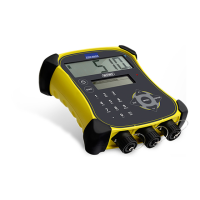
3 Inspect for damage the lip on the case front against which the o-ring seals. Even minor damage to this surface can reduce
case sealing properties. It is highly recommended to replace the case o-ring with a new one whenever the indicator is
serviced. See page 27 for instructions.
Figure 6: Case back exploded
view
4 Tighten the screws using a torque-limited screwdriver set to 0.9 Nm (8 lbf-in), or hand screwdriver. The screws must be
tightened in the order as shown in
Figure 6
in order to obtain a consistent pressure on the o-ring.
Do NOT use a variable speed drill to tighten or undo the screws.
Figure 7: Required order of
tightening screws on the case
back
Refit the rubber corner bumpers (see page 23).