TUNGSTEN T series ATV winch
6
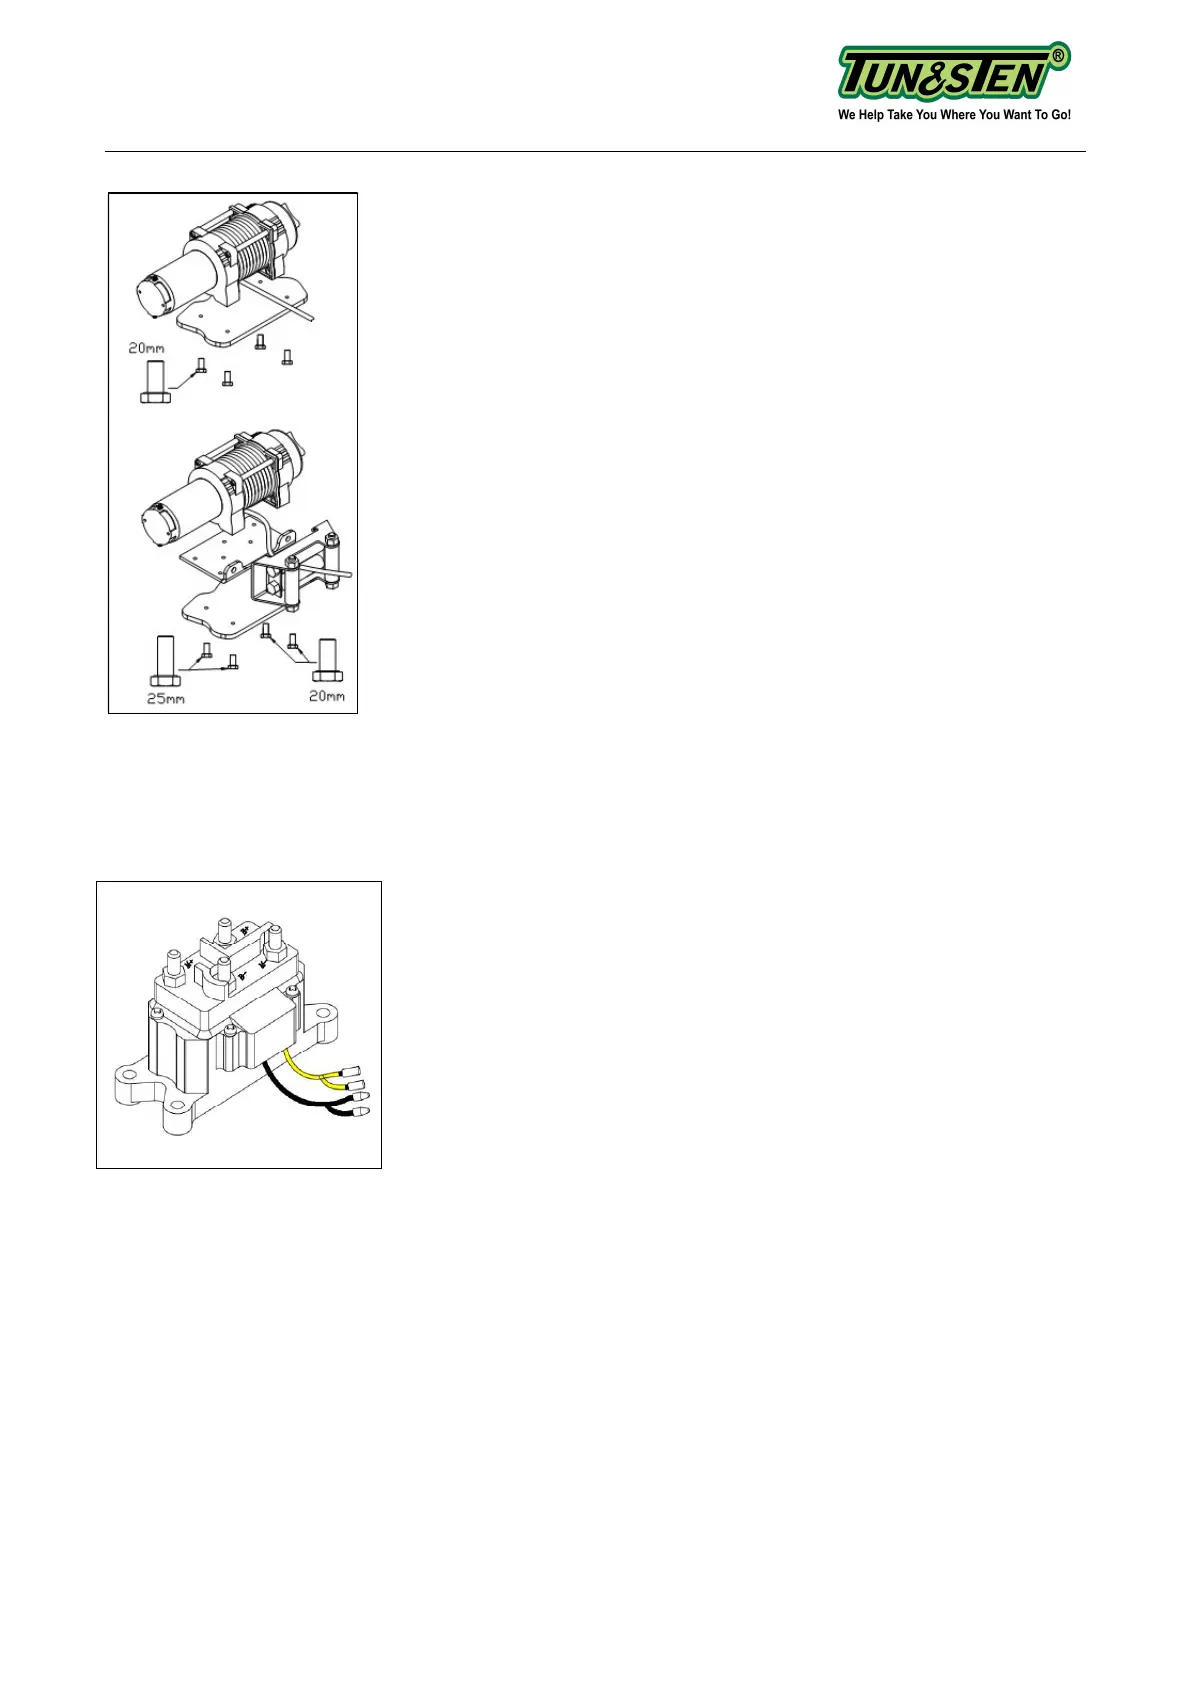
Step (1) - Mounting the Winch (Figure 2)
Figure 2: Orientation of winch to
mounting plate and bolt lengths.
To secure the winch, always use:
• A flat, secure mounting location at least 4.8 mm (3/16
in.) thick.
• Lock washers.
• Hex head cap screws when using a one-piece winch
mount plate.
Note: When using separate winch mount and fairlead
plates use hex head cap screws on the motor side of
the base as shown in Figure 2.
• Torque the mounting bolts to 16 N-m (12 lb-ft)
• Remove bottom tie bolt. This bolt should be retained
for winch service.
• Attach the clevis hook to the wire rope.
• Put clutch in freespool position.
• Manually feed cable loop through fairlead.
• Attach hook to cable loop and re-engage clutch.
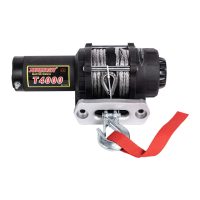
Step (2) - Mounting the Contactor (Figure 3)
Figure 3. Contactor for
ATV winch
• The contactor is a primary safety feature in your winch system.
It disconnects your winch from its power source when the ATV
is not in use. The contactor must be correctly installed to work
properly.
• It is recommended that the contactor be mounted close to the
battery and in a location that is as clean and dry as possible.
Exact location will vary, depending on the ATV. Usual locations
include inside, on top, or on the side of rear storage box, and
on a few models, under the seat.
• Ensure the contactor mounting location selected provides sufficient clearance from all
metal structures such as frame tubes. Do NOT place tools or other items in a position that
might come in contact with the contactor directly.
• Drill the mounting holes for the contactor at this time, then move on to step four as it will be
easier to attach all the wiring to the contactor before attaching it to the ATV. Do NOT mount
the contactor at this time.
• If you will be installing the TUNGSTEN wireless control, first review the wiring configuration
provided here.