22
09
Troubleshooting
Manual 1808 Rev B p/n 001808 0000
When the pump is operating without gas ballast,
a sharp clicking noise generally indicates proper
valve closing. To gain access to the valves, drain
the oil and remove the cylinder cover. Remove the
screws from the hold-down plate and the valve can
then be removed. Check each valve by lifting the
disc, and check the surfaces between the disc and
seat for foreign matter, which may have lodged
there. Release the disc and a rm pressure should
close the valve, and the two parts should mate so
as to form a seal between them.
Check for guide wear by moving the disc laterally.
There should be little play at any valve lift position.
No burrs can be tolerated. The valve can be
disassembled for cleaning if necessary. However,
assembly must be done with the six springs
arranged in pairs with each pair positioned 120°
from the other two pairs, the spring tongues
facing the stop, and the free end facing the disc.
When cleaning is complete, reassemble the
pump, ll with oil, and test per Checking Pump
Performance on page 19.
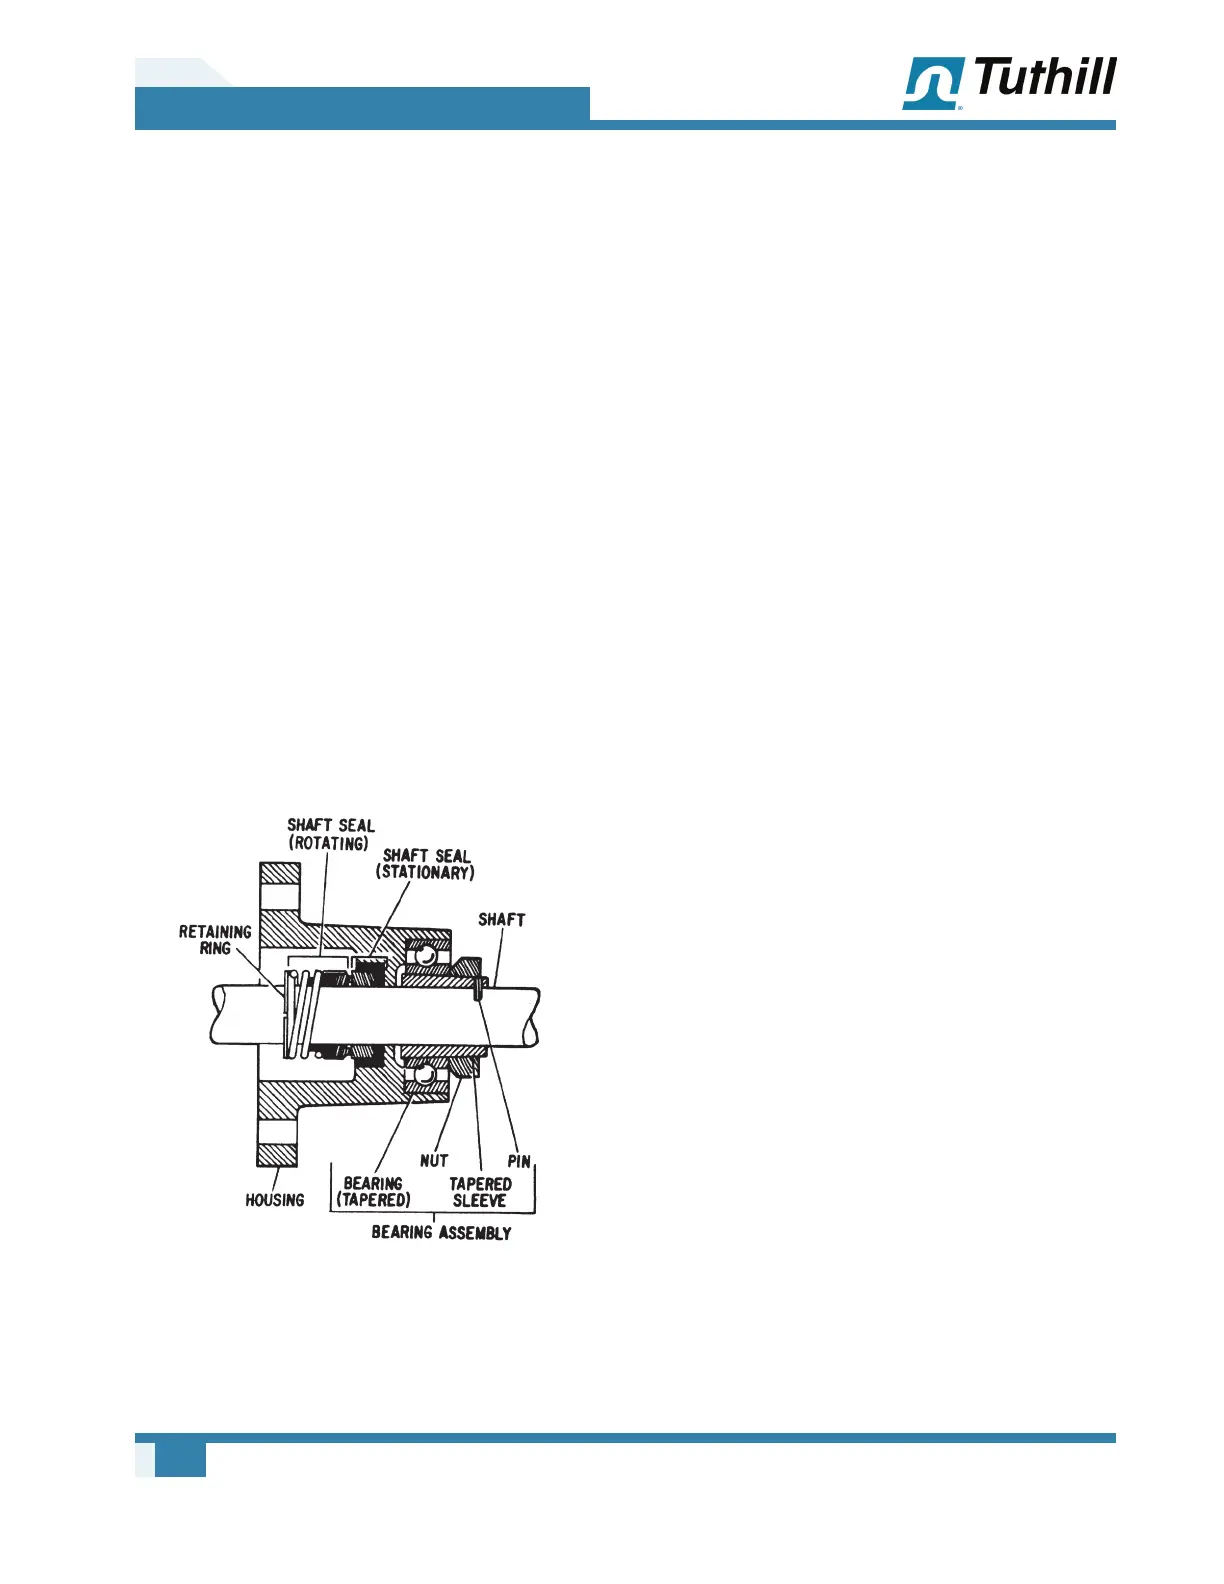
SHAFT SEAL
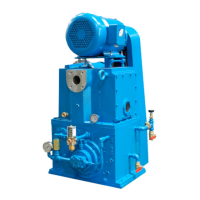
Figure 9-2 – Shaft Seal
Under normal conditions, the shaft seal shown
in Figure 9-2 on page 22 has a long, trouble-
free life. It may become worn or scratched on the
sealing surfaces by contaminated oil or it may be
damaged by overheating. Proceed as follows to
inspect or replace the seal:
1. Rest the pump on the closed head to prevent
the oil from draining out. Use blocks to prevent
the oil line from supporting the pump weight.
2. Remove the belt guard, belts, sheave, and
drive key from the pump.
3. Remove the bearing assembly by unscrewing
the locking nut. Lift the dowel pin out of the
shaft from the slot in the bearing sleeve. Tap
the sleeve to break the bond between the
sleeve and bearing. Remove four screws from
the housing and remove the housing from the
shaft. The ceramic (non-rotating) portion of
the seal will remain in the housing, and the
boot with the carbon ring (rotating) portion will
remain on the shaft. The bearing will remain in
the housing.
4. Inspect the ceramic portion in the housing
for signs of trouble such as a cracked seat or
deterioration of the elastomer seal between the
seat and the housing. Check that the rotating
portion of the carbon washer is not cracked
and that the face is smooth. The boot should
t rmly to the shaft and will bond to the shaft
when it has been run for a few hours. Do
not break this bond unless it is necessary to
replace the rotating part of the seal.
5. When replacing the shaft seal, clean the shaft
and housing areas where the seal was located,
and lubricate the seal, housing, and shaft with
grease. Press the non-rotating part of the seal
into the housing and slide the rotating part
onto the shaft. Be careful when sliding the seal
over the shaft that the keyway does not cut the
boot. Reassemble.
 Loading...