14
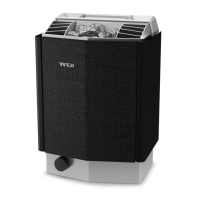
To maintain a comfortable basic level of humidity in the sauna, ll
the built-in air humidi er (see Fig. 4) with water before switching
on the sauna.
$LUKXPLGL¿HU
DANGER! Do not pour water into the fragrance
holder once it has been heated up, as this can cause
boiling water to splash on the sauna occupants. Do
not stand or sit in front of the heater while water is
being poured into the fragrance holder, as hot water
can spray out suddenly.
Tip: Pour a few drops of diluted sauna fragrance into
the built-in air humidifi er.
WARNING! Do not confuse the instructions for
the air humidifi er with those for the water reser-
voir.
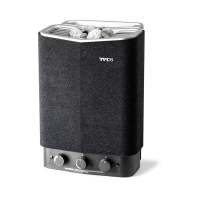
(;7(51$/212))6:,7&+237,21
External ON/OFF switch can be installed anywhere outside the
sauna.
The switch is momentary pulse or constant activation.
The heater circuit automatically recognises which is used. Heater
status and faults on the door contact can be seen if the switch has
a built-in ED.
See instructions supplied with the control panel.
Figure 5: Emptying the water reservoir.
1. W
ater reservoir hose.
2. emove plug
3. ower hose into a suitable container
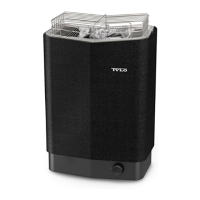
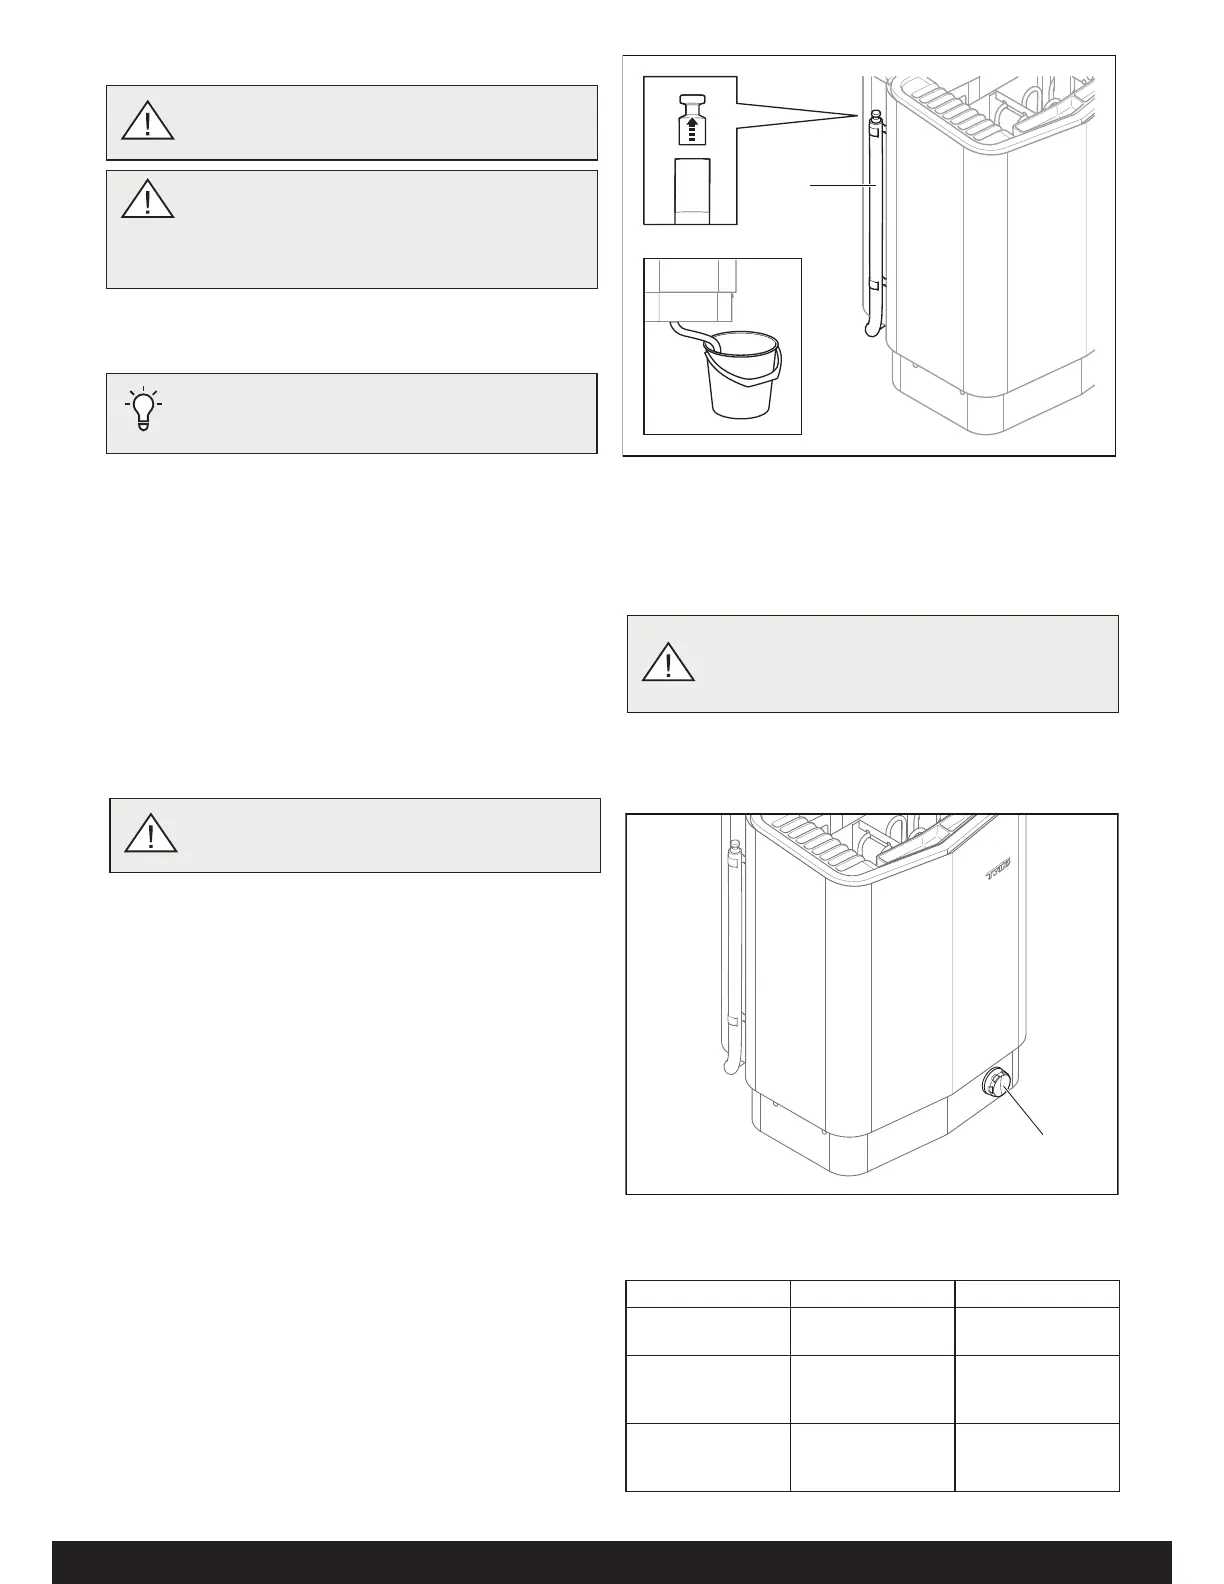
6ZLWFKRႇPDLQSRZHUVZLWFK
The main power switch is at the bottom of the heater.
Switch o here when the heater is not to be used for an extended
period (e.g. several weeks).
To prevent the build-up of limescale and higher salt/mineral levels,
empty the reservoir after each bath. If this is not done and water
is added each time you take a sauna, foam build-up can occur
which can cause the level sensor to detect a higher water level
than actual, with a risk that the heater element will break.
T
o empty:
1. elease the hose from the hose clip.
2. Hold the hose up and remove the plug.
3. ower the hose into a suitable container and drain o the
remaining water.
4. Hang the hose on the hose clip.
$)7(586(
(PSW\WKHUHVHUYRLU
1
2
3
DANGER! Hot water! Wait until the water has
cooled before completing this step.
CAUTION! The heater’s memory function will be
cancelled if disconnected from the mains for more
than 7 days. The date and time will have to be repro-
grammed.
Figure 6: Location of main power switch
1
0$,17(1$1&(
$IWHUHDFKXVH $VUHTXLUHG 2QFHDQQXDOO\
Empty the water
reservoir.
Descale the water
reservoir.
Check the stone
compartment.
Clean the herb
bowl and fragrance
holder.
Clean the electro-
des using a cloth or
similar
. See g. 7.
 Loading...