16
User’s Manual
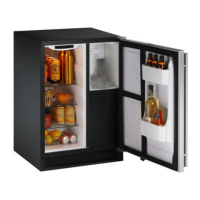
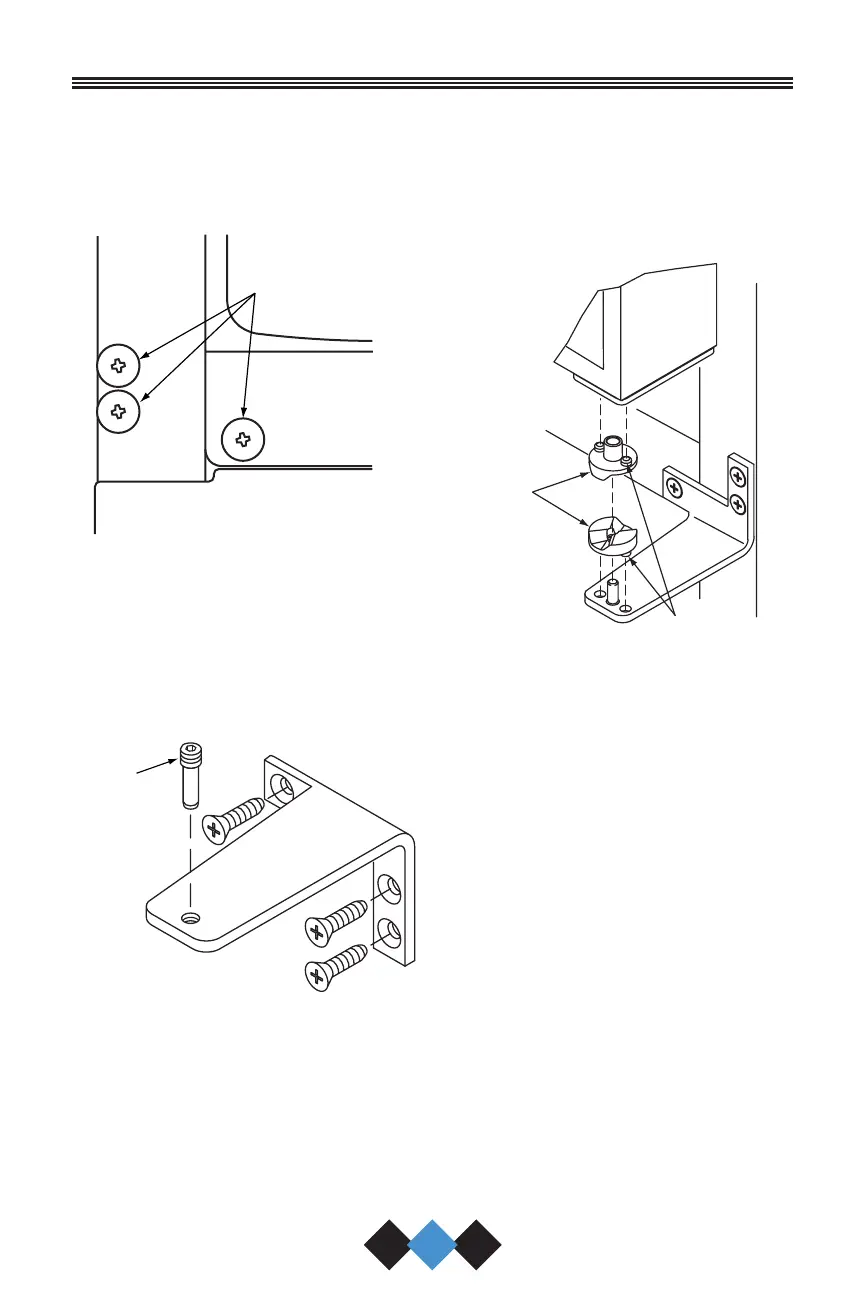
2. Remove plastic screw plugs
(3 each, top and bottom)
from new hinge location. Do
not discard (see Figure 12).
Figure 12
3. Remove top hinge (3 screws),
reinstall hinge screw pin, and
remount on opposite side
BOTTOM (see Figure 13).
Figure 13
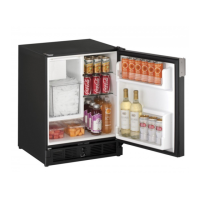
4. Remove the two door closer
inserts from the existing
bottom hinge and install as
shown on the new bottom
hinge (see Figure 14).
Figure 14
5. Remove existing bottom hinge
(3 screws) and remount on
opposite side TOP. Remove
hinge screw pin.
6. With bottom of door facing
up, remove pivot plate (2
screws), flip over, and
remount on opposite side of
door (see Figure 15).
UL312
DOOR
CLOSERS
BOSS
UL313
HINGE
SCREW
PIN
UL308
SCREW
PLUGS
Body_UM.qxd 12/17/04 9:16 AM Page 16
 Loading...