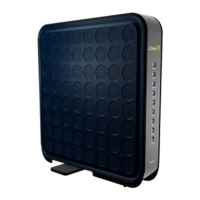
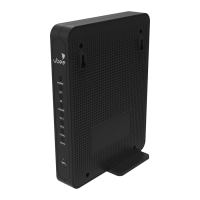
Ubee Interactive Setting Up and Connecting the DVW32CB
Ubee DVW32CB Advanced Wireless Voice Gateway Subscriber User Guide • January 2015 13
For MAC OS X, 10.2, and higher: Firefox 1.07 and higher, Safari 1.x and higher.
6. Connect the power cable included in the product package to the back of the cable
modem and plug the other end into the power outlet.
7. If you are installing a battery, insert the battery (model SMPCM10) into the battery
housing on the bottom of the DVW32CB. Make sure the battery is inserted past the
clip on the side that holds the battery in place. The battery “clicks” into place when
inserted properly. Use only the model SMPCM10 battery.
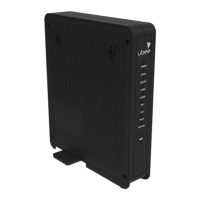
8. Connect the Ethernet cable included in the product package to your computer’s
Ethernet port. Connect the other end to the ETH1, ETH2, ETH3, or ETH4 port on the
DVW32CB.
9. Connect a coaxial cable from the CABLE port on the back of the device to the cable
wall outlet, or to a cable splitter connected to the wall outlet.
10. Connect an analog telephone (if you will be using the device for telephone service) to
the TEL 1/2 or TEL 2 port on the back panel of the device. Use the supplied RJ-11
telephone cable.
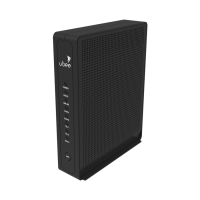
11. Validate the network connection using the device LEDs to confirm operations.
The WiFi LED must be flashing or solidly lit.
The PWR, DS/US, and ONLINE LEDs are solidly lit.
Refer to Understanding LED Behavior on page 6 for more information.
2.1.1 Wall Mount Installation
You can mount the DVW32CB on a wall using the 2 mounting brackets on the side of the
device. Two round or pan head screws are recommended. See the figure below.
Label
Size in Millimeters
(mm)
A 6.65 +/- 0.35
B 1.9 +/_ 0.15
C 19.0 +/- 1.2