9
The Ultimaker 2 comes in reusable, durable packaging that has been specially designed to protect your Ultimaker 2 in
transport. To properly unpack your Ultimaker 2, please follow the steps described below.
START UNBOXING
After having opened the cardboard box in which your Ultimaker 2 was delivered the unboxing can begin. Start
unpacking by taking the Ultimaker 2 out of the cardboard box. You can best do this by carrying the belt and holding the
cardboard box while lifting the Ultimaker 2.
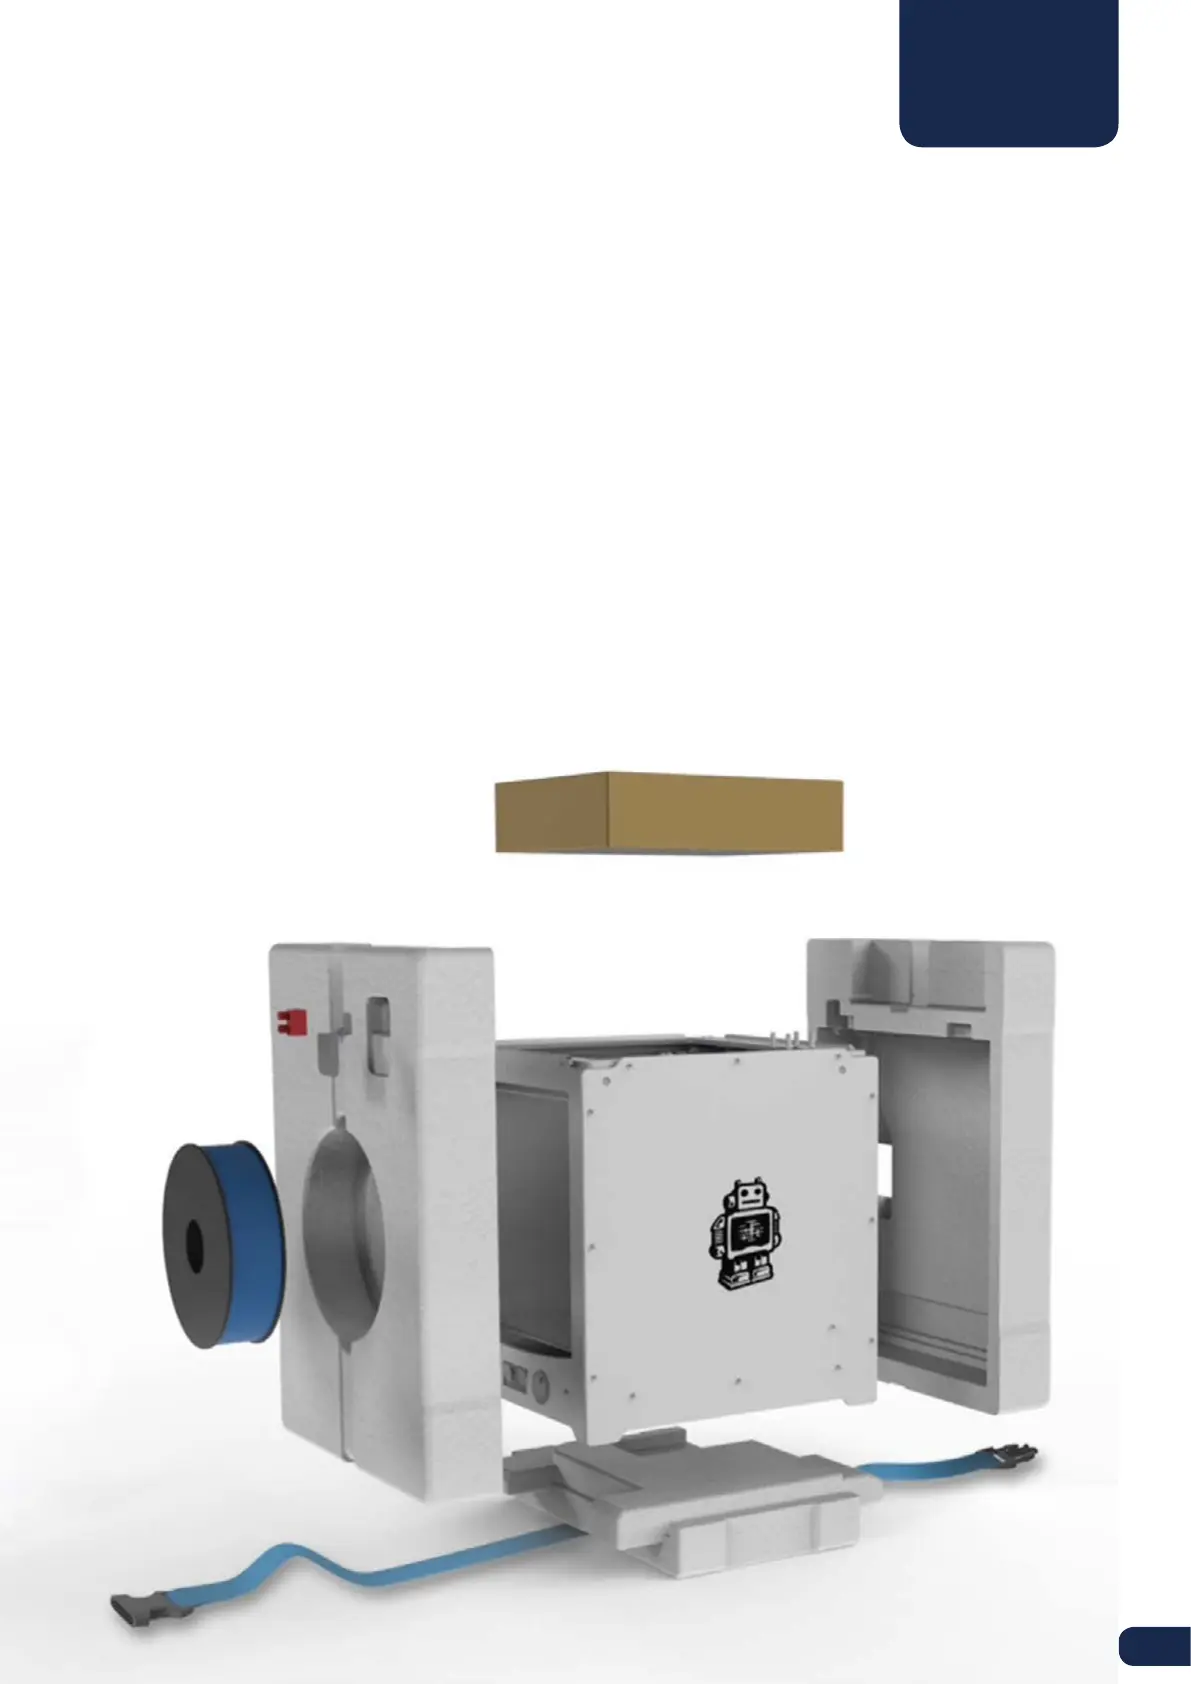
OPEN IT UP
When the Ultimaker 2 has been taken out of the box you can loosen the belt that’s placed around the foam packaging.
This allows you to take out the Accessory box, in which you will find the quick start guide and accessories.
REMOVE THE FOAM PACKAGING
In the foam part at the front side of your Ultimaker 2 you will find a spool with PLA filament and a test print done on your
Ultimaker 2. Take these out and put them aside. Open up the complete packaging by removing the two foam parts at
the front and the back side. Now you can take out the Ultimaker 2 and place it on your desk. Make sure you hold the
Ultimaker 2 on the frame and don’t hold it on the belts or axes while carrying it.
REMOVING PROTECTION
There is some packaging material under the build plate. You can easily remove it by lifting the build plate with your
hands. At last, cut the zip tie with which the print head is secured and your Ultimaker 2 is ready to use!
UNBOXING