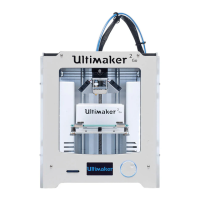
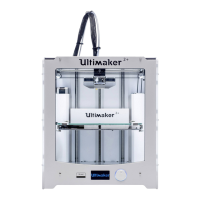
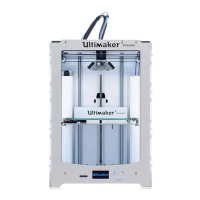
Do you have a question about the Ultimaker 2+ and is the answer not in the manual?
Contains warnings and safety notices, including general safety information.
Details potential risks like EMC, electrical, mechanical, burns, and health hazards.
Identifies key parts of the Ultimaker 2+ and 2 Extended+.
Lists technical specifications for the printer, including dimensions and capabilities.
Step-by-step guide on how to carefully unpack the Ultimaker 2+.
Lists all hardware accessories supplied with the Ultimaker 2+.
Instructions for attaching accessories like the spool holder and glass plate.
Steps for connecting the power adapter and cable to the printer.
Guide to correctly adjusting the build plate for optimal print adhesion.
Instructions on how to load filament into the printer for the first time.
Steps to download and install the recommended Ultimaker Cura software.
Explains the printer's controls, display, and menu options.
Lists officially supported Ultimaker materials and general printing advice.
Guide to slicing models and setting up print parameters in Ultimaker Cura.
Instructions on how to transfer and start a print job from an SD card.
Methods for safely removing finished prints from the build plate.
Procedures for swapping filament and replacing the printer nozzle.
Steps to update the printer's firmware using a USB connection.
Explains the importance and procedure for periodic build plate calibration.
Guidelines for storing filament spools to maintain quality and usability.
Instructions for cleaning the glass plate, nozzle, and inside of the printer.
Procedures for cleaning the feeder gears and the Bowden tube.
Instructions for applying lubricant to the X, Y, and print head axles.
Procedure to check for looseness or play in the printer's axles.
Guidance on checking and restoring the tension of the short belts.
Steps for applying lubricant to the Z motor lead screw.
Procedure to ensure the hot-end isolator is securely tightened.
Detailed steps for correctly replacing the printer's Bowden tube.
Lists common error messages and their potential causes.
Detailed steps for diagnosing and clearing a clogged nozzle.
Explains common print quality problems like under-extrusion and warping.
| Build Volume | 223 x 223 x 205 mm |
|---|---|
| Layer Resolution | 20 - 200 microns |
| Print Technology | Fused Filament Fabrication (FFF) |
| Filament Diameter | 2.85 mm |
| Print Speed | 30 - 300 mm/s |
| Connectivity | USB, SD Card |
| Weight | 11.3 kg |
| Nozzle Diameter | 0.4 mm |
| Supported Materials | PLA, ABS, CPE |
| Display | LCD |
| Software | Cura |
| Power Supply | 100 - 240 VAC, 50 - 60 Hz |
| Operating Temperature | 15 - 32 °C |
| Dimensions | 342 x 588 mm |

