40
Retighten the hot-end isolator
The hot-end isolator connects the separate parts of the hot-end. It is important that the hot-end isolator is properly screwed
onto the heater block to prevent any material from gathering between these parts. If material does gather between these
parts, it can lead to print quality issues or blockages.
It is recommended to re-tighten the hot-end isolator every three months to ensure the parts are connected securely.
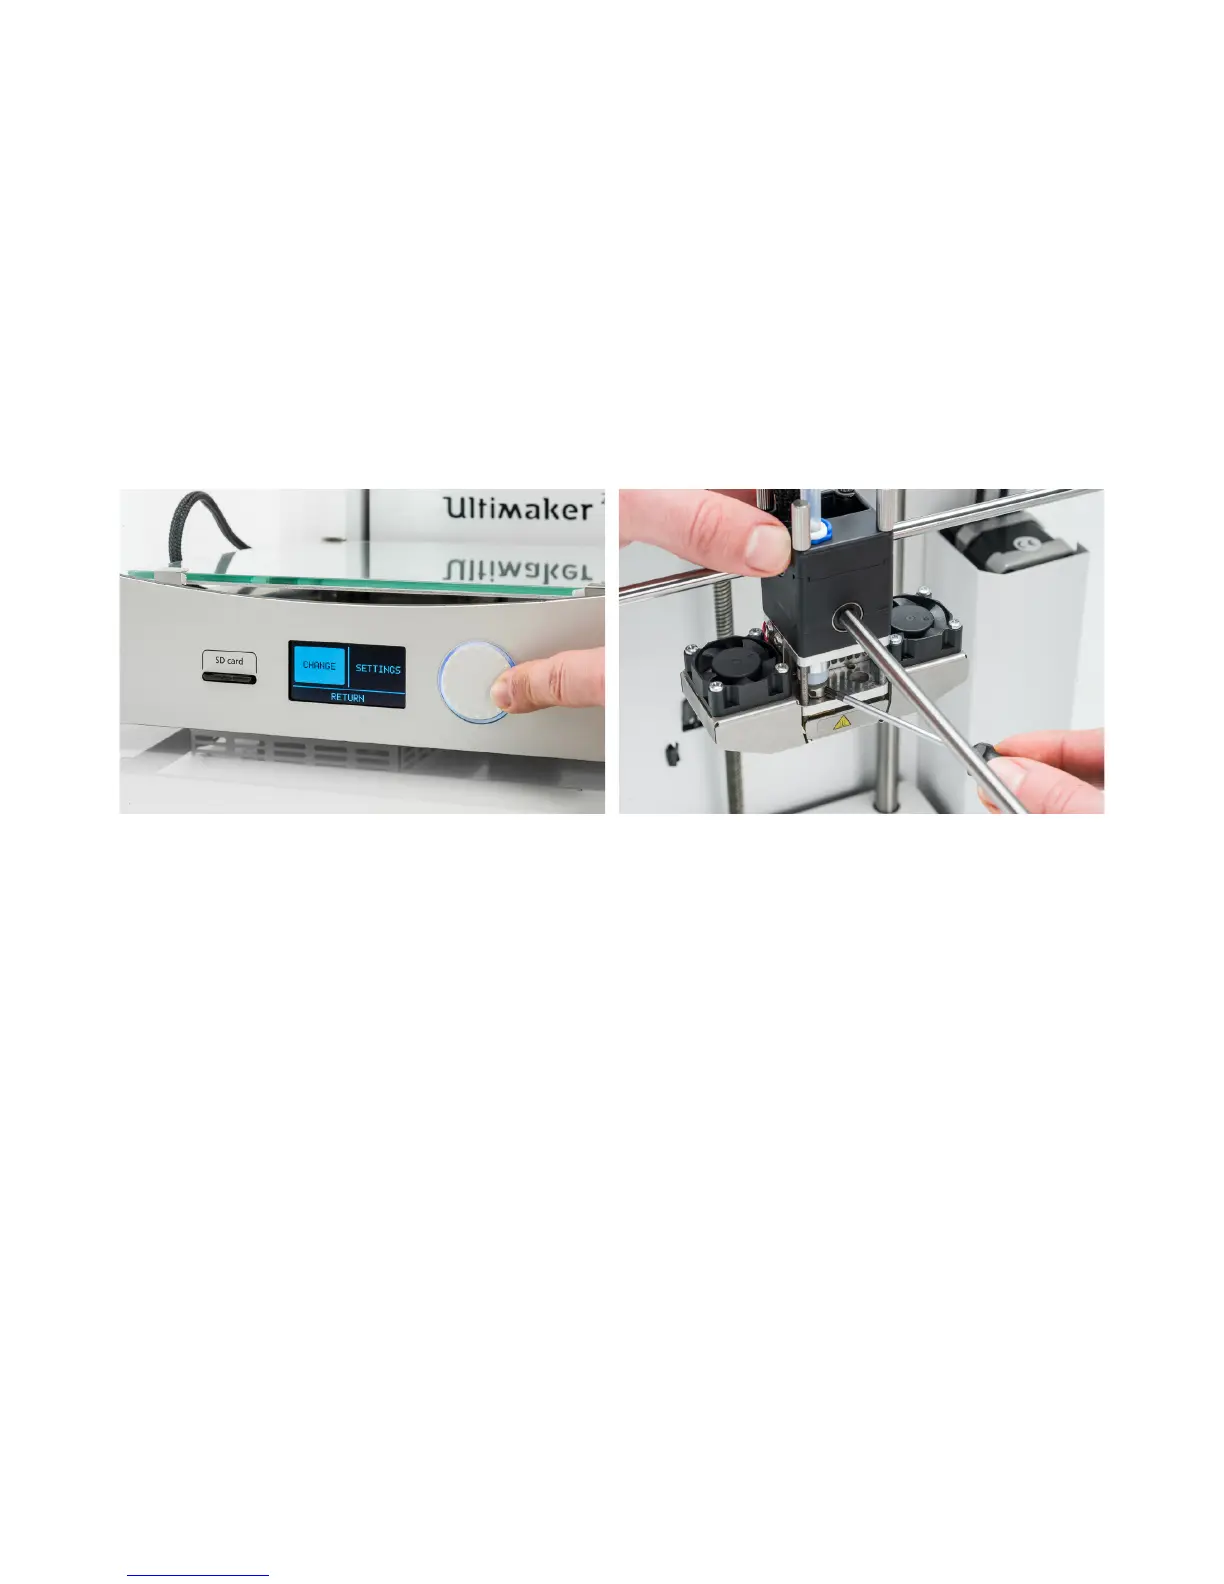
1. On the Ultimaker 2+, navigate to Material g Change. Remove the filament and select “Cancel”.
2. Navigate to Maintenance g Advanced g Heatup nozzle and rotate the button to set the temperature to 150 °C.
3. Take the 2 mm hex wrench and insert it into one of the holes of the hot-end isolator. Turn the screwdriver clockwise to
tighten the hot-end isolator until it can’t turn any further.
4. Exit the “Heat up nozzle” screen and scroll down to “Insert filament.” Insert the filament in the feeder and load as
usual.