26
Removing the print
Once your 3D print is finished it must be removed from the build plate. There are several methods to use, depending on
how the print is adhered to the build plate.
Wait for cool down
If you printed directly on the glass plate without using an adhesive and if the build plate was not leveled too tight, the print
may easily be removed once it is cool. Simply allow the build plate and the print to cool down after printing. The material
will contract as it cools and you can easily remove the print from the build plate.
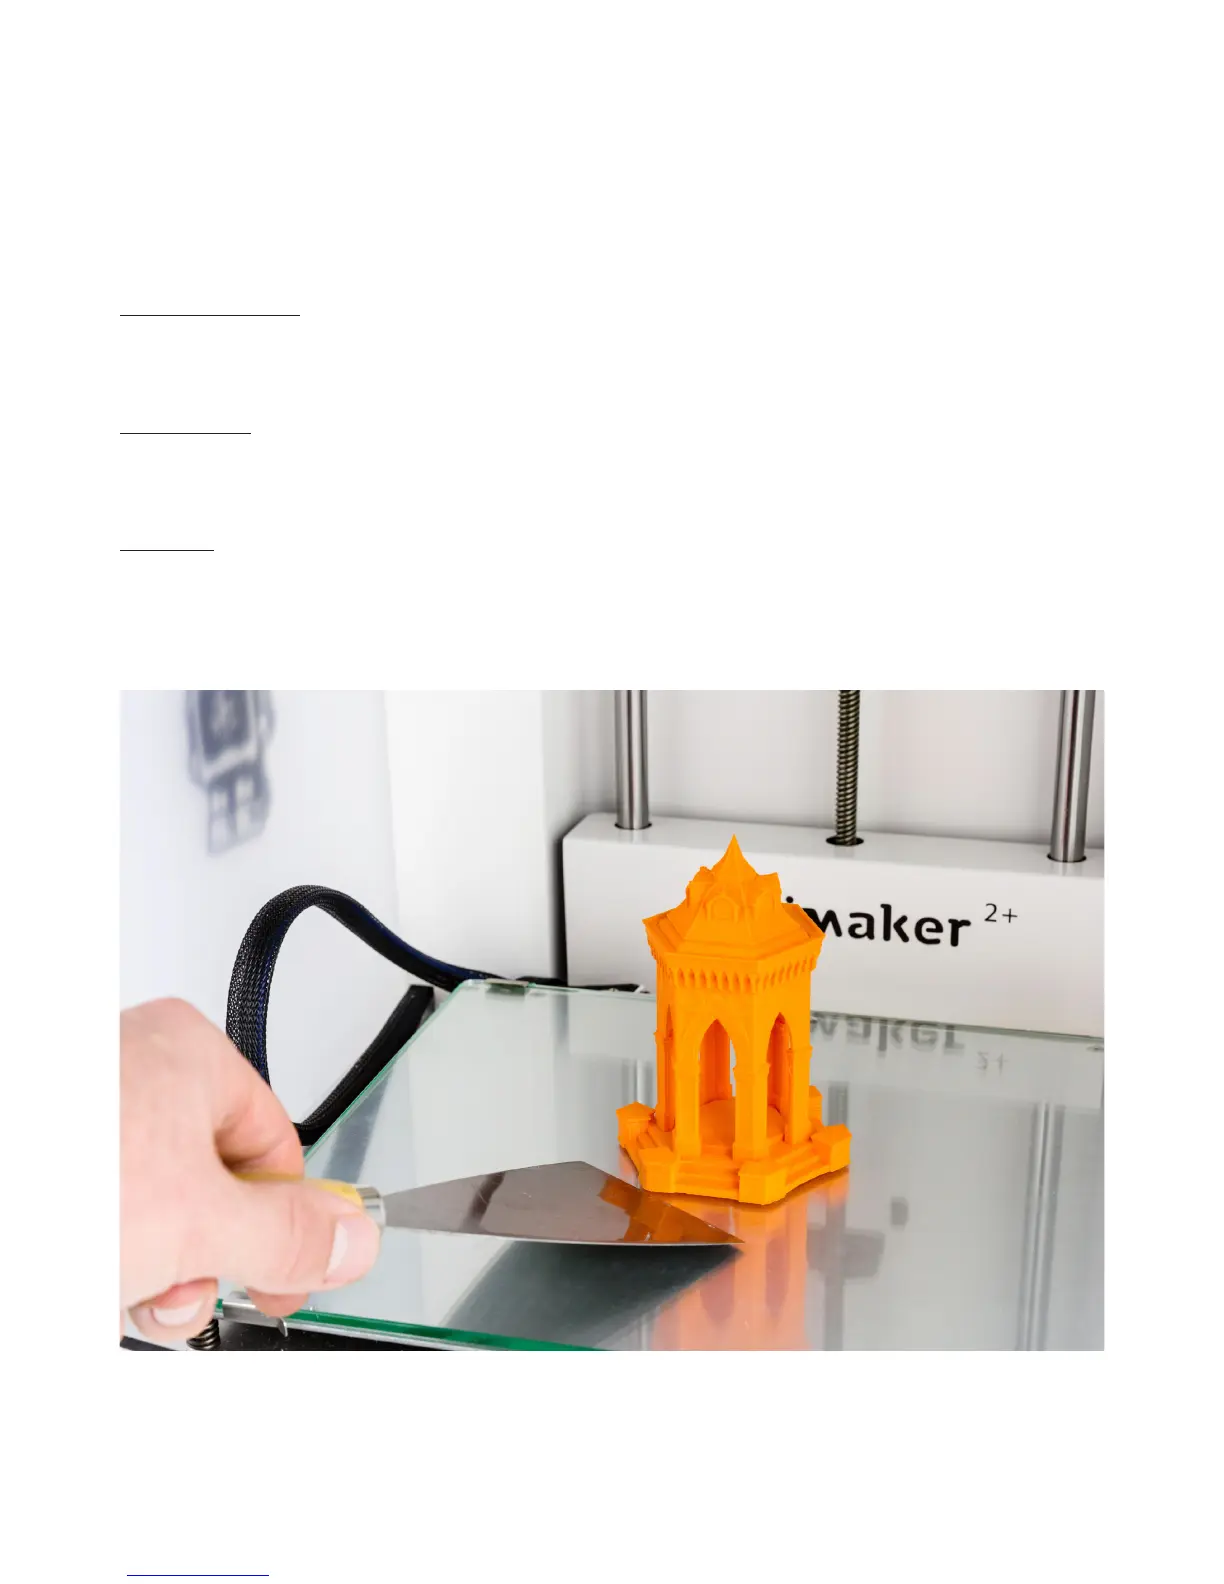
Use a spatula
If your print doesn’t remove from the build plate after cooling, you will need to apply a small amount of force to remove
the print. This can be done with a spatula. Place the spatula under the print and apply a small amount of force to remove
the print.
Use water
If neither of these methods works, remove your print using water. Remove the glass plate and print from the Ultimaker 2+.
Be careful not to burn your fingers if the glass plate is still warm. Run cool tap water on the back side of the plate to cool
quickly. The print material will contract more than with normal cool down. Once cool, the print can be popped off.
If glue was used on the glass plate, run lukewarm water over the print side of the plate to dissolve the glue. Once the glue
is dissolved, it is easier to remove the print.