SonixTouch Service Manual 00.053.058, Revision D Chapter 7: Field Service Components
7-45
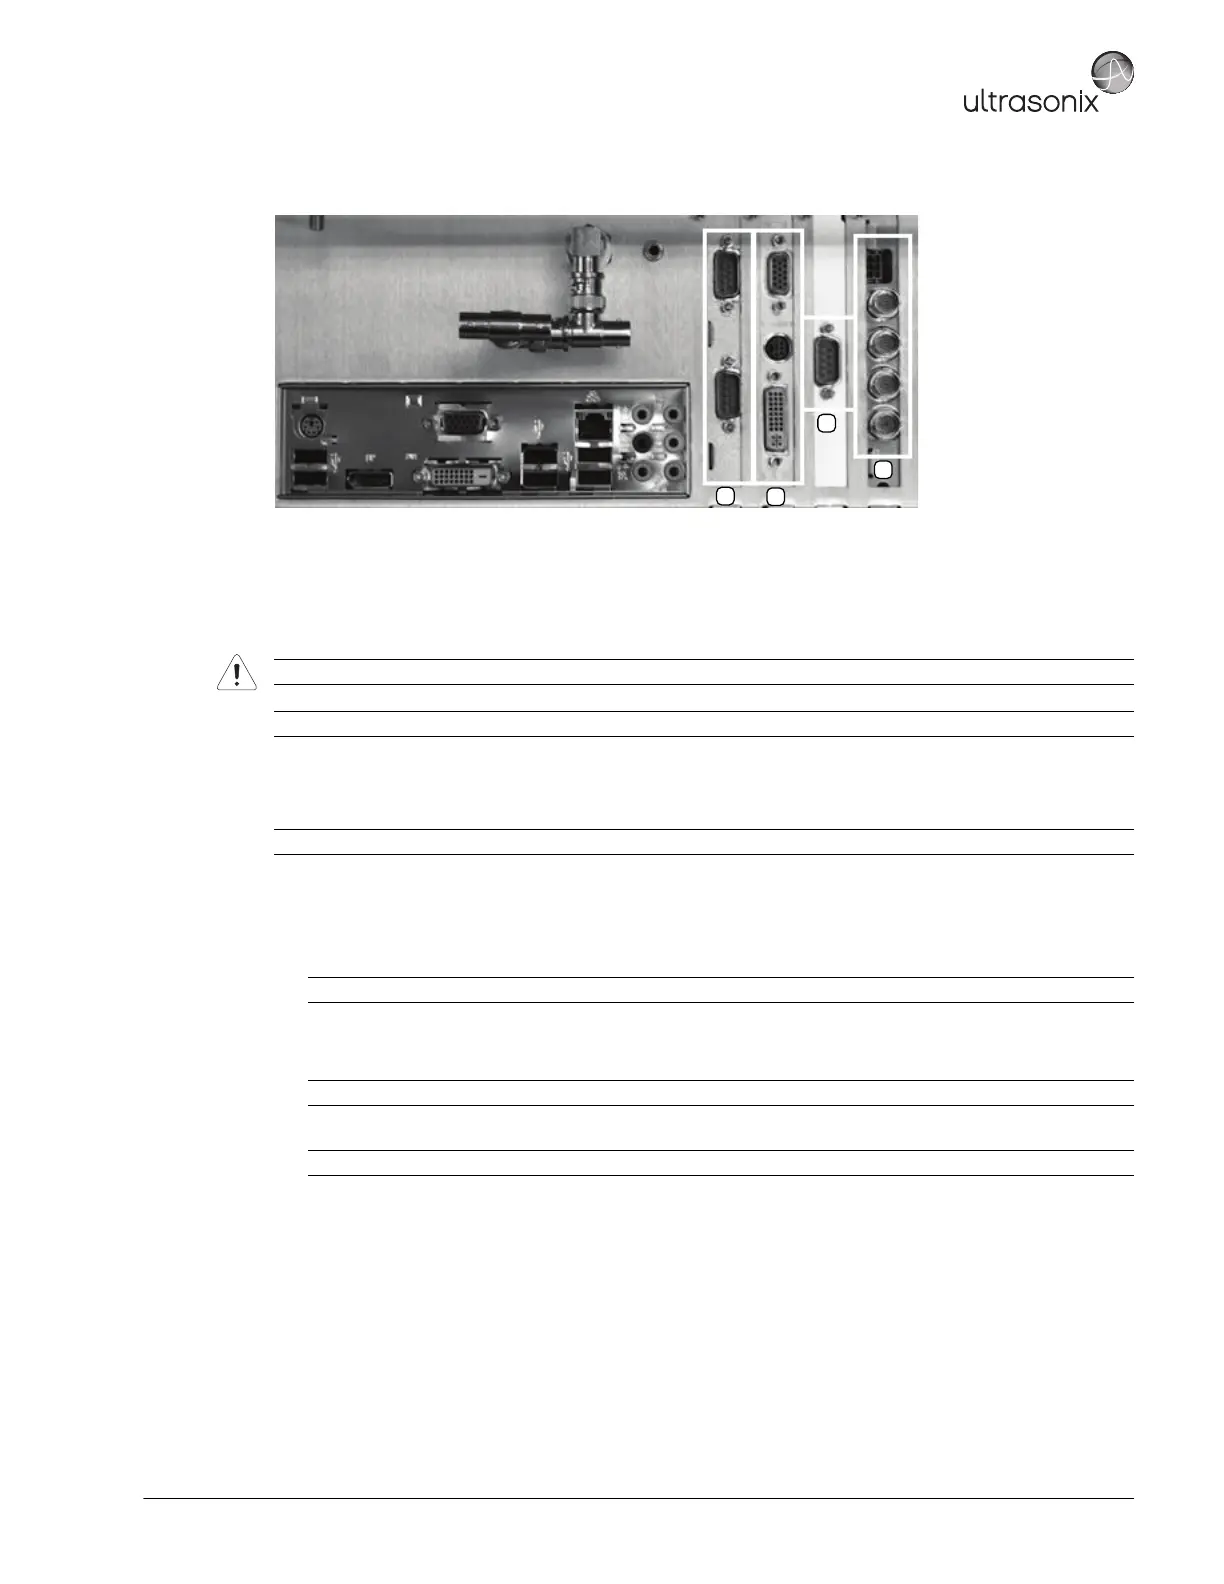
Figure 7-16: Sample Card Locations/System Case Connectivity Panel (To Match Figure 7-15)
Equipment/Tools Required:
• #1 Phillips screwdriver.
To Reseat a PCI Card:
1. Ensure the system is powered down, unplugged and all transducers have been disconnected.
2. Remove the side shrouds (7.3.1).
3. To access the cards, open the front block/ultrasound module (7.5.2).
4. Disconnect the front block/ultrasound module cables (7.5.2).
5. Disconnect the PCI power connector (position 2, Figure 7-15).
6. Using a #1 Phillips screwdriver, unfasten the screw(s) securing the PCI card bracket (position 3, Figure 7-15).
7. Using a #1 Phillips screwdriver, unfasten the screw(s) securing the PCI card (position 1, Figure 7-15).
8. Carefully remove the PCI card.
9. Carefully insert the PCI card back into the same slot, ensuring that it is flush in the slot and securely seated.
10. Using a #1 Phillips screwdriver, refasten the screw(s) securing the PCI card (position 1, Figure 7-15).
11. Using a #1 Phillips screwdriver, refasten the screw(s) securing the PCI card bracket (position 3, Figure 7-15).
12. Reconnect the PCI power connector (position 2, (Figure 7-15).
13. Reconnect any disconnected cables.
14. Close the front block/ultrasound module (7.5.5).
15. Reinstall the side shrouds (7.3.2).
Warning: Do not perform any internal system maintenance if the UPS breakers are turned on.
Caution: Always wear a grounding strap when opening and working inside the modulo.
Note: This example is for the PCI Card. Refer to Figure 7-15 and Figure 7-16 for card locations.
Note: It is not necessary to remove the front block in order to reseat a card.
Note: The other cards do not have power connectors.
Note: The other cards do not have brackets.
 Loading...