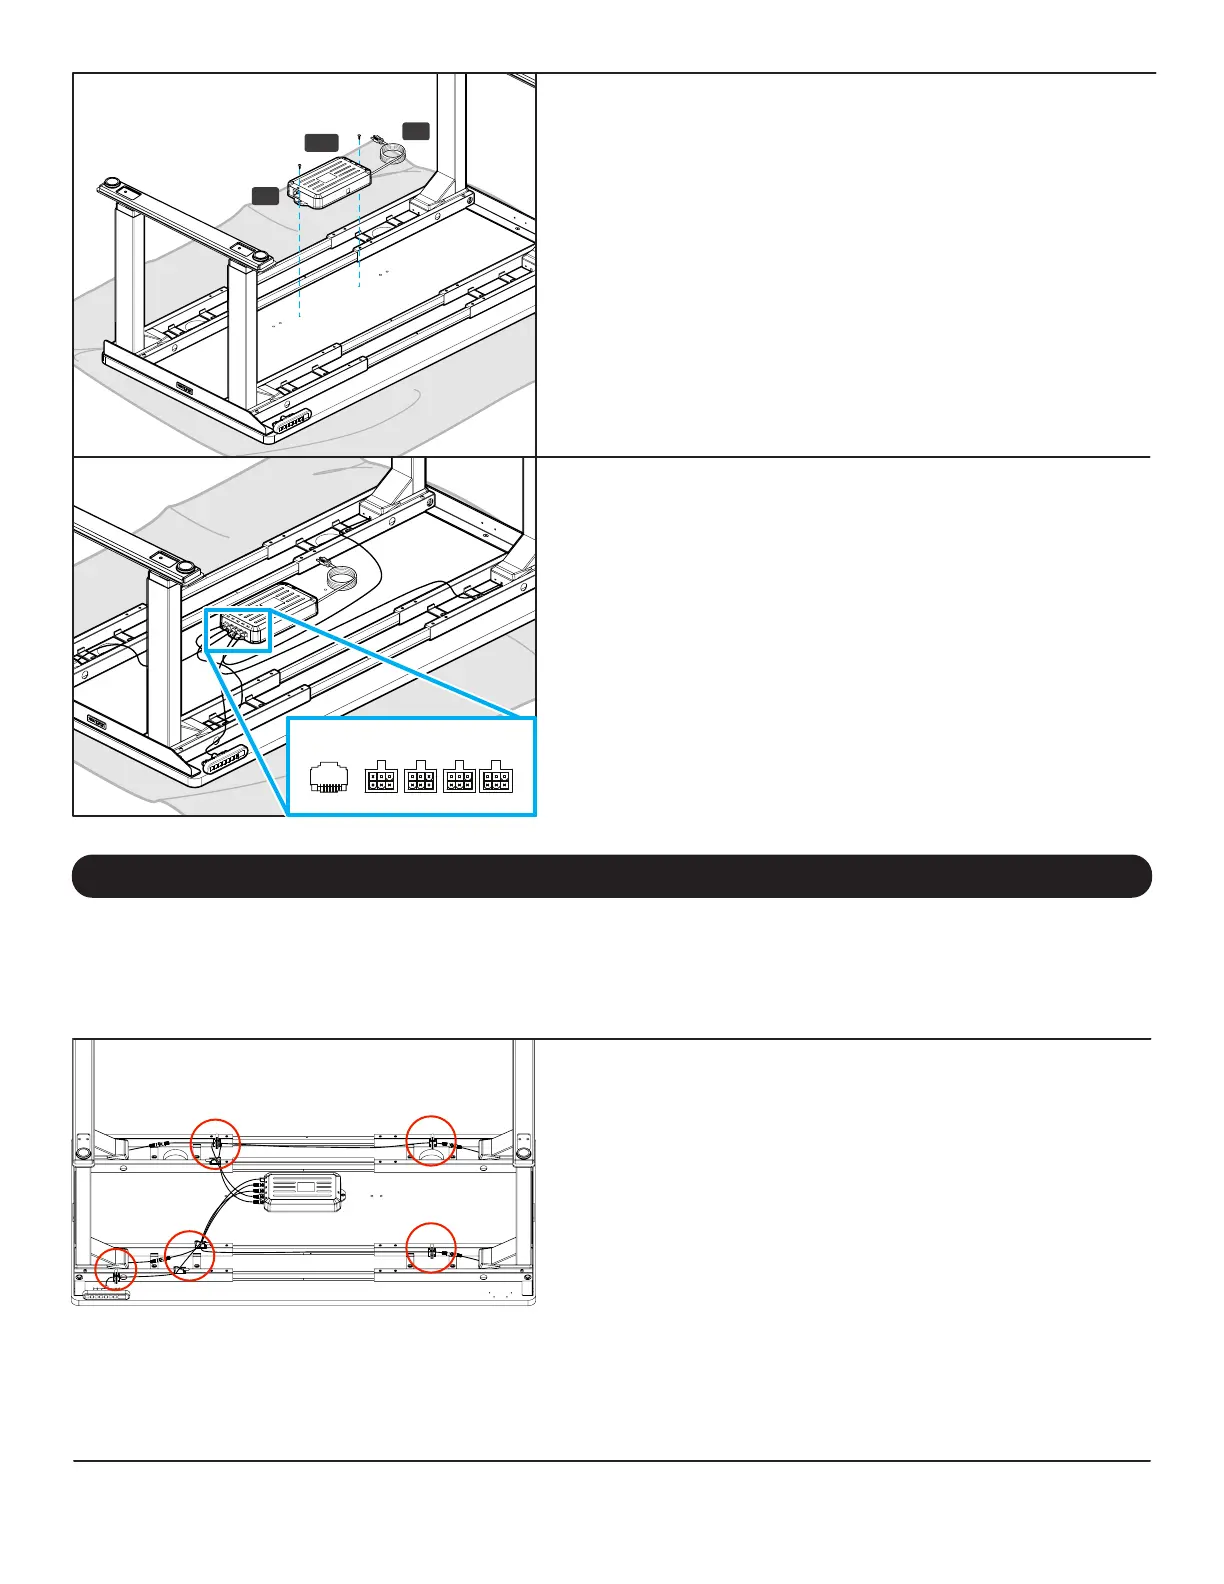
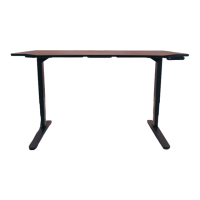
Step 15 - Control Box Attachment
If you are using a desktop that does not include pre-drilled holes
for the Control Box (P5) attachment, locate the Control Box
approximately where shown in the image. Refer to Step 4 to make
pre-drilled holes for the Control Box attachment; be careful not to
drill through your desktop surface.
A. Connect the Power Cable (P7) into the port on the Control Box
marked “AC”.
B. Align the Control Box with the pre-drilled holes.
C. Using a Phillips Head Screwdriver, attach the Control Box to the
desktop with two #10x5/8” Wood Screws (H14). Be careful to
not overtighten to avoid stripping.
Step 16 - Cable Connections
A. Connect a Leg Extension Cable (P8) to the end of each of the leg
cables.
B. Connect the other ends of the Leg Extension Cables to the ports
on the Control Box marked M1, M2, M3, and M4.
Note: Leg Extension Cables can be connected to any port on the
Control Box, there is no specic order. If any of the shorter Leg
Extension Cables do not reach one of the ports on the Control
Box, you can swap it with one of the longer cables.
C. Connect the end of the Keypad (P6) cable into the port on the
Control Box marked “HS”.
P5
P7
H14
HS M1 M2 M3 M4
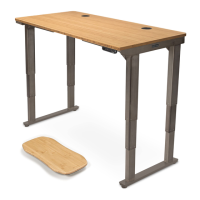
Cable Mounts
NOTE: The adhesive backing on the Cable Mounts is very strong,
please carefully decide locations before adhering them under your
desktop or desk frame. Do not attach them to the top surface of your
desktop. Some potential cable mount locations are shown circled.
Use the included Cable Mounts (H9) to organize your wires and
keep them tidy and out of the way. The Cable Mounts can help
prevent cables from snagging on stationary objects while the desk
is moving. The Cable Mounts consist of an adhesive-backed plastic
anchor and a reusable hook and loop strip.
You can also use the hook and loop strips without the plastic anchor
in places where it can be slid underneath frame parts. You might
want to save some of the Cable Mounts for cable management of
personal devices after completing the desk assembly.
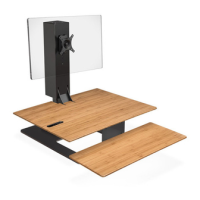
Now is a good time to install any accessories such as the Wire Management Tray, CPU Holder, Keyboard Tray, or other items
that attach to the underside of your desktop. This section will cover accessories that are included with your desk frame. For
other accessories, refer to the instructions that were provided with those products.
Accessory Installation