Product Operating
1. How to get started
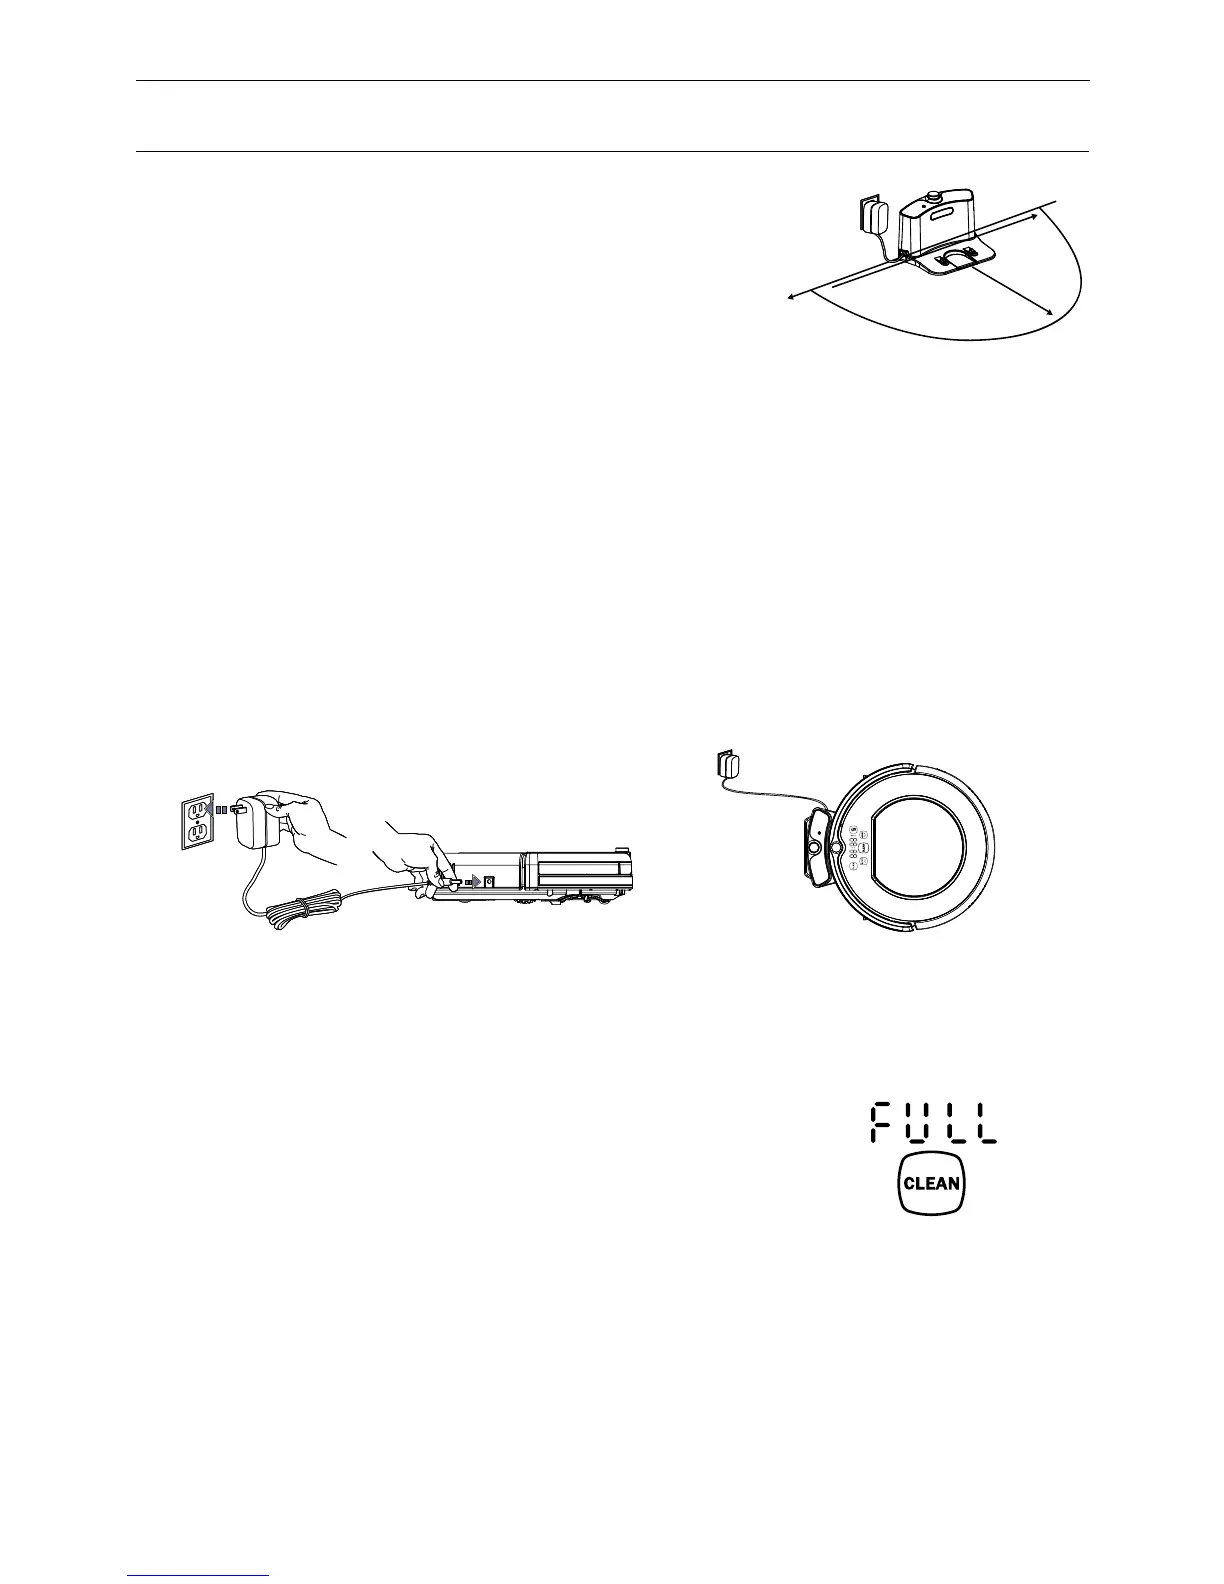
1>. Place charging home base, plug in adapter,
then signal light on charging home base will flash.
Note: Put charging home base against the wall and remove
obstacles about 1 meter at two sides and about 2 meters forward.
2>. Turn on the Power Switch on the bottom side of the robot,
then display will flash.
(If no command received, the robot will turn to SLEEPING mode after 20 seconds.)
Note: A. Please always keep the power switch turning on. If not, it is unable to make the robot work.
B. If power switch is turned off, all the scheduling will be lost.
Caution: Before charging the robot, please make sure the power switch is turned on, or else
the robot can not be charged and display panel will show E10.
3>. Charge the robot in either way as shown below:
A. Plug the adapter into the robot and outlet;
B. Press HOME on main body or on remote control to make robot return to charging home base
for charging itself.
Note:
�A. When robot is charging, display panel will show 1111, and repeat from right to left.
B. When battery is low, display panel will show “Lo”.
For better extending battery life:
�A. Before first use, charge the robot overnight. When charging is
finished, display panel will show FULL.
B. In normal use, always store the robot on charging home base with base plugged in.
C. If the robot is not used for long time, turn the power switch off, fully charge the battery,
remove and store it in a cool, dry place.
4>. Auto charging
The robot will automatically return to charging home base when battery is low.
8
A B