When an alarm is triggered, the indicator beeps and the display backlight blinks. The alarm is triggered when the
measured value is not between the alarm limits, that is, the permitted area. The alarm level(s) can be set for only
1 parameter at a time.
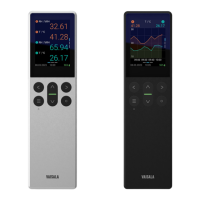
Figure 1. Other settings menu
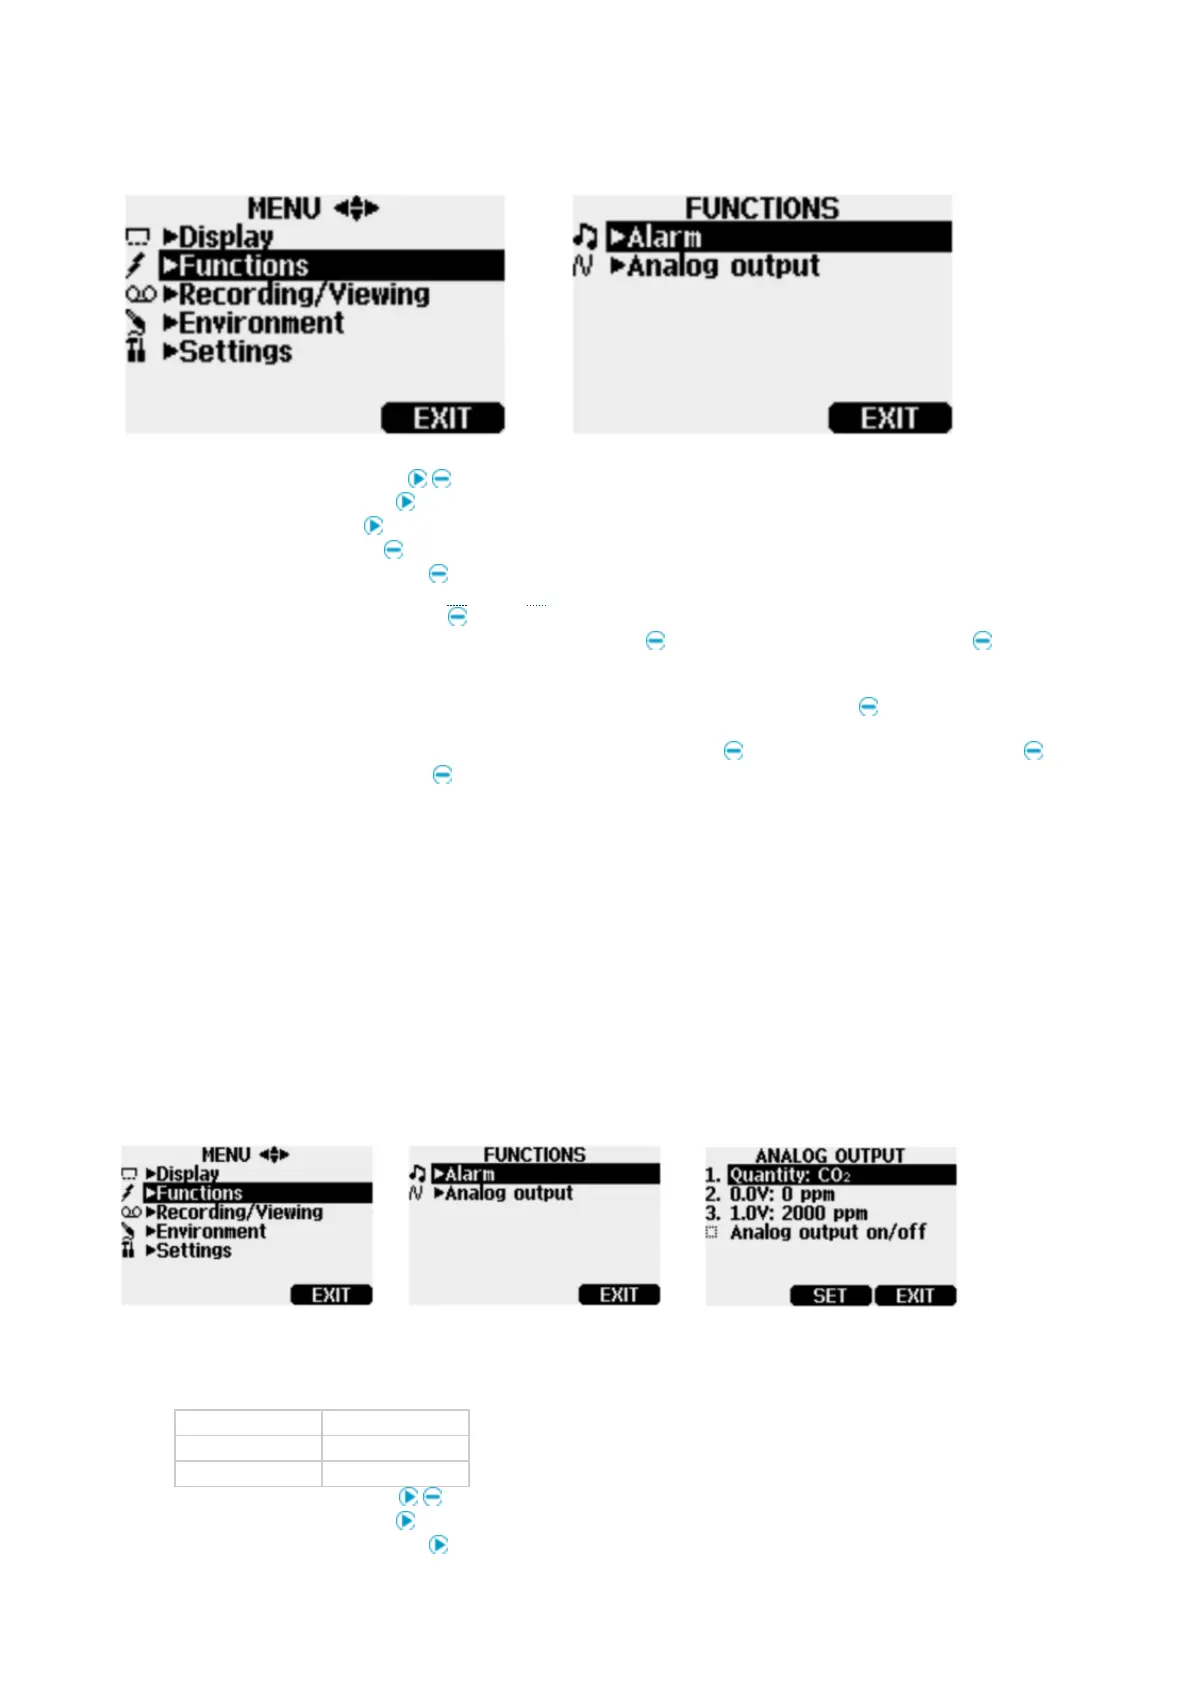
1. Open the menus by pressing Open.
2. Select Functions and press .
3. Select Alarm and press .
4. Select Quantity and press Set to select the parameter.
5. Select the parameter and press Select. Only 1 active parameter can be selected at a time. To change which
parameters are active, go to Menu > Display > Quantities and units.
6. Select the first limit and and press Set (if the alarm function is on, turn it off). Use the arrow buttons to set the
alarm level. To select the sign for the alarm level, press the +/- button. To save the settings, press OK.
7. Select the second limit and follow the instructions in 6. The alarm is triggered when either the upper or lower limit
is exceeded.
8. To activate the alarm and to return to the basic display, select Alarm On/Off and press On. The note icon ♫
appears in the upper left corner of the display.
9. When the alarm level is reached, you can stop the alarm by pressing OK. To reactivate the alarm, press
Yes. To discard the alarm, press No.
The alarm does not work when the device is powered off.
Selecting and scaling analog output
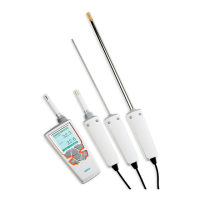
To get analog measurement data, an analog signal cable is needed (Vaisala item code 27168ZZ).
One scalable voltage signal channel 0 … 1.0 V is available. You can scale the output to any output range but it is
recommended to have the scaling within the probe's measuring range to get accurate measurements.
Figure 1. Selecting analog output
1. Connect the signal cable connector of the analog output to the base connector of the MI70 indicator. Connect the
screw terminal block as follows:
Wire Connect to
Brown wire Common wire (−)
Yellow-green wire Signal (+)
2. Open the menu by pressing Open.
3. Select Functions and press .
4. Select Analog output and press .