5C
5A
5D
5B
6
Valcom, Inc.
5614 Hollins Road
Roanoke, VA 24019
USA
P. 540-563-2000
F. 540-362-9800
www.valcom.com
Wall Mount Installation
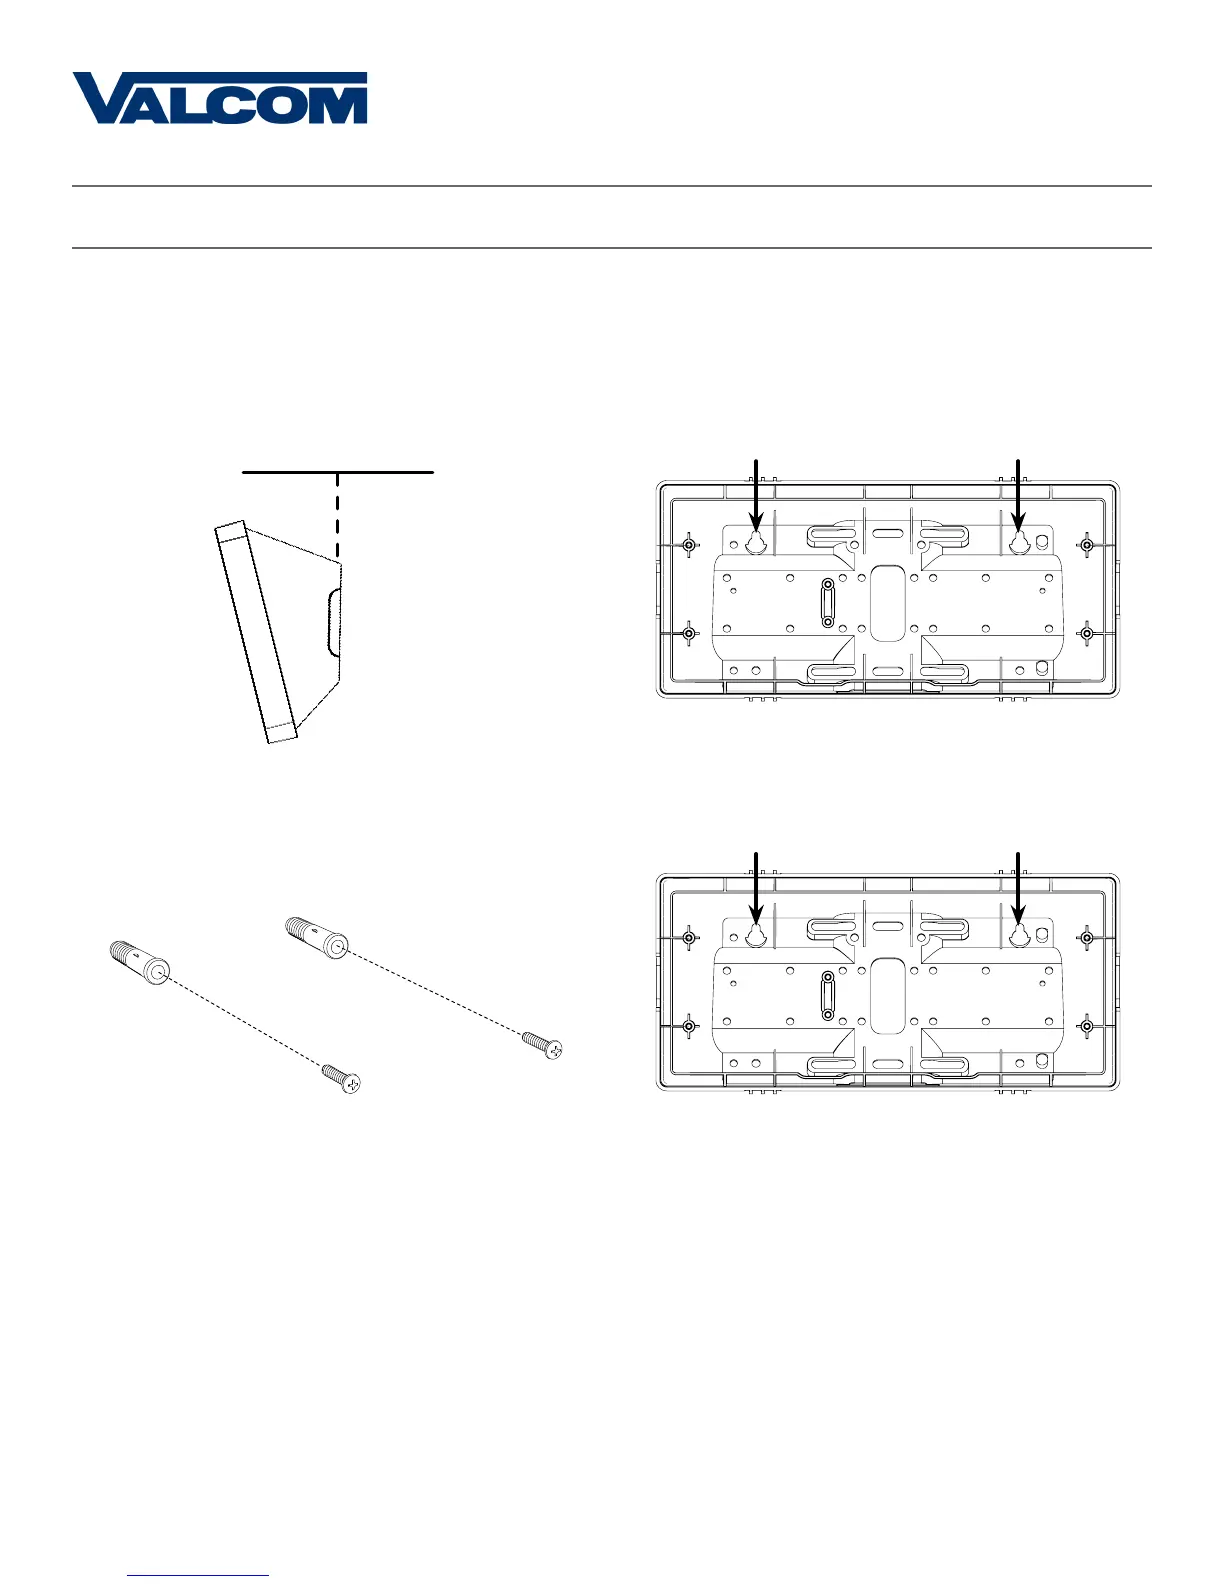
5D) Use the keyholes in the back of the housing to
hang the clock onto the screws.
5A) If you do not wish to attach the housing to a
gang box, place the mounting piece on the wall.
Leave at least 4 inches between the top rear edge
of the housing and ceiling. Confirm that the bottom
of the mounting piece is level with the floor.
5B) Identify the keyholes towards the top of the
back of the clock housing. Use a pencil to trace the
top of each keyhole onto the wall, then use the
1/4 inch drill bit to drill holes at the locations of the
two marks.
5C) Insert the wall anchors into the two holes, then
place a #8 self-tapping screw into each wall anchor,
leaving at least a 1/8” gap between the top of the
screw and the wall.
Ceiling
4” Minimum