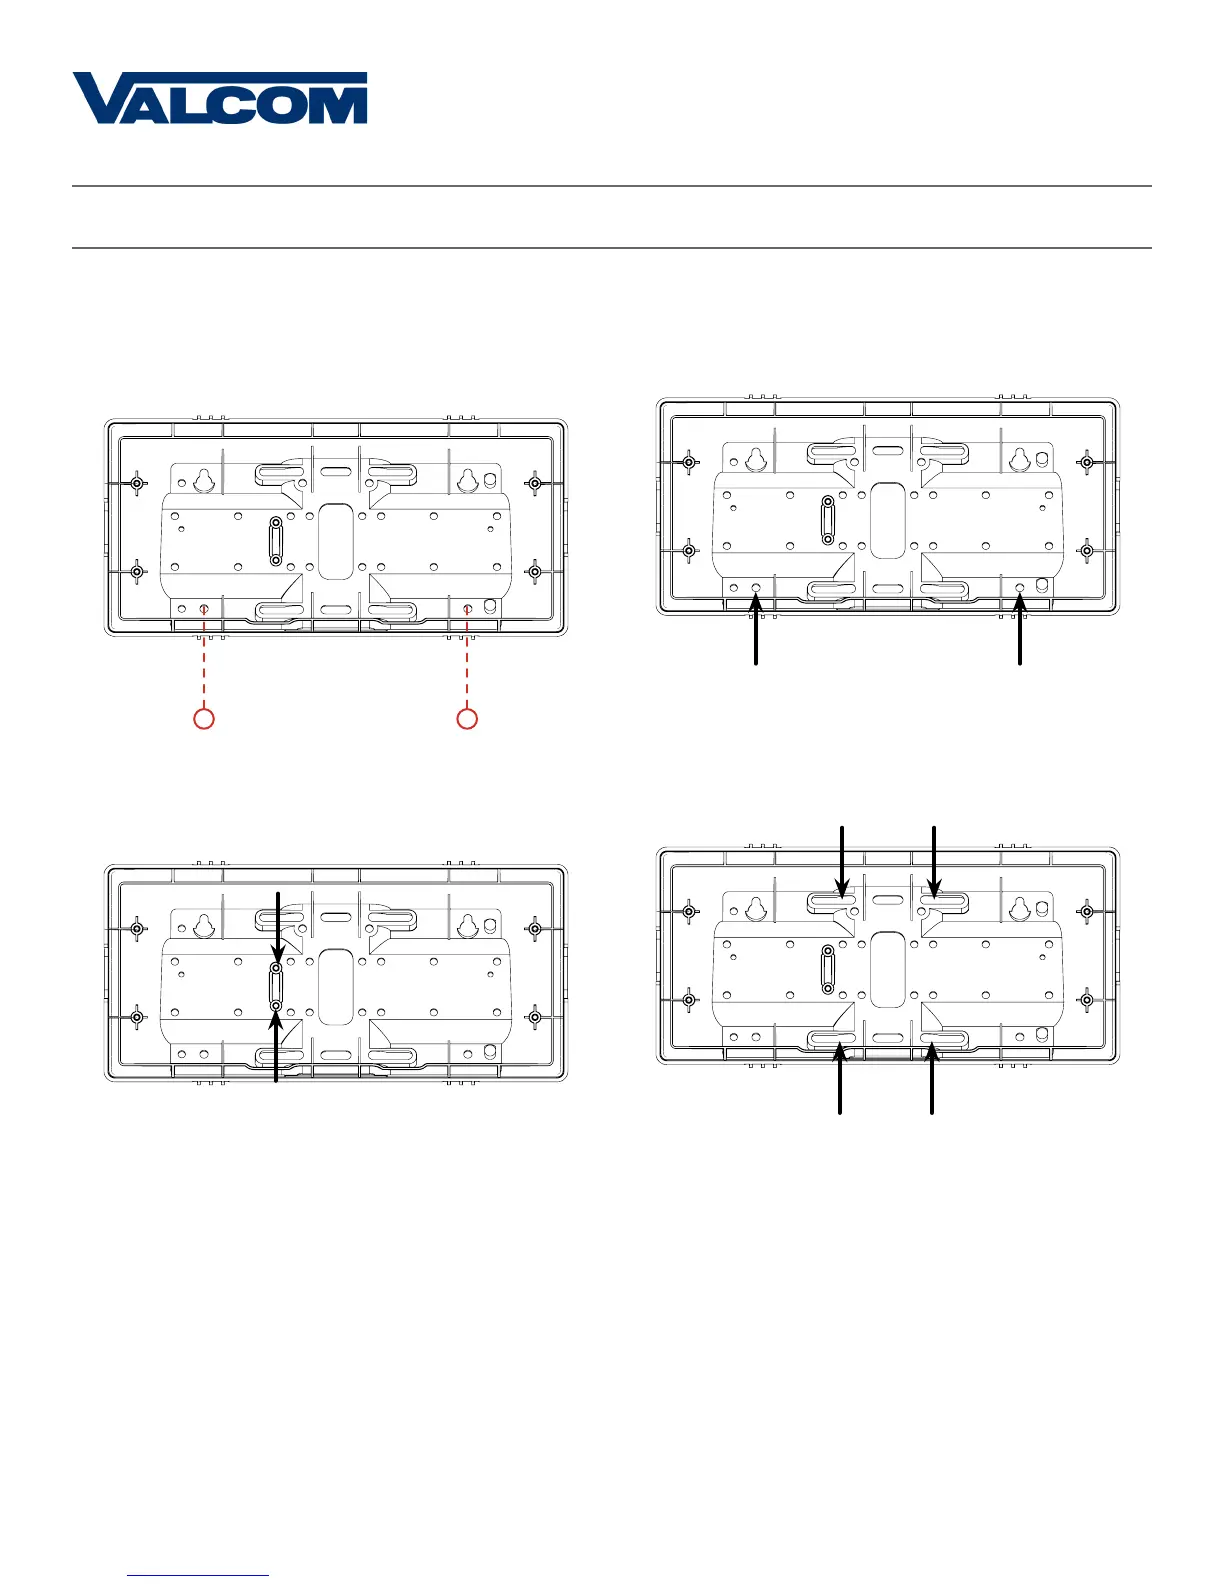
5G
5E
6
5F
7
Valcom, Inc.
5614 Hollins Road
Roanoke, VA 24019
USA
P. 540-563-2000
F. 540-362-9800
www.valcom.com
Valcom, Inc.
5614 Hollins Road
Roanoke, VA 24019
USA
P. 540-563-2000
F. 540-362-9800
www.valcom.com
Wall Mount Installation
6) Perform step 5F, then attach the housing to the
gang box using the #6-32x1 screws.
5E) Use a pencil to trace the holes beneath each
keyhole onto the wall. Take the clock housing off
the wall, drill holes at the marked locations, and add
another two wall anchors.
5G) Run power and signal wires through the large
hole in the back of the housing. Secure the wires by
passing them through the wire clamp.
5F) Repeat step 5D, then pass another pair of #8
screws through the bottom holes and secure them
in the remaining two wall anchors.