V A S A
12 August 2022
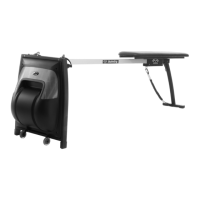
Vasa SwimErg User’s Manual
➋
➍
after installing MRA,
tighten socket set screw
➎
U-bolt is
towards front
narrow end of bench is towards front
➏
➐
stretch cord attached
➑
cables are attached correctly to
“R” & “L” labeled ports.
➒
➊
button head screw and nut are
assembled on stanchion head
and monorail
➌
button head
screw and nut
are assembled
on stanchion
head and
monorail
power meter is mounted
after installing MRA,
tighten socket set screw
13
10
wheel bracket
monitor angle is adjusted
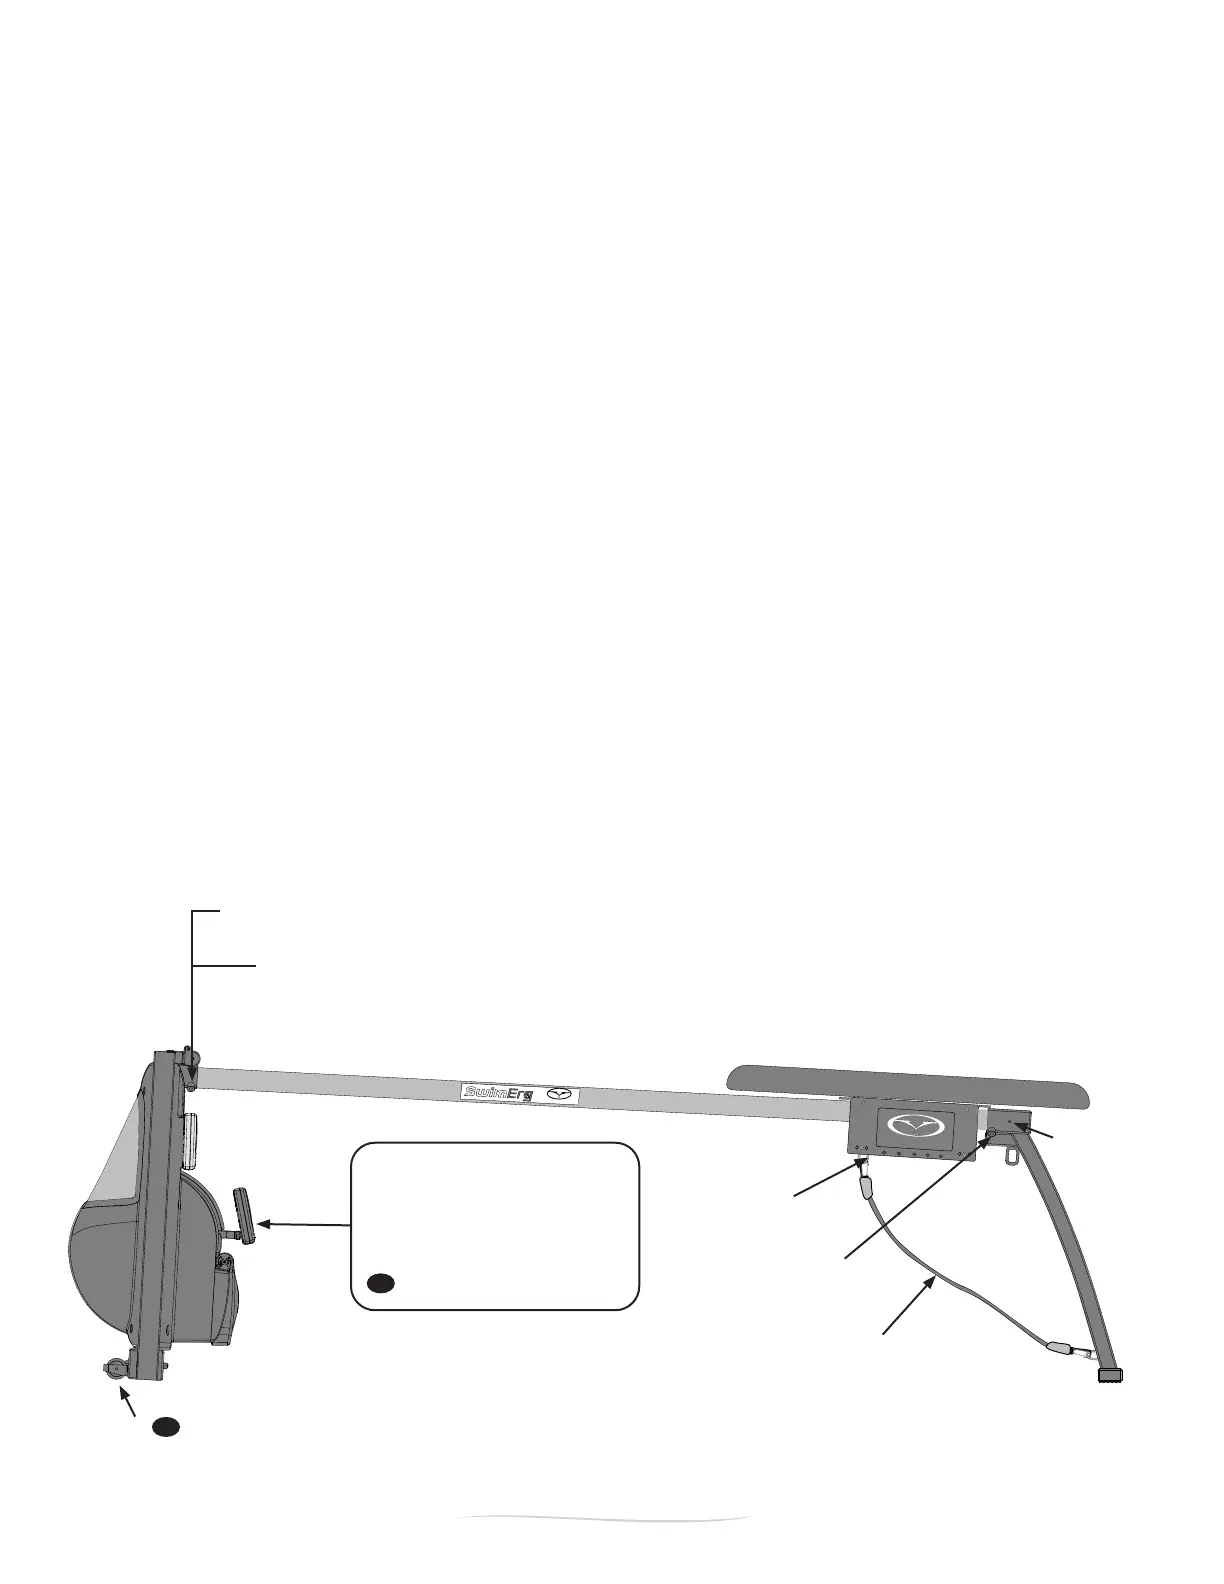
PART 1 - Assembly
1-3. POST ASSEMBLY SAFETY CHECKLIST
Please review the steps below to assure that your Vasa SwimErg is assembled correctly and ready for safe
use (check if complete).
FRONT
1. ____ Button head screw and nut are assembled on front stanchion head and monorail.
2. ____ Socket set screw on front stanchion head is tightened against the MRA bracket and monorail.
REAR (CHECK IF COMPLETE)
3. ____ Button head screw and nut are assembled on rear stanchion head and monorail.
4. ____ Socket set screw on rear stanchion head is tightened against the MRA bracket and monorail.
BENCH / SEAT CARRIAGE (CHECK IF COMPLETE)
5. ____ U-bolt on the seat carriage is towards the front assembly.
6. ____ Narrower end of the bench is towards the front assembly.
7. ____ Stretch cord is attached between rear stanchion and U-bolt on underside of seat carriage.
POWER METER
8. ____ Power Meter installed on the mounting bracket.
9.____Connectioncablesareattachedcorrectlyto“R”and“L”labeledportsonthePowerMeter.
10. ____ Power Meter is adjusted for best viewing angle.