Installation, Operating & Maintenance Instructions
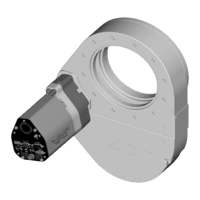
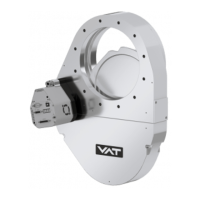
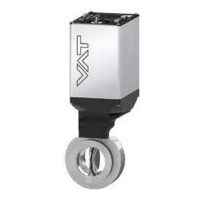
Series 650, DN 100 – 250 (I.D. 4" - 10")
VAT Vakuumventile AG, CH-9469 Haag, Switzerland
Tel ++41 81 771 61 61 Fax ++41 81 771 48 30 Email reception@vat.ch www.vatvalve.com
258550EE
2007-05-11
45/51
D e s c r i p t i o n Required tool
26. Remove fixation kit and mounting
screw for pendulum plate.
27. Clean screw and slightly lubricate
thread. Then reinstall fixation kit.
28. Clean actuator shaft and lubricate it
with 0.1 ml vacuum grease.
29. Install actuator and controller in
reverse order as they had been
disassembled (steps 19 to 17).
• Tighten actuator screws with 6 Nm.
• Remove vacuum grease from
actuator shaft face after
installation.
• Tighten controller driver screws with
1 Nm.
Allen Wrench
5mm
Valve size Max. torque [Nm]
DN100 / 4“
(65040 - . . . . - . . . . )
6
DN160 / 6“
(65044 - . . . . - . . . . )
6
DN200 / 8“
(65046 - . . . . - . . . . )
6
30. Install sealing ring and pendulum
plate in reverse order as they had
been disassembled (steps 9 to 2).
31. Mount valve bonnet.
• Tightening torques for bonnet
screws are listed in the table to the
right.
DN250 / 10“
(65048 - . . . . - . . . . )
6
Allen wrench
5mm
and
open end wrench
13mm
 Loading...