4.4 Language setting after battery change
After inserting the battery, your VDO computer
automatically welcomes you in the English main
menu.
LANGUAGE ENGLISH.
Confirm with
M
.
ENGLISH SELECT OK? Confirm with
M
.
Computer confirms:
LANGUAGE SELECT DONE.
Automatic return to SETTINGS/SELECT.
You are now in function mode. If you do not want
to make any more settings, you can recall the
functions using . If you want to make further
settings, confirm SETTINGS/SELECT with
M
.
When the battery is changed, all settings and the
total kilometres cycled are saved.
step 3 Take care that the rubber seal lies flat on
the battery compartment lid.
step 4 Insert the battery compartment lid into the
opening and turn it with a coin to the right as far
as it will go (approx. 1/3 turn).
TIP for changing battery: VDO recommends
changing the battery once a year. Buy a new
battery in good time to ensure the wireless
transmission works perfectly. When the battery
is changed, all settings and the total kilometres
cycled are saved.
4.5 Placing the computer into the handlebar holder >>> P06
The VDO twist-click system fastens the computer
securely with the handlebar holder.
step 1 Place computer into the holder in 10 o‘clock
position.
step 2 Twist computer to the right to 12 o‘clock posi-
tion and click into the holder system.
step 3 To take the computer out, twist to the left
(do not push or pull).
How to remember: Rigid to the Right, Loose to the Left
4.6 Transmitter pairing
The speed and cadence signals (Option: Item no.
7702) will be transmitted digitally and encoded to
your computer. This technology is less prone to
problems than analogue transmission. This way,
when riding in a group there are no data overlaps
(cross talk). So that the computer acquires the
digital encodings from the transmitter, a pairing
must be made:
step 1 Place the computer into the handlebar
holder. The display for the speed and the cadence
now flashes. The flashing shows that the compu-
ter is looking for its transmitter.
step 2 Spin the front wheel or simply set off and
the computer acquires the digital encodings.
When the computer has found the transmitters
and has acquired the encodings (pairing), the
speed and cadence are shown on the display.
ATTENTION: The time window for pairing is
5 minutes. If you do not start cycling during
these 5 minutes, no pairing takes place. Speed
and cadence are not displayed. The pairing
then has to be repeated:
B
Place the computer back into the handlebar
holder OR
B
press the buttons
C
+
M
together.
5. Basic settings
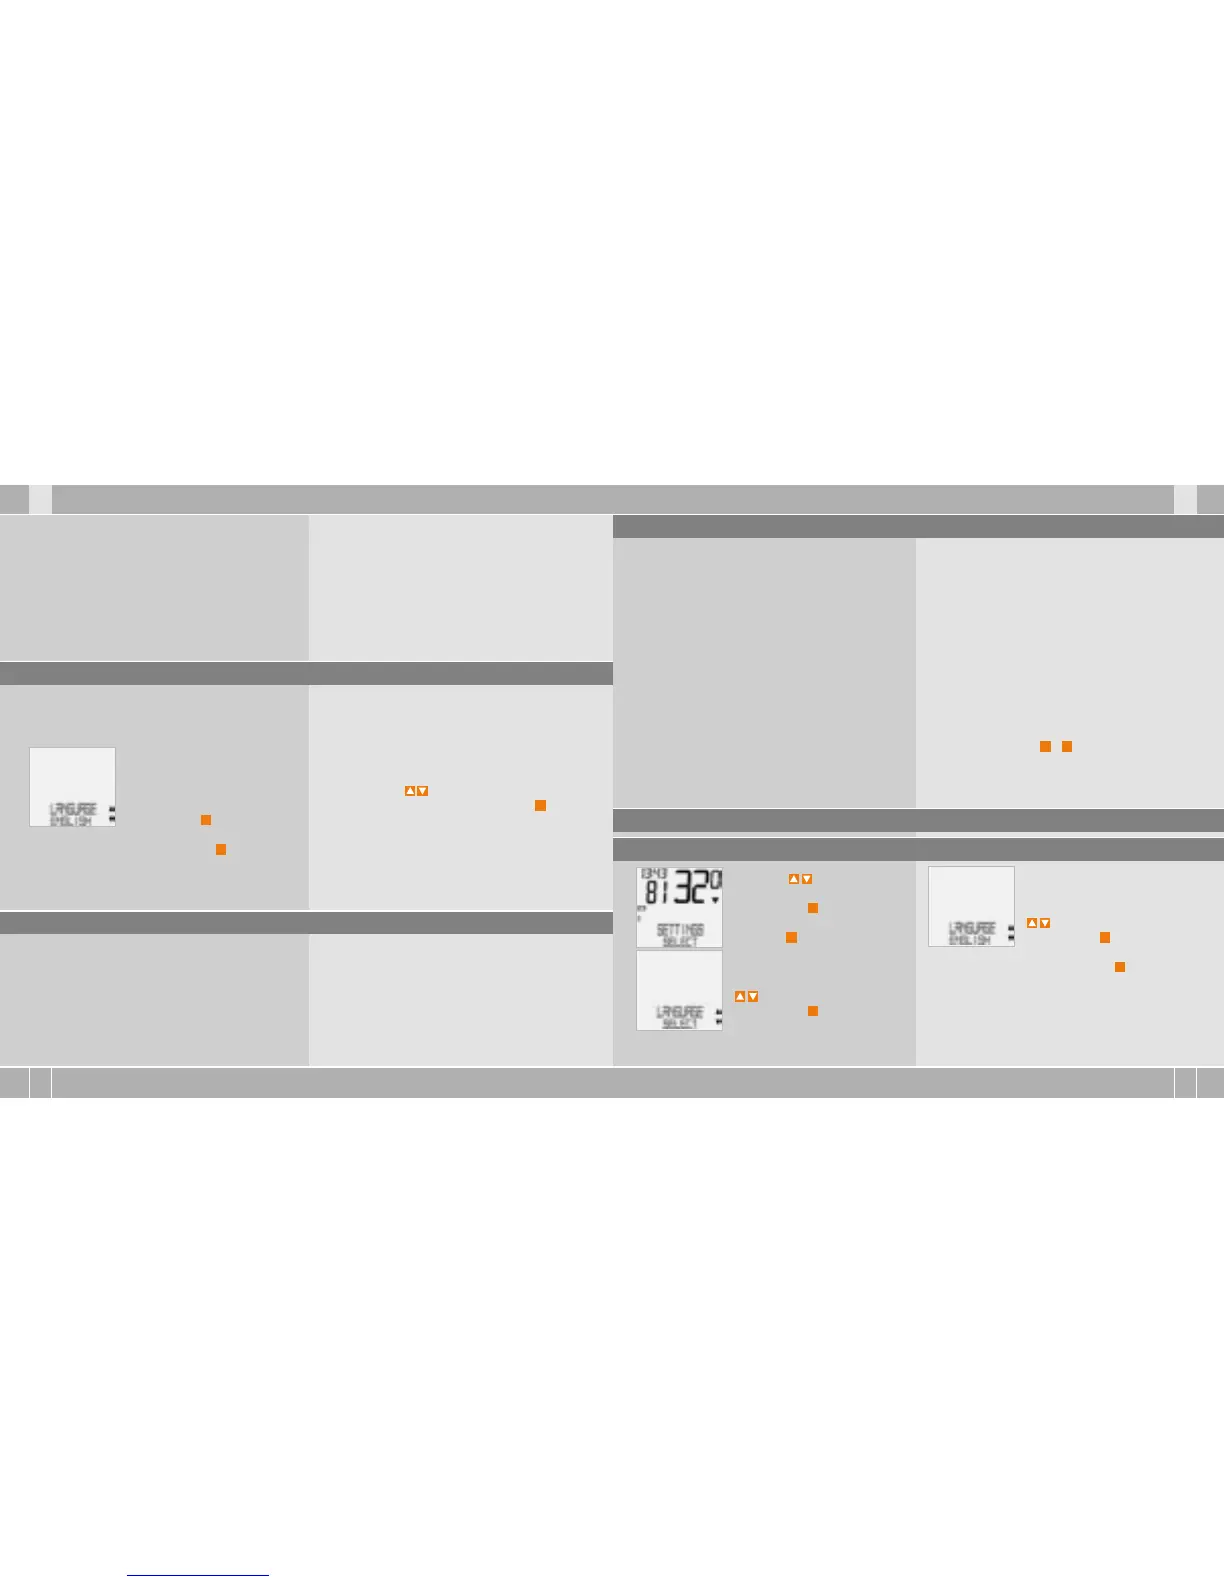
5.1 Setting the language
Using the buttons, go to
SETTINGS/SELECT.
Confirm with
M
.
You are now in setting mode
(pressing
C
for 3 seconds gets
you back to function mode).
to LANGUAGE SELECT.
Confirm with
M
.
to LANGUAGE ENGLISH.
Confirm with
M
.
ENGLISH SELECT OK? Confirm with
M
.
LANGUAGE SELECT DONE. The computer automati-
cally returns to the start menu SETTINGS/SELECT.
 Loading...