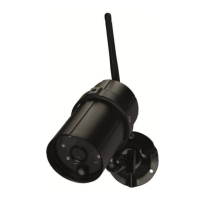
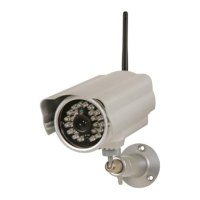
6. Camera Installation
6.1 Guidelines
Before ins talling your CAMIP21 c amera, please consider following guidelines:
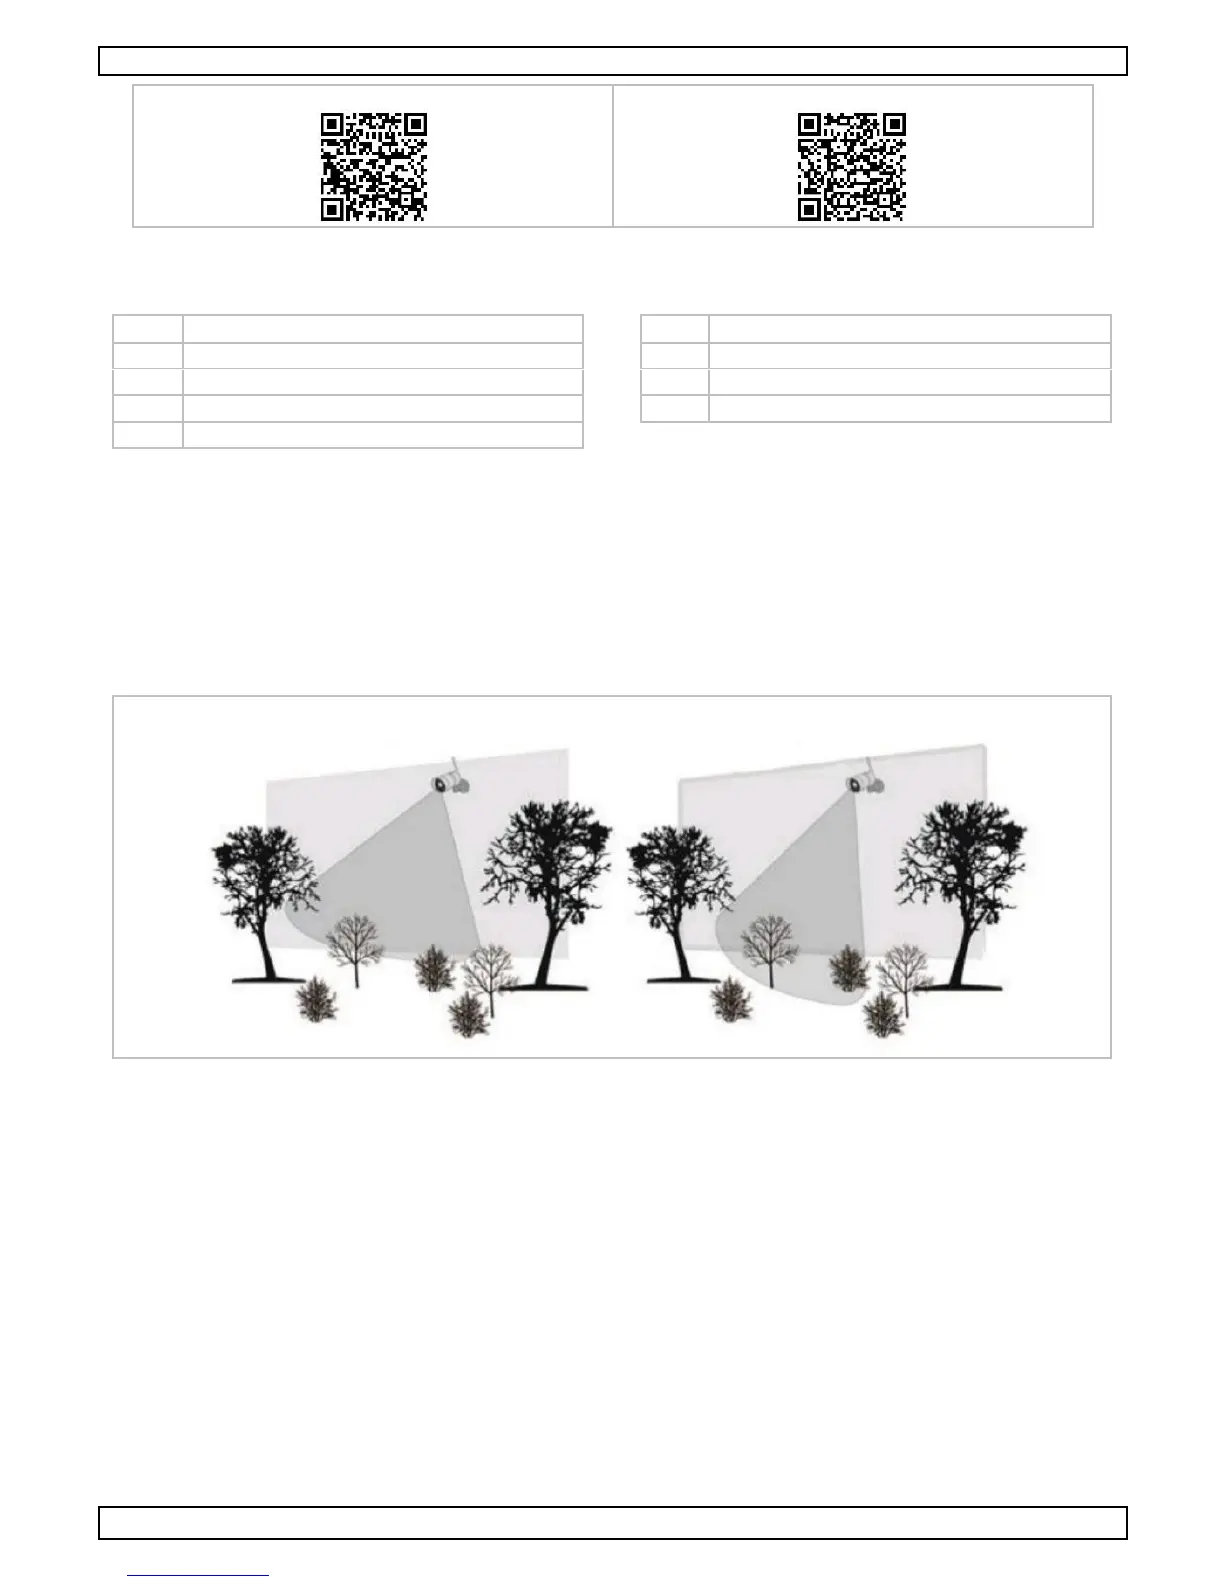
It is advisable to s pend some time and c hoose the ins tallation loc ation for your C A MIP21 camera
carefully. A void an ins tallation location exposed to extreme weather conditions, e.g. under a gutter which
is prone to any water leaks , or a loc ation where the camera will be pointed direc tly at the s un. A lso,
avoid pointing the c amera at bushes, tree branches or other moving objec ts that might un necessarily
trigger the camera to rec ord. Refer to the illustration below.
T his c amera is equipped with LE Ds that allow night vision. T he LE Ds will automatically activate at night.
Night vis ion range is up to 5 m.
During the installation, always follow the manufac turer’s advice pertaining to the us e of power tools,
steps , ladders, etc. Wear suitable protective equipment and c lothing when handling power tools . Before
drilling holes in walls, use a c able and pipe detector, and c hec k for hidden electricity c ables and water
pipes .
When ins talling your CAMIP21 c amera, it is advisable to use electrical c onduit to protect the power c able
from being exposed externally and/or to reduc e c hances of the c able to be tampered with. A fter drilling
the hole for the power cable, ensure it is s ealed up around the c able with s ealant.
6.2 Installation
T o install the CAMIP21 camera c orrectly, you need following tools (not inc luded):
an electric drill
a 5 mm masonry drill bit
a 15 mm mas onry drill bit
a #2 P hillips screwdriver