44 VELUX VELUX 45
Menu
Locate
Select
P1
P2
Back
Enter Back
P1
P2
Back
P1
P2
Enter
Continue
P1
P2
Edit
Back
P1
P2
Enter
Yes No
P1
P2
Enter
Back
P1
P2
P1
P2
BackEnter
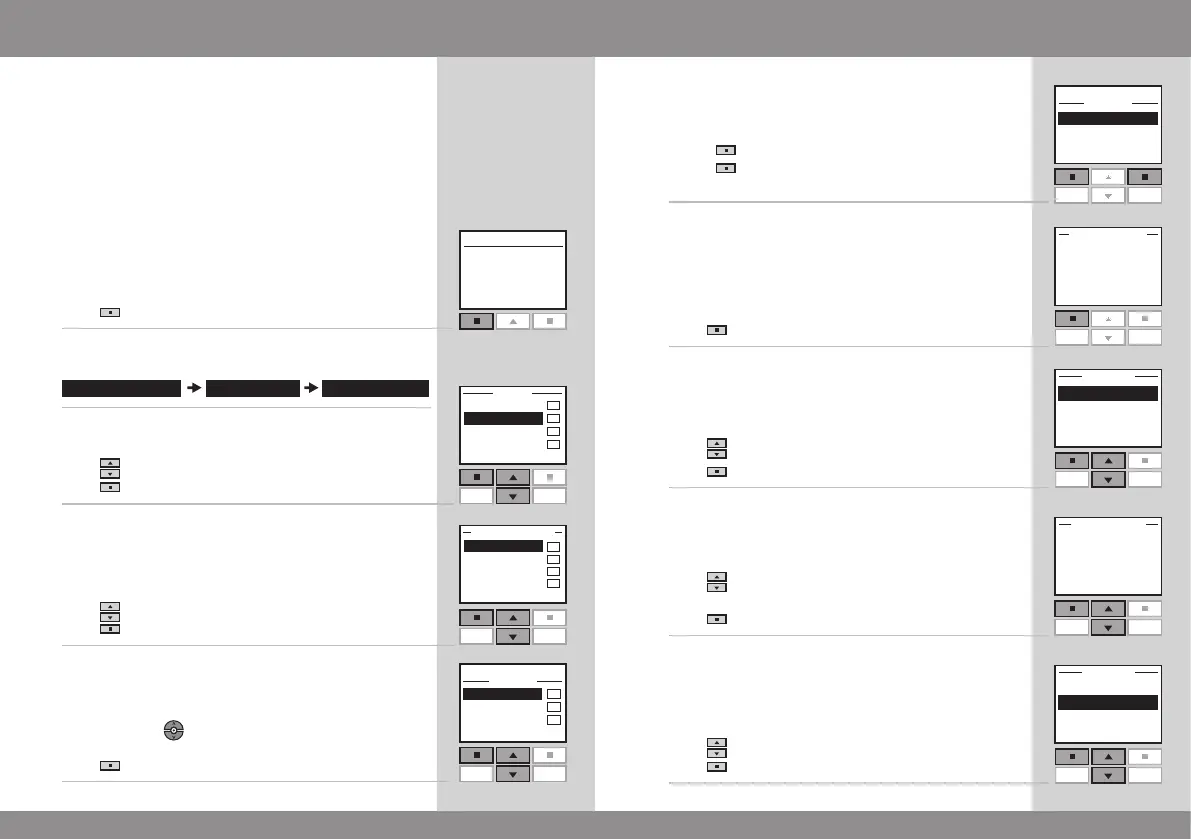
Shortcut P1/P2
A program under Shortcut P1/P2 contains a sequence
of operating commands for one or more products. The
sequence is activated by pressing shortcut key P1 or P2.
You can record up to eight programs, four under each of
the shortcut keys. The programs can be set to be exe-
cuted immediately, with a delay or at a certain time.
The example shows how to program window No. 1 in
Room 1 to open immediately and close again after 1 hour
and 30 minutes (delay) by a single press on shortcut key
P1.
1
Press "Menu".
2
Scroll through the menus:
3
The display shows a list of areas.
Press to highlight "Room 1".
Press "Enter" to confirm your choice.
4
The display shows a list of the product types.
Press to highlight "Window".
Press "Enter" to confirm your choice.
5
Locate the window. The relevant product can be identi-
fied by pressing for a short period of time. This will
activate the product briefly.
Press "Select" to select the product.
6
The display shows the selected product.
• Press "Continue" to continue.
• Press "Edit" to return to item 3 in case of additions
or changes.
7
The display asks whether to save the selected product.
Press
"Yes" to save the selected product.
8
Press to highlight "Set position".
Press
"Enter" to confirm your choice.
9
Press to set the opening position of the window.
100% corresponds to fully open.
Press "Enter" to confirm your setting.
10
Press to highlight "Save position".
Press "Enter" to confirm your choice.

 Loading...