GENERAL OPERATION
Operation - 22
Stopping the Power Unit
To slow or stop the power unit, move the S.D.L.A.
lever in the opposite direction than you are traveling.
Return the S.D.L.A. lever to the neutral position to
make a complete stop. A foot pedal brake is not
required, because you use the S.D.L.A. lever to stop
the power unit. If in the case of an emergency and
the power unit cannot be stopped with the S.D.L.A.
lever, pull the selector lever to the park position to
stop the power unit.
If the selector lever is pulled in the case of an
emergency, power unit will come to an abrupt stop.
Attaching
1. Drive the power unit slowly forward into the hitch
arms of the attachment. Align the lift arms of the
power unit with the attachment hitch arms by
raising or lowering the front hitch and complete
the engagement.
2. Once completely engaged, close the front hitch
locking lever.
3. Engage the parking brake and shut off the engine.
4. Place the attachment belt onto the PTO drive
pulley on the power unit. Ensure the belt is prop-
erly seated in each pulley.*
5. Engage the attachment’s PTO belt tensioner.*
6. Wipe hose ends clean, and connect to the power
unit’s hydraulic quick couplers.*
7. Connect electric plug to matching socket.*
Detaching
1. Park the power unit on a level surface and set
the parking brake.
2. Fully raise the attachment and set the weight
transfer to the off position.
3. Lower the attachment to the ground.
4. Shut off power unit engine.
5. Disengage the attachment’s PTO belt tensioner.*
6. Remove the attachment belt from the PTO drive
pulley of the power unit.*
7. Move the secondary S.D.L.A. lever left and right
to release pressure from the auxiliary hydraulic
circuit and disconnect the hydraulic quick cou-
plers from the power unit.*
8. Disconnect the electric plug from the socket.*
9. Disengage the front hitch locking lever.
10. Restart power unit and slowly back away from
the attachment.
Operating Attachments
Refer to the attachment’s manual for the proper
operation and use of the particular attachment that
is being operated.
Front Hitch
The front hitch is used to secure attachment to the
power unit, and to raise and lower the attachment.
The front hitch is controlled by the primary S.D.L.A.
lever. Pull the lever toward the operator’s seat to
raise the attachment, push the S.D.L.A. lever away
from the seat to lower the attachment. The primary
S.D.L.A. lever is equipped with a “fl oat” position.
Push the S.D.L.A. lever to the far right position until
the fl oat detent engages and stays in place to oper-
ate in fl oat.
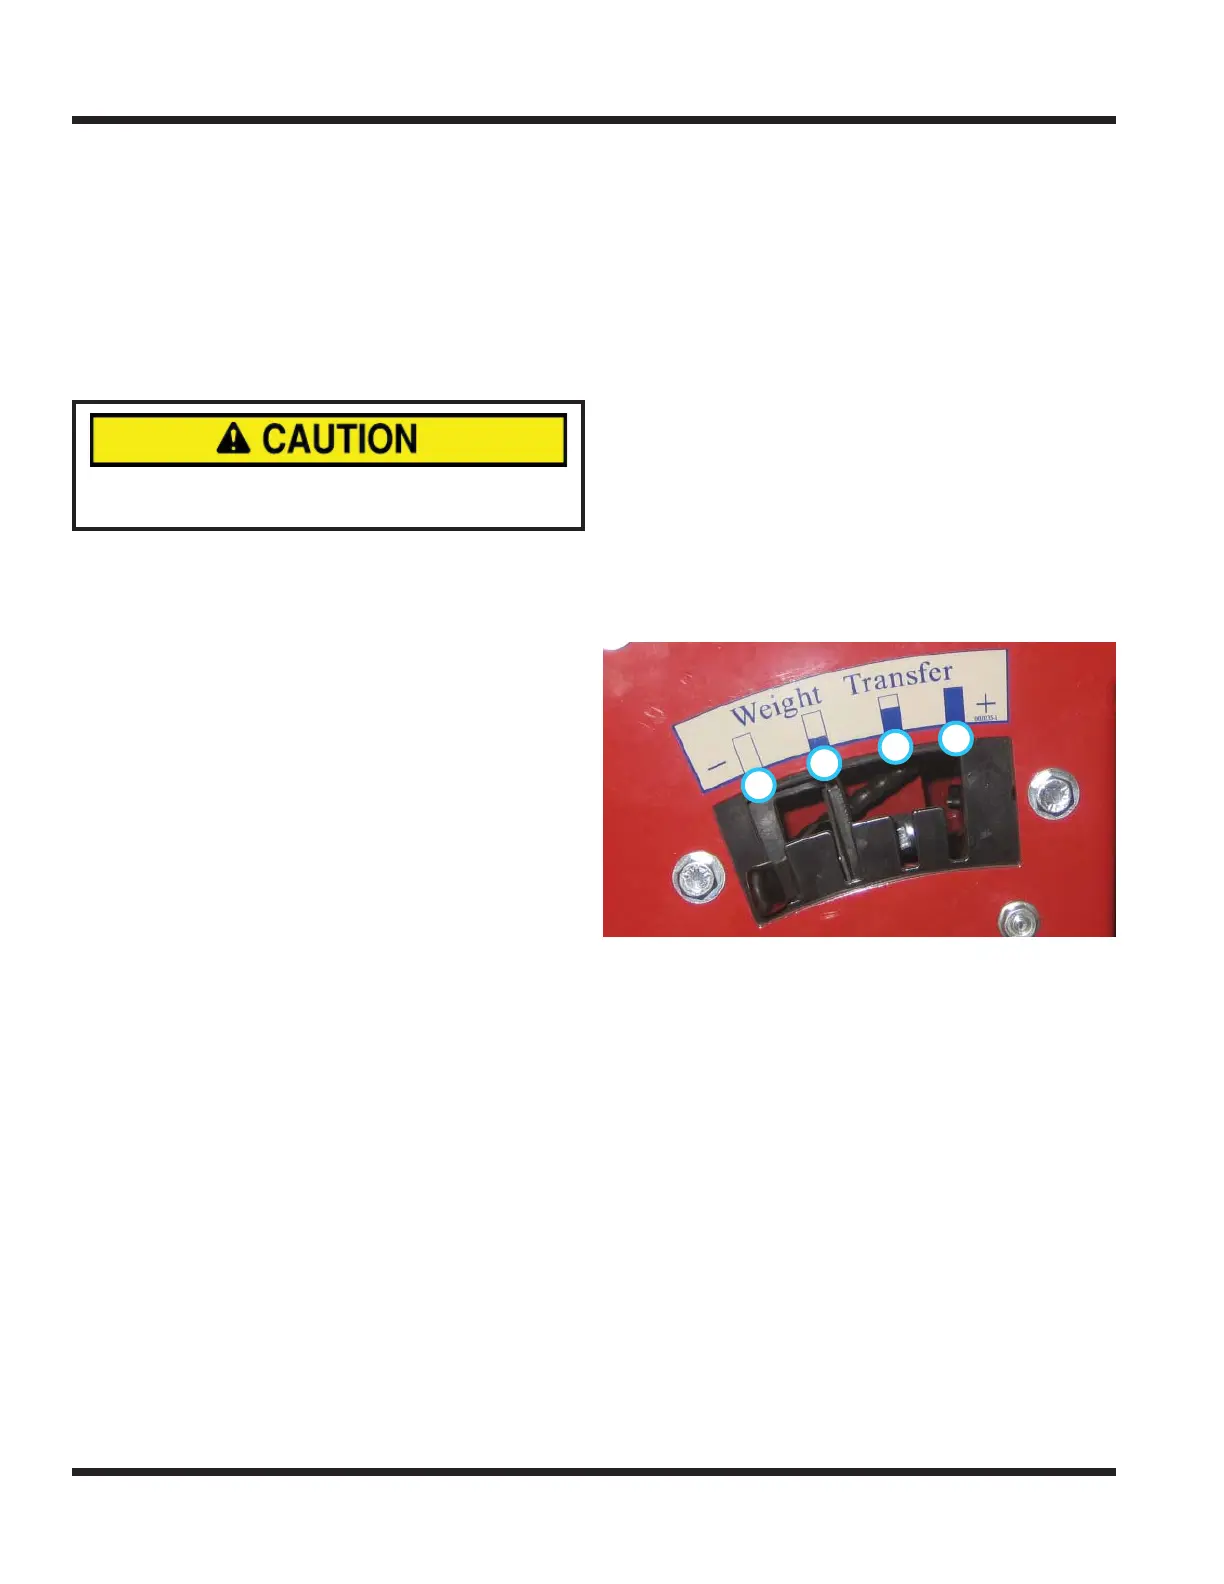
Weight Transfer
1
2
3
4
The weight transfer system allows the operator to
select the amount of weight transferred from the front
mounted attachment to the front drive wheels of the
power unit. Transferring weight from the attachment
to the power unit improves traction and hillside stabil-
ity, aids in lifting, reduces steering effort, and lessens
the attachment resistance when in contact with the
ground. Note: The weight transfer system is only
active while the primary S.D.L.A. is in the fl oat position.
1 - Off. This position does not transfer any weight
from the attachment to the power unit.
2 - Low. Transfers more weight than position 1, but
less than position 3.
3 - Medium. Transfers more weight than position 2,
but less than position 4.
4 - High. Transfers maximum weight allowed by the
weight transfer springs.
Selecting the different positions can only be done
when the front hitch is raised to its maximum height.
Selecting the proper amount of weight to transfer
*Applies only if attachment is equipped.