Service - 37
Typical belt wear may result in the conditions
shown in the previous fi gure. If any of these condi-
tions occur, then the belt will require replacement.
Refer to the proper replacement section for replac-
ing belts.
A
B
A
C
D
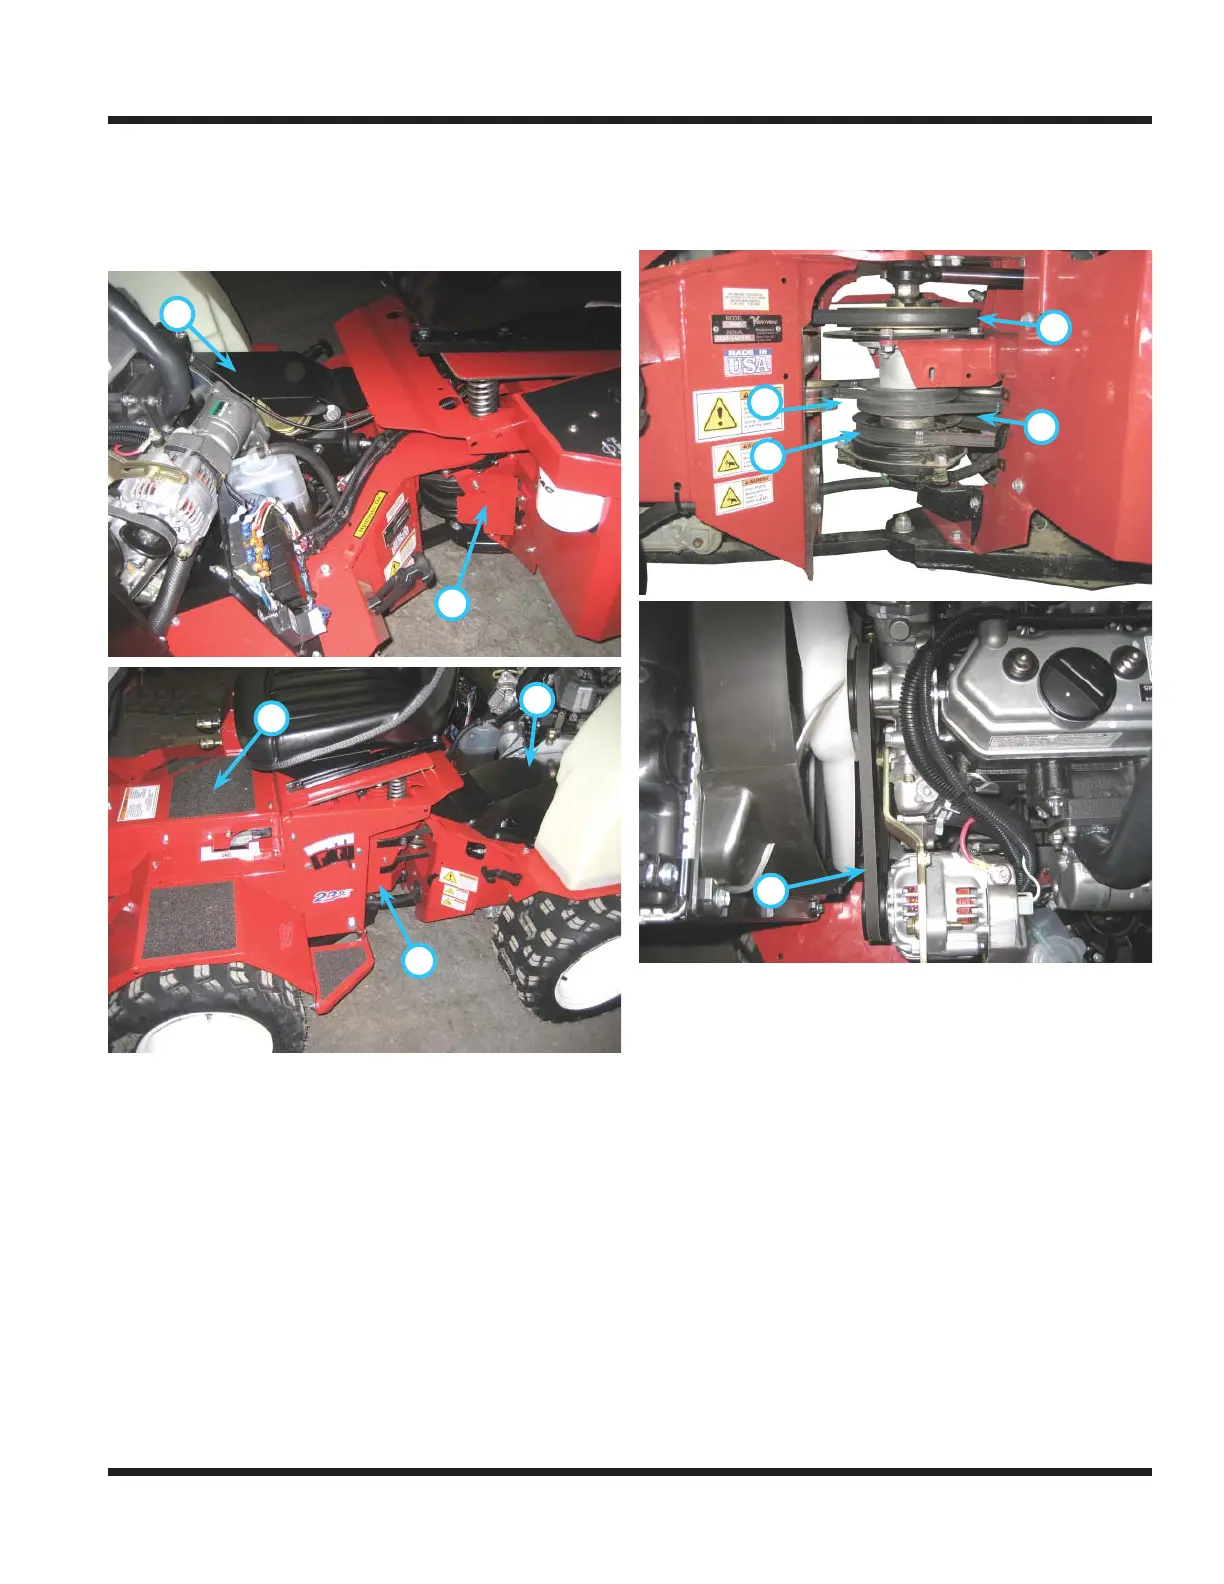
To inspect belts:
1. Park power unit on a level surface.
2. Shut off engine and engage park brake.
3. Remove ignition key from switch and allow en-
gine to cool.
4. Open engine hood and remove shields A, B, C,
and D as shown in the prior two images.
There are fi ve belts that are used on this power unit
as shown below. The Engine Drive Belt (E), the Rear
Transaxle Belt (F), the Front Transaxle Belt (G), the
PTO Drive Belt (H), and the Alternator Belt (I).
E
F
G
H
I
Engine Drive Belt Adjustment
Due to the importance of this belt being properly
adjusted, this power unit has been designed with an
indication hole to quickly view if the engine drive belt
needs adjusting. The engine drive belt should be
inspected for proper adjustment every 50 hours.
1. Park power unit on a level surface.
2. Shut off engine and engage park brake.
3. Remove ignition key from switch and allow en-
gine to cool.
4. Locate and look through the inspection hole in
the engine drive belt shield shown in following
fi gure (J).
5. The bolt end on the tensioner arm should line
up vertically with the black metal indicator in the
window (Ref. K, shown without shield for clarity).
SERVICE