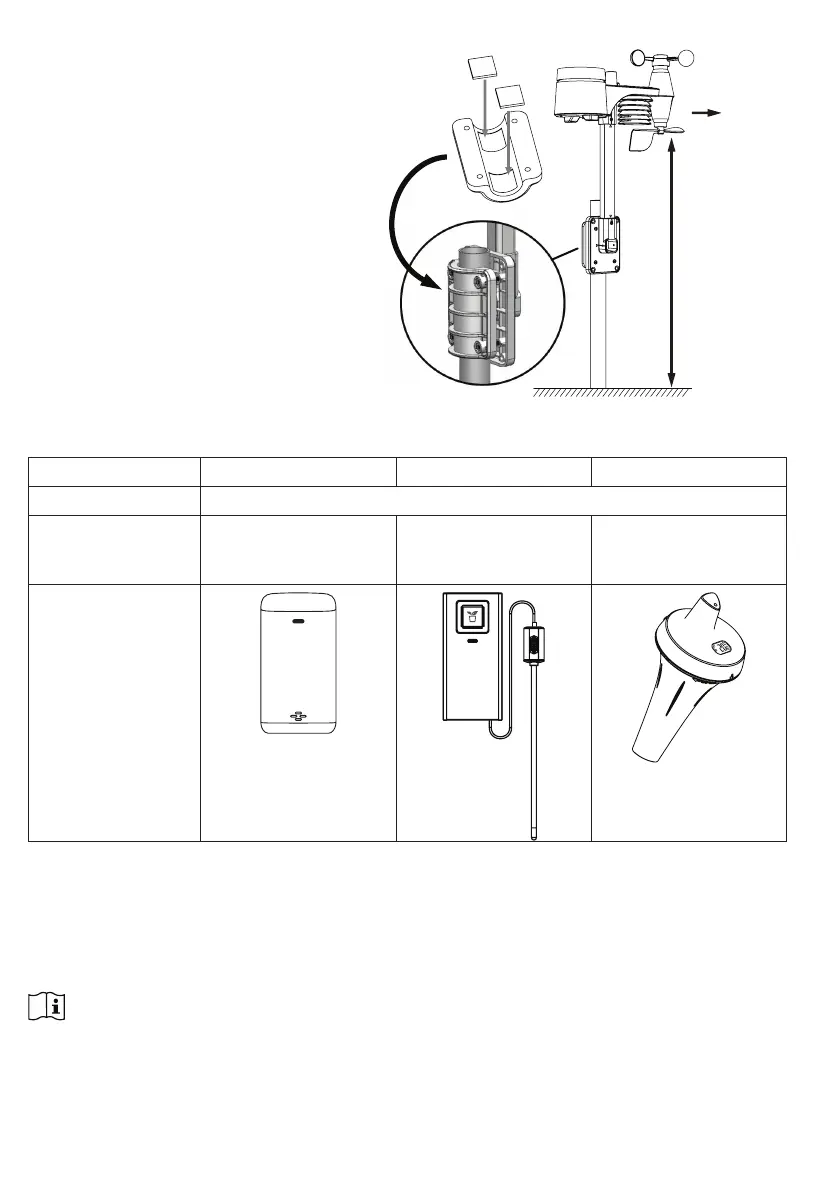
3.1.3 SENSOR ALIGNMENT
Install the wireless 7-IN-1 sensor in
an open location with no obstructions
above properly orient the wind
direction vane.
Secure the mounting stand and
clamps (included) to a post or pole,
and allow minimum 1.5m off the
ground.
1.5 meter off
the ground
Point to
NORTH
Add rubber
pads before
mount on the
pole
3.2 ADDITIONAL SENSOR (OPTIONAL)
The console can support up to 3 wireless sensors.
MODEL C3110B C3127A C3107B
NO OF CHANNEL 3
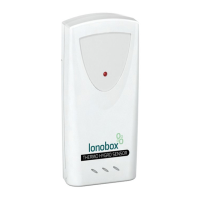
DESCRIPTION High Precision
Thermo-Hygrometer
sensor
Soil Moisture and
Temperature Sensor
Pool Sensor
IMAGE
868MHz
SOIL SENSOR
1. In the new wireless sensor, slide the Channel switch to a new CH number
2. Press the [ RESET ] key on the new sensor.
3. At the back of the console, press the [ SENSOR / WI-FI ] key enter sensor synchronization
mode
4. Wait for the new sensor(s) to pair up with the console. (About 1 minute)
5. Once the new sensor(s) are connected to the console successfully, their temperature and
humidity will be shown in "Indoor / CH" display section.
NOTE:
- Channel number of the sensor must not be duplicated among the sensors. Please refer to “INSTALL
Wireless thermo-hygro SENSOR” for details
- This console can support different type of additional wireless sensor(s), e.g. soil moisture. If you
would like to pair up additional sensors, please check with your retailer for more detail.