PaymentCloud LLC. • 800-988-2215 • support@paymentcloudinc.com
7
V.032025
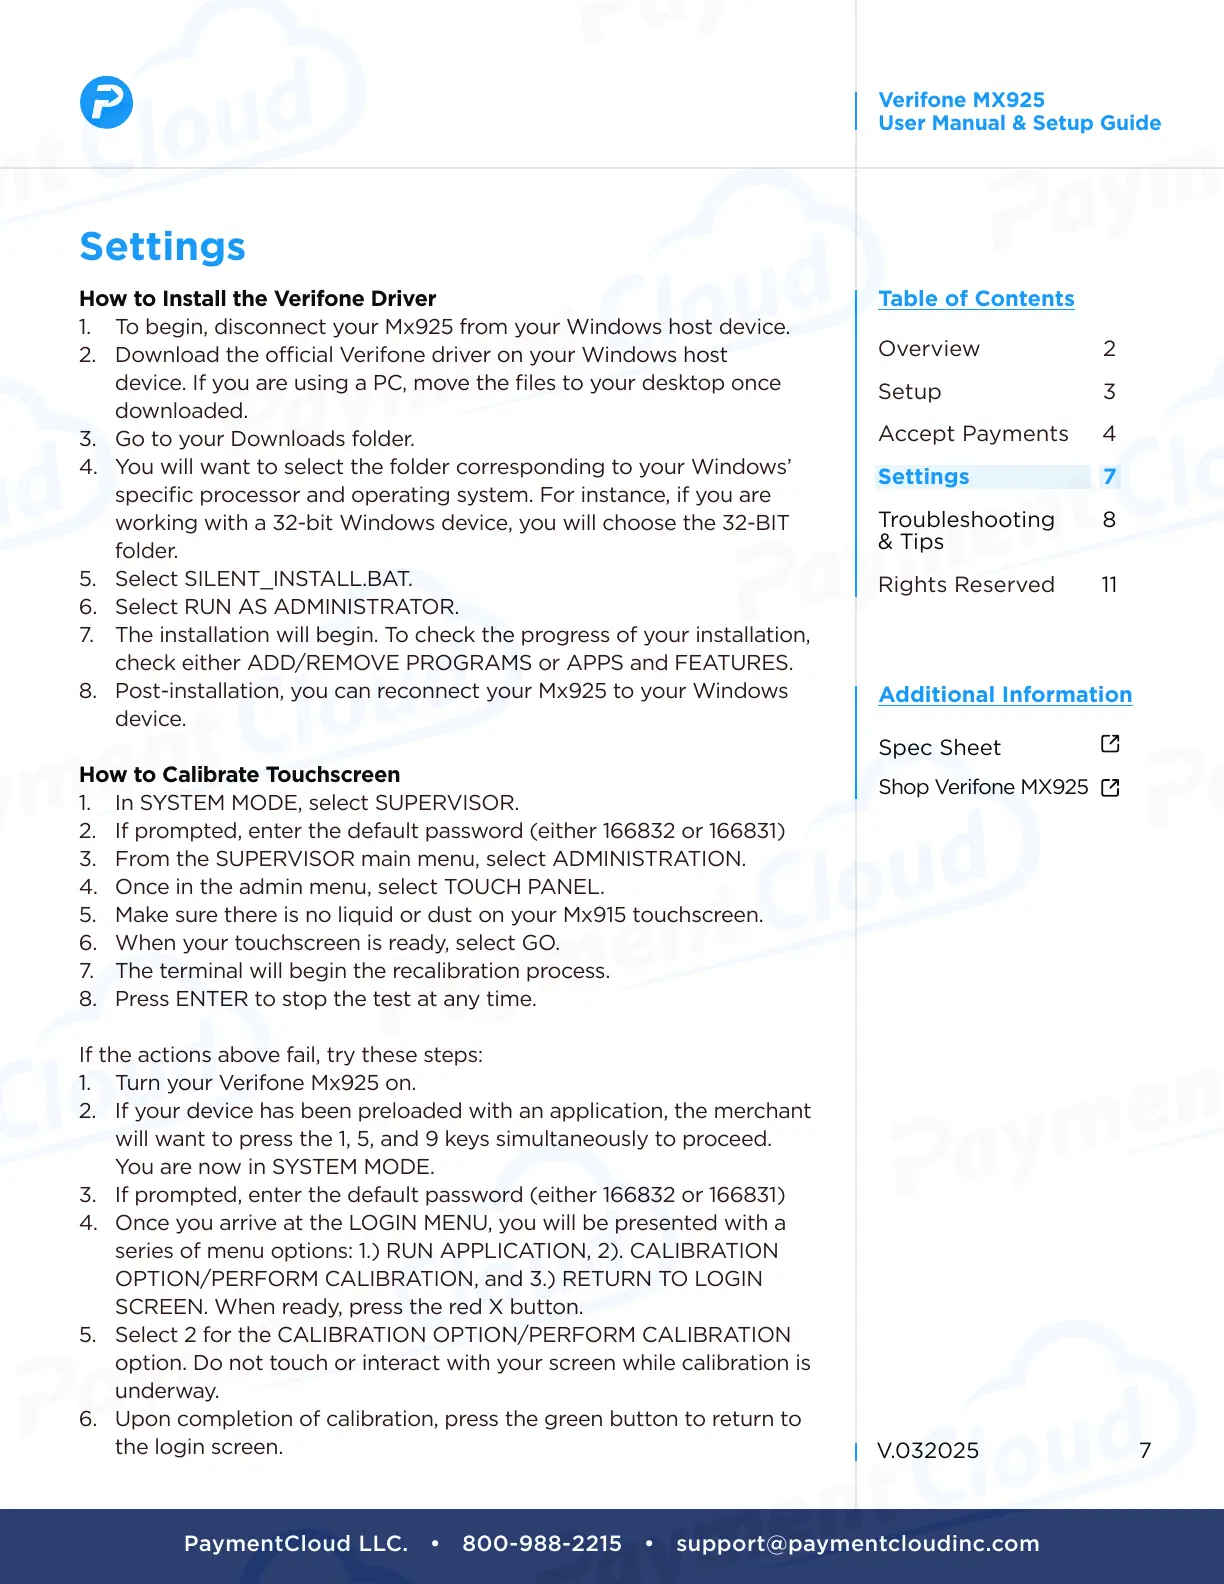
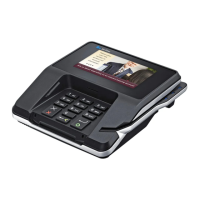
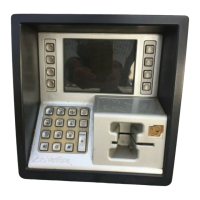
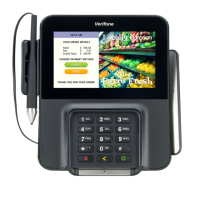
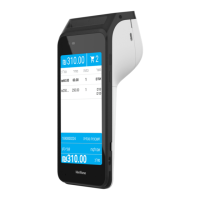
Verifone MX925
User Manual & Setup Guide
Spec Sheet
Shop Verifone MX925
Settings
How to Install the Verifone Driver
1. To begin, disconnect your Mx925 from your Windows host device.
2. Download the ofcial Verifone driver on your Windows host
device. If you are using a PC, move the les to your desktop once
downloaded.
3. Go to your Downloads folder.
4. You will want to select the folder corresponding to your Windows’
specic processor and operating system. For instance, if you are
working with a 32-bit Windows device, you will choose the 32-BIT
folder.
5. Select SILENT_INSTALL.BAT.
6. Select RUN AS ADMINISTRATOR.
7. The installation will begin. To check the progress of your installation,
check either ADD/REMOVE PROGRAMS or APPS and FEATURES.
8. Post-installation, you can reconnect your Mx925 to your Windows
device.
How to Calibrate Touchscreen
1. In SYSTEM MODE, select SUPERVISOR.
2. If prompted, enter the default password (either 166832 or 166831)
3. From the SUPERVISOR main menu, select ADMINISTRATION.
4. Once in the admin menu, select TOUCH PANEL.
5. Make sure there is no liquid or dust on your Mx915 touchscreen.
6. When your touchscreen is ready, select GO.
7. The terminal will begin the recalibration process.
8. Press ENTER to stop the test at any time.
If the actions above fail, try these steps:
1.
Turn your V
erifone Mx925 on.
2.
If your devic
e has been preloaded with an application, the merchant
will want to press the 1, 5, and 9 keys simultaneously to proceed.
You are now in SYSTEM MODE.
3.
If prompted, ent
er the default password (either 166832 or 166831)
4.
Once you arriv
e at the LOGIN MENU, you will be presented with a
series of menu options: 1.) RUN APPLICATION, 2). CALIBRATION
OPTION/PERFORM CALIBRATION, and 3.) RETURN TO LOGIN
SCREEN. When ready, press the red X button.
5.
Select 2 for the CALIBRATION OPTION/PERF
ORM CALIBRATION
option. Do not touch or interact with your screen while calibration is
underway.
6.
Upon completion of calibra
tion, press the green button to return to
the login screen.
Accept Payments
4
Setup
3
Rights Reserved
11
Settings
7
Troubleshooting
& Tips
8
Overview
2