VERSA HERO SERVICE MANUAL
9
6. Initial Assembly and Preparation
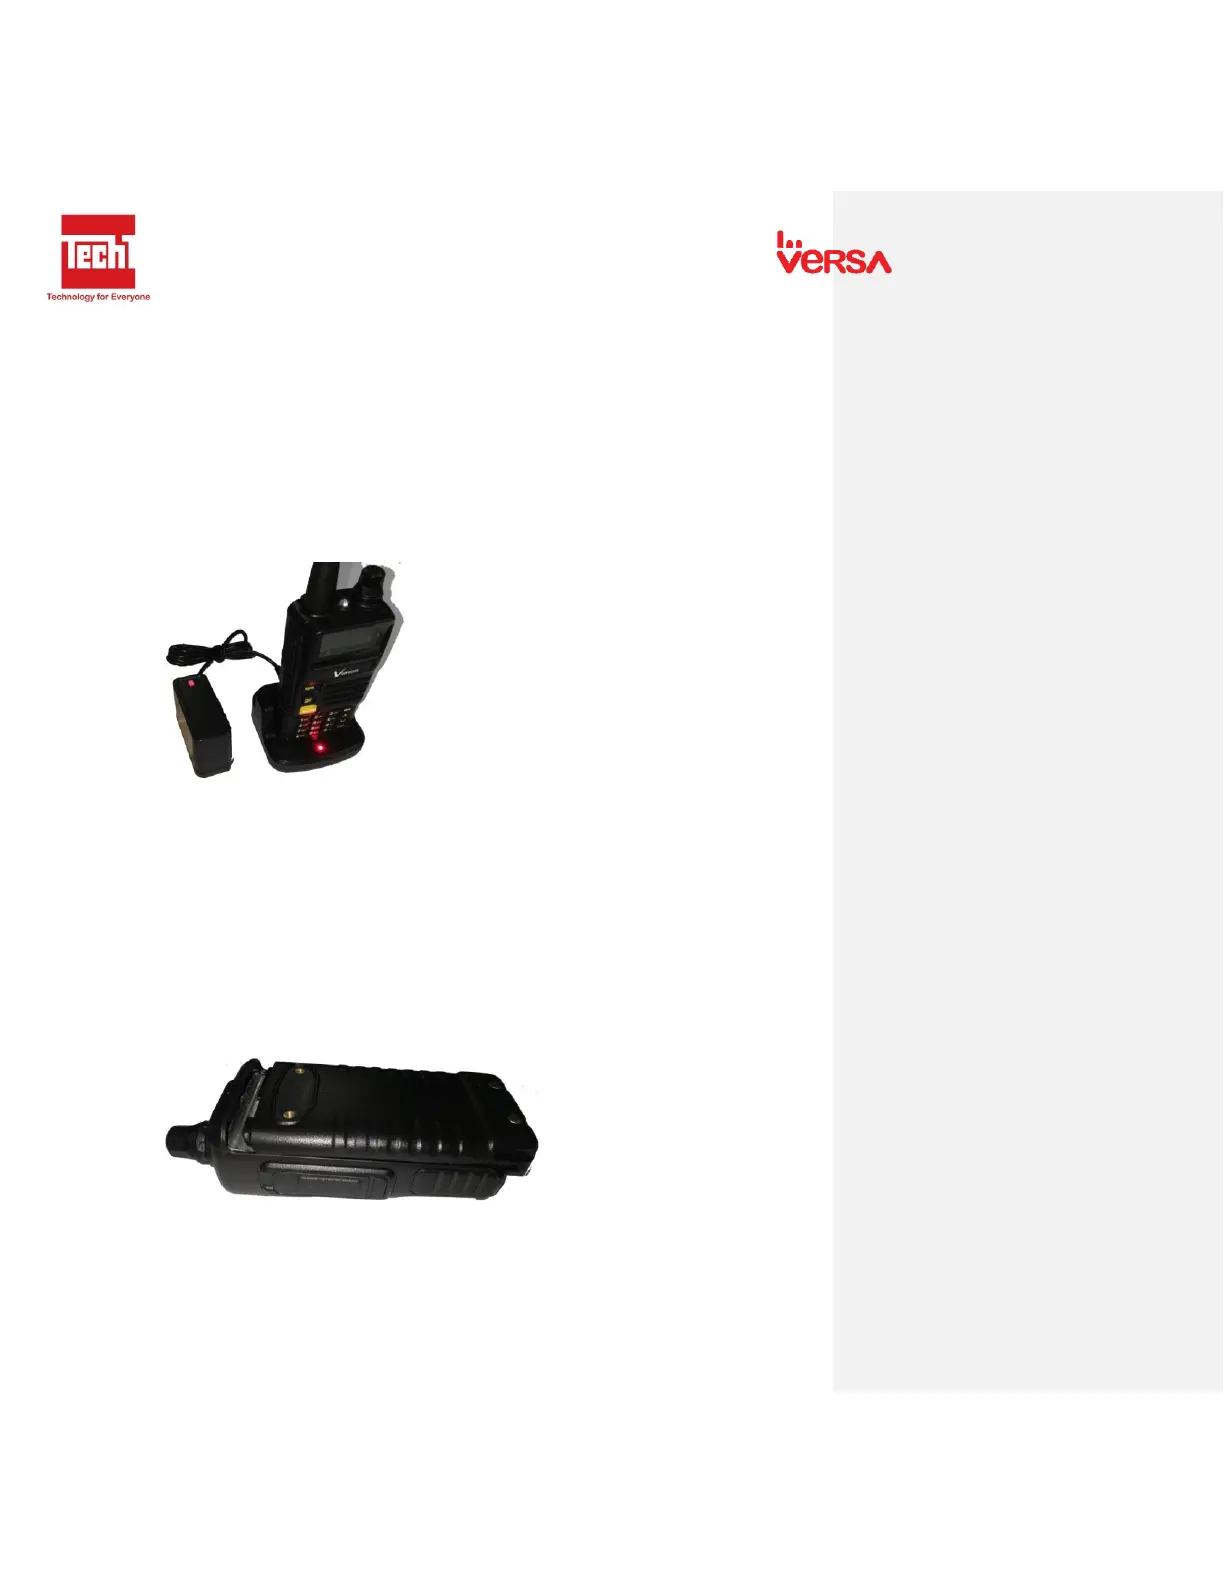
6.1 Charging
Before charging the battery, make sure that the transceiver has been turned OFF. To charge
the battery, plug in to AC outlet (110-240Vac) and insert the bottom of the transceiver (with the
battery) into the charger. Red LED light on the charger indicates that the battery is charging.
Green LED light indicates that the battery is fully charged. The battery reaches its maximum
capacity after 2 to 3 charging cycles.
Note: The battery may be charged either attached or removed from the transceiver. Never
charge the battery at temperature below -10°C (14°F) or above 35°C (95°F).
6.2 Battery Pack
To Attach: Fit the battery at the back of the transceiver and slide the battery. Click sound
indicates that the battery is locked.
To Remove: Make sure the radio is turned OFF. Press down the battery latch at the bottom of
the transceiver then pull the battery.