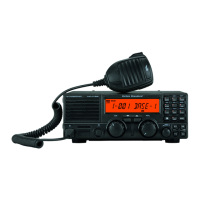
17VX-1700 Series (EXP Version) Service Manual
F
INAL SECTION IDLING CURRENT ALIGNMENT
Connect the 50 Ohm Dummy Load to the ANT
jack, and connect the DC Ammeter (Range: 25-
A) to the DC Power Cable.
Remove the Cooling Fan Cable from J5001 on the
PA-4.
Set VR5004 and VR5005 on the PA-4 Unit fully
counter-clockwise.
Tune the radio to 7.500 MHz, USB mode.
Key the transmitter (connect pin 3 of the MIC jack
to GND) with no microphone input, and write
down the current consumption.
Key the transmitter (connect pin 3 of the MIC jack
to GND) with no microphone input, then adjust
VR5004 so that the current consumption is more
than 1 A (±100 mA) from the previous step, and
adjust VR5005 so that the current consumption
is more than 2 A (±100 mA) from the previous
step.
Disconnect the DC Ammeter, and re-connect the
Cooling Fan Cable to J5001.
CM COUPLER BALANCE
Connect the 50 Ohm Dummy Load and Inline
Wattmeter to the ANT jack, and connect the CW
keyer to the KEY jack.
Connect the DC voltmeter to TP5028 (“+” lead,
“–” lead: GND) on the PA-4 Unit.
Tune the radio to 29.000 MHz, A1A mode.
Key the transmitter (close the CW key).
Now adjust TC5001 on the PA-4 Unit for mini-
mum indication on the DC voltmeter.
 Loading...