VESDA-EVEP-A00-P Product Guide
www.xtralis.com 49
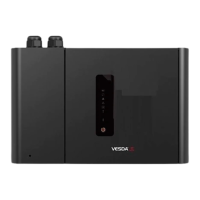
2. Enter a unique name for the Connection or accept the pre-generated name, then select Finish
(Figure5-4).
Figure5-4: Enter a Connection Name
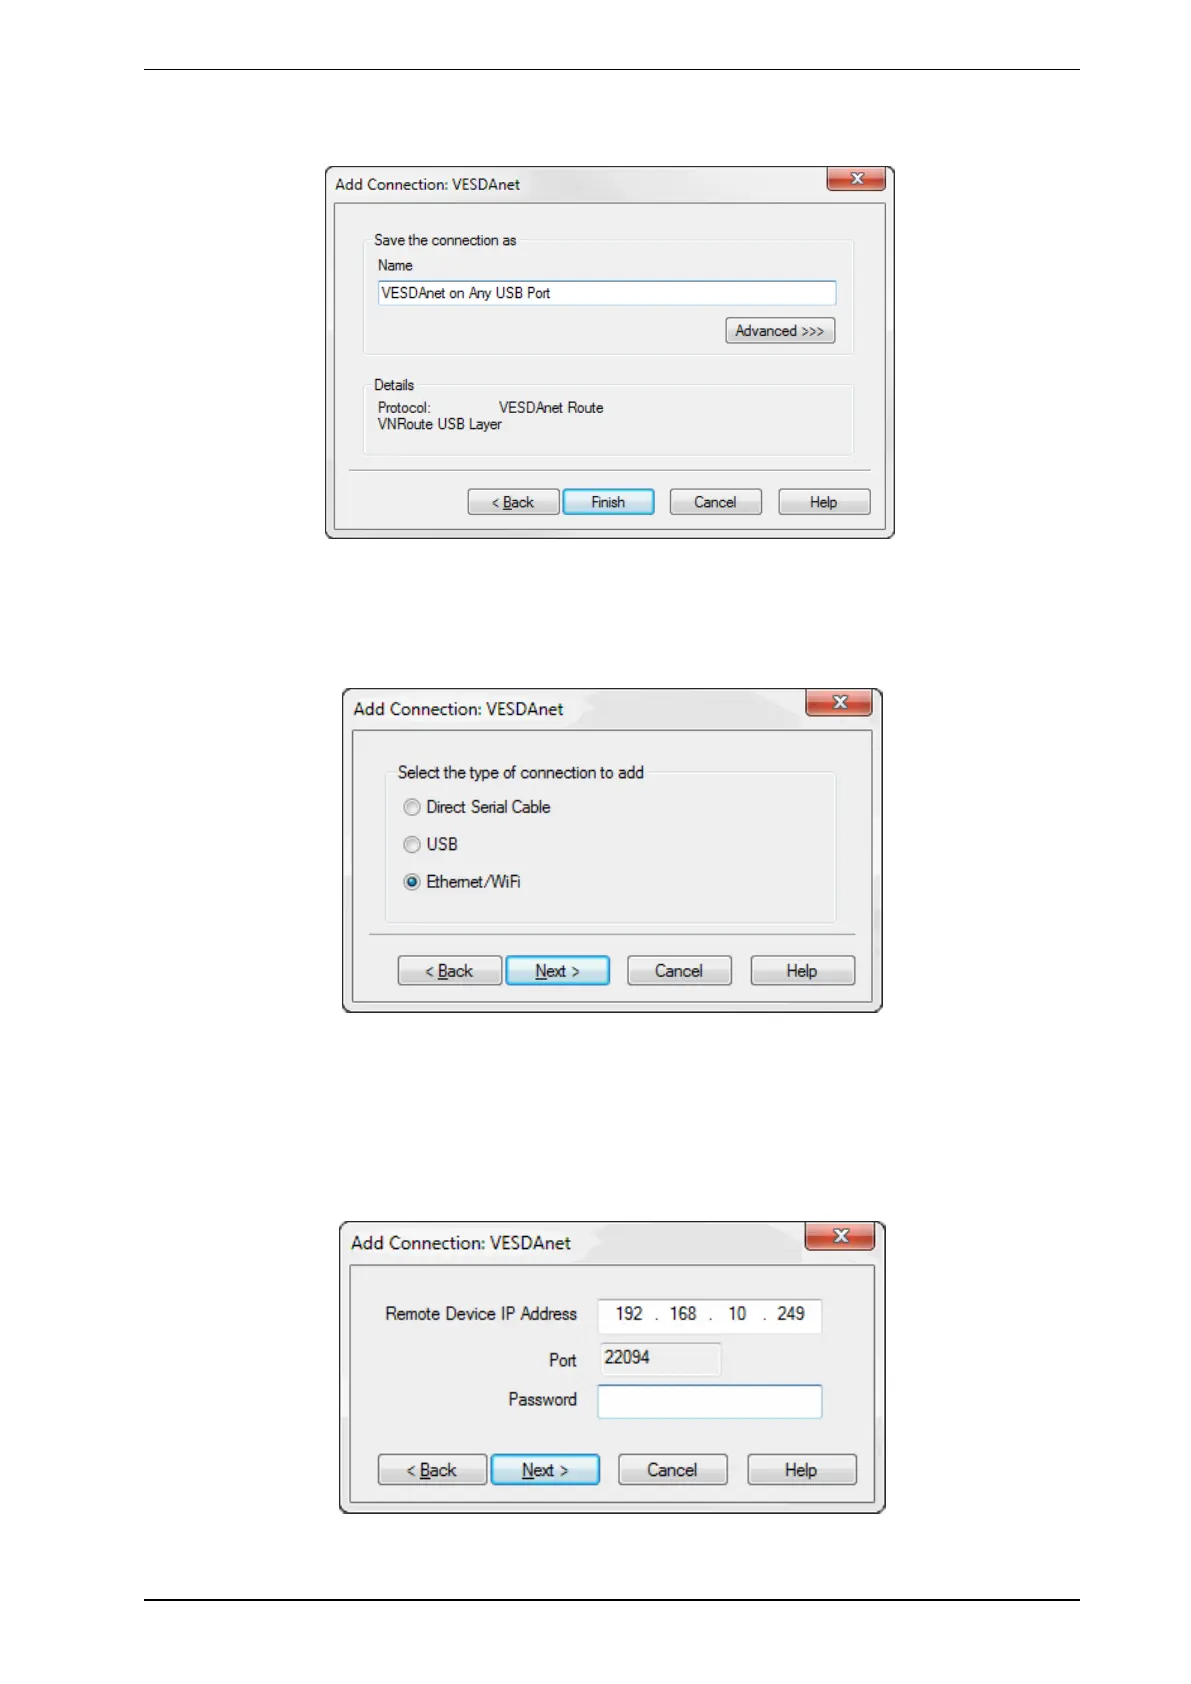
Adding an Ethernet or WiFi connection
1. Select Ethernet / WiFi, then select Next (Figure5-5).
Figure5-5: Select Ethernet
2. Enter the IPaddress of the detector. Enter the password that has been set for Ethernet and WiFi
authentication. Select Next (Figure5-6).
Note: The IP address and password of the detector is configured in the Ethernet or WiFi options
section during initial setup with a USB connection. Refer to Section 5.5.3 on page 60 or 5.5.4
on page 62 for further information.
Figure5-6: Enter IPAddress