2-3.Technic Specification (note “ * ” indicates the instrument does not have
the range)
2-3-1.DCV
2-3-1.DCV
2-3-1.DCV
2-3-1.DCV
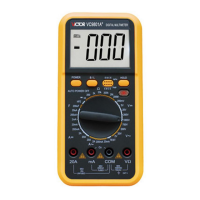
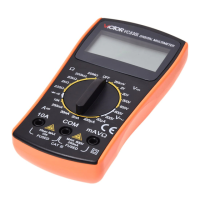
1.
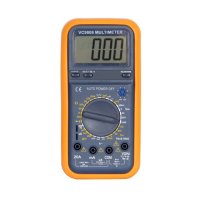
Insert
the red
and
black
test
leads
separately
to
and COM
input
mA
mA
mA
mA
V
V
V
V
terminals.
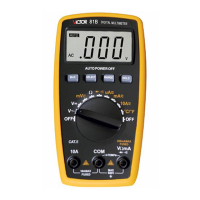
2.
Turn
the
knob
switch
to
Range,
press
“ SELECT ”
button
to
switch
to
DCV
measurement
mode.
3.
This range
is
200mV,
The reading
to
measure the voltage less than
200mV
is
much accurate and stable than the reading measured in the
Range “ ” .
4.
Turn the knob switch
to
“ ” Range.
5.
Auto range mode
is
the original states, it displays “ AUTO ” symbol, Press
“ RANGE ” button
to
switch
to
Manual range mode, can select 200mV
、
2V 、 20V 、 200V 、 600V Range.
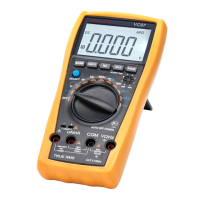
6.
Connect the test leads
to
the tested point, the voltage and polarity of
point connected by red lead will be displayed on LCD.
Note
Note
Note
Note
:
1.
At the Manual Range mode, if “ OL ”
is
displayed on LCD, it indicates the
tested voltage value has exceeded the present range limit, please select
the higher range
to
complete the measurement.
2.
Do not measure the voltage higher than
600V.
Otherwise, there
is
the
danger
to
damage the instrument.
3.
When measuring the high voltage, caution
to
avoid the body touches the
high voltage.