BEFORE INSTALLING THE RANGE HOOD, CHECK FOR PHYSICAL DAMAGES.
THIS RANGE HOODS COMES WITH A WIRE AND PLUG.
TEST THE HOOD BEFORE INSTALLATION.
If there is a grinding noise coming from the motor, DO NOT INSTALL IT, contact us as soon as possible.
Advanced Preparations:
1. Read the entire installation guide and users manual thoroughly, understand instructions and warnings.
2. Be familiar with the controls of the range hood.
3. Place the range hood on a at, stable surface. Connect the range hood to a designated standard outlet
(please refer the product label for the suitable voltage of this unit) and verify no debris has entered the
duct openings, then turn on the range hood.
4. Place all supplied parts and required hardware on a at, stable surface and verify the existence of all
supplied parts.
5. Carefully remove the white/blue plastic protective coat from the chimney covers and range hood if any.
Preparations:
NOTE: To avoid damage to your hood, preduct debris from entering the duct opening.
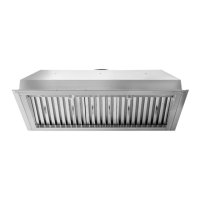
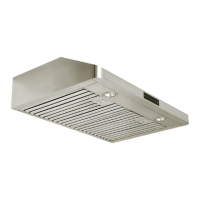
1. Disconnect power cord, remove the stainless steel bae lter and grease tunnel.
2. Set aside the stainless steel bae lters and grease tunnel until the range hood is properly installed.
IMPORTANT NOTE:
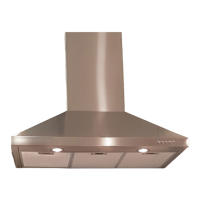
Both CLASSIC and PLANE models have similar Rough-In and Installations.
For demonstrative purposes, this manual will be using the CLASSIC model as example.
VICTORY range hoods
| CLASSIC / PLANE
12
VICTORY range hoods
CLASSIC / PLANE |
13
PREPARATION