9
Information on step 1:
After you have removed the upper insu-
lation shell, remove the transport protec-
tion cardboard.
Information on step 3:
Remove the flow and return lines to
make installation easier.
If you are installing a Solar-Divicon, type
PS20, remove the spring clip before
removing the flow and return lines.
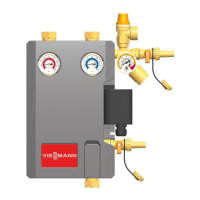
Information on step 9:
Versions:
■ Installation with copper pipes
Insert the support sleeves into the
solar circuit pipes and secure with
valve connections.
■ Installation with stainless steel
solar circuit pipe
Trim and deburr in the valley of the
corrugation; do not damage the peak
of the corrugation.
Fit the union nut, half washer (in the
5th valley) and O-rings (in the 1st and
3rd valley).
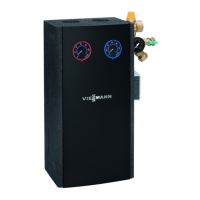
Information on the Solar-Divicon,
type PS10 with solar control unit
For maintenance and service work, the
solar control unit can be hooked into the
side of the circulation pump.
Electrical connections
■ Version with solar control unit:
The circulation pump is connected to
the solar control unit at the factory.
See the installation and service
instructions for further connections.
■ Version without solar control unit:
Route the connecting cable for the cir-
culation pump downwards through the
cable trunking and connect it to the
solar control unit.
See the installation and service
instructions for further connections.
Fitting the Solar-Divicon (cont.)
5773 841 GB