16
Installation
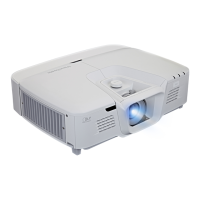
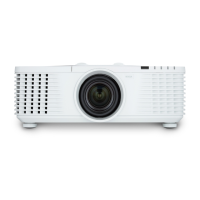
Installing the Projector Lens
Lens Installing Procedure:
1. Remove the lens ring cover by counter-clockwise rotation. 1
2. Remove the lens cap by counter-clockwise rotation.
2
3. Pull the release bar and push the lens into position.
3
4. Lens assembled by clockwise rotation.
4
5. Lens ring cover assembled by clockwise rotation.
5
Warning: Do not transport the projector with any lens installed.
1
2
3
4
5
Before installing or replacing the lens, switch off the power of the projector.
Avoid using the remote control or projector keypad button to adjust the lens shift or zoom/focus while the
lens is being attached.
 Loading...
