
J
Jesus WalkerAug 1, 2025
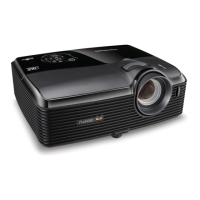
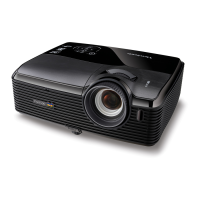
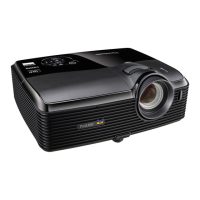
What to do if ViewSonic Pro8400 VS13647 Projector remote control fails?
- Rrachel04Aug 1, 2025
If the remote control for your ViewSonic Projector fails, try replacing the battery. If that doesn't work, consider replacing the remote control itself, the IR receiver, or the main board.