USE
R MANUAL
EN
GLISH
9
8. Check that the water valve (D2) is not indicated “0”.
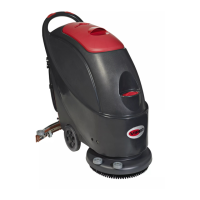
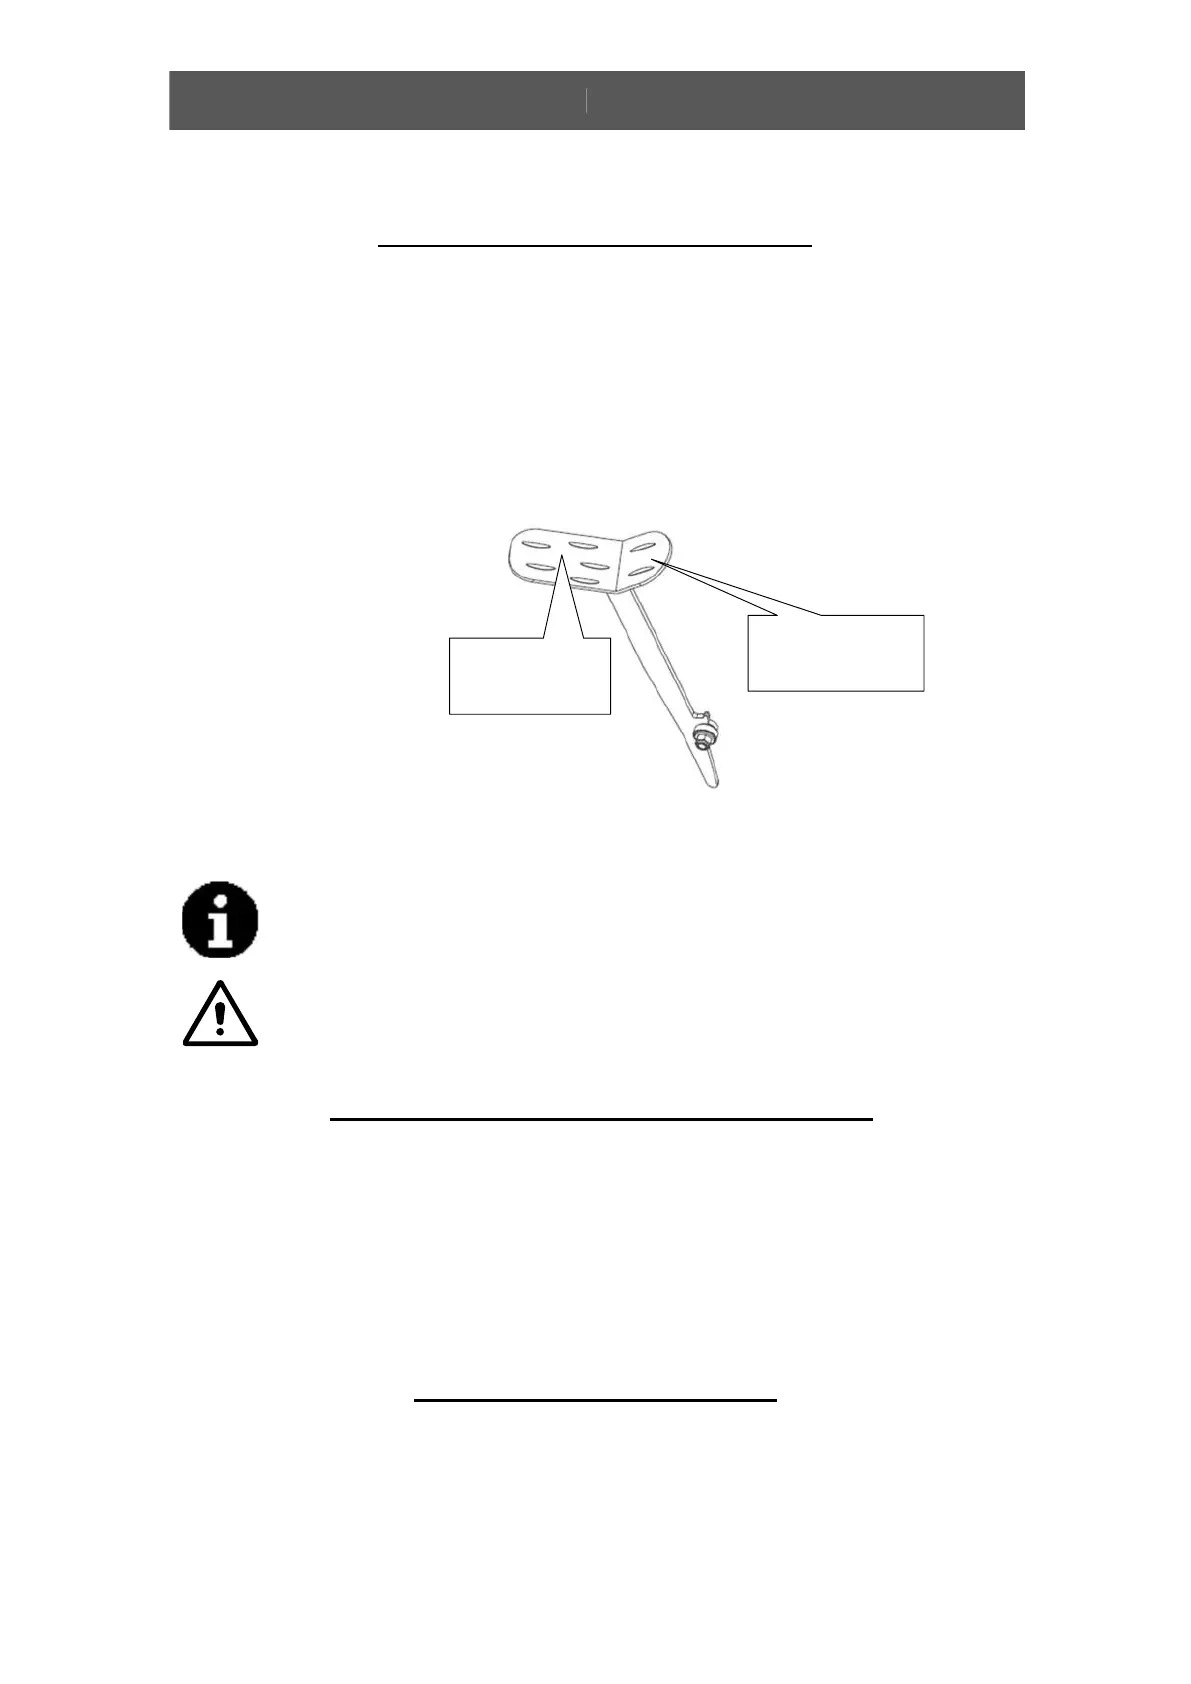
INSTALLING PAD DRIVER OR BRUSH
1. Ensure t
hat the machine is turned off (E5).
2. Raise the brush head (A7) off the floor by trampling the front of foot pedal (A10) on the left
of machine.
3. Put brushes (A8) below both driver motor hub.
4. Lower the brush head (A7) assembly by trampling the rear of foot pedal (A10). And sitting on
the
machine to start brush switch (E3). Lightly depress driver pedal (C6), then brus
hes
autom
atic installed. If installation cannot be performed successfully in one shot, turn off br
ush
sw
itch (E3) and reset the suit position to install brushes.
5. Adjusting the nut (A6) to properly place for work.
Never work without the brusher/pad perfectly installed.
When cleaning or replacing the brushes, you should raise the brush head and rotate the
reverse direction to “working” direction quickly. The two brushes are reverse in
direction.
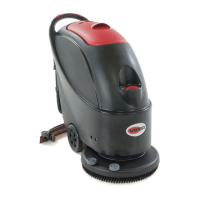
INSTALLING AND ADJUSTING THE SQUEEGEE
1. Ensure t
hat the machine is turned off (E5).
2. Turn the squeegee lift lever (C5) to put down the squeegee bracket (A5) on floor.
3. Loosen the two knobs (B2) on the squeegee and slide the squeegee into the slots in the back
of
the
squeegee bracket.
4. Tighten the knobs(B2) securely
.
5. Secure t
he vacuum hose (B3) on the pick-up tube of the squeegee.
6. Adjusting the nut (B1) to properly place for suction.
FILLING THE SOLUTION TANK
1. It can be filled in water use a hose under the seat (C4).
2. Do not overfill the solution tank. Leave at least two inch from the opening of tank.
3. Water temperature should not exceed 40°C.
Depress the front,
Brushes up
Depress the rear,
Brushes down
 Loading...