12 D-303169 KP-160 PG2 Installation Instructions
to be reviewed and cleared.
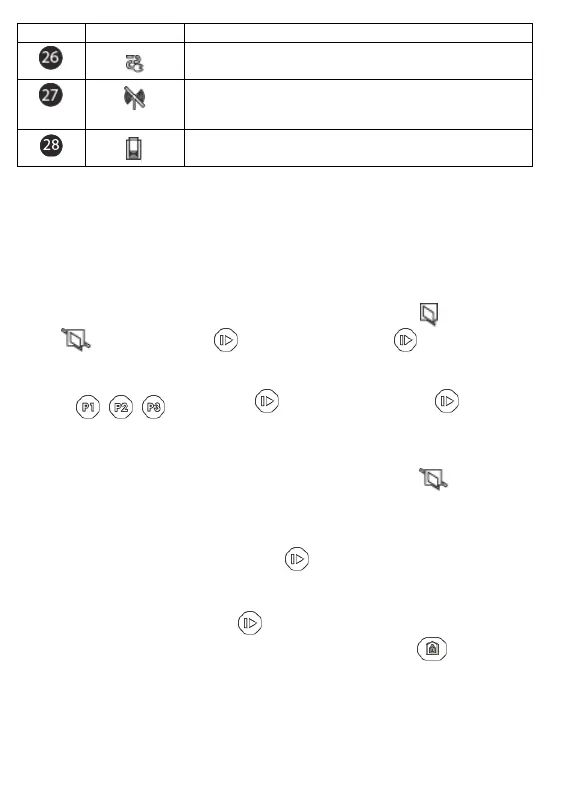
AC failure.
Communication failure: KP-160 PG2 is out of range of the
control panel or did not get an acknowledge signal of a
command from the control panel.
Indicates that the KP-160 PG2 device's battery is low and
must be replaced (refer to section 2.1).
[1] The key indication is displayed after the first red LED blinks indicating the status request.
[2] Operates only during Exit Delay.
[3] See respective sections in the control panel's User and Installer's Guides.
[4] If there is more than one status indication at a single time, the keys are displayed
simultaneously.
Zone Status Indications
To view the zone numbers of enrolled detectors that are in NOT READY ( ) or BYPASSED
state ( ), repeatedly press the key. Upon each press of the key, the next zone
number appears on the Zone # display (marked "4" in the "Icon and Key Indications" Figure).
To view the zone numbers that are assigned to a Partition, press the desired Partition
number ( / / ) followed by the key. Upon each press of the key, the
next zone number assigned to the pressed Partition number appears on the Zone # display.
Notes:
A zone which is BYPASSED and NOT READY is shown as BYPASSED ( ).
When "00" appears on the Zone # display, this indicates a NOT READY state in the alarm
system that is not related to any detector, for example, "tamper open" in a keypad or control
panel.
If all zones are READY and "not bypassed", the button is disabled.
3.4 Bypassing Zones
A zone can by bypassed by pressing the key until the zone number is shown on the zone #
display (marked "4" in the "Icon and Key Indications" Figure) followed by the key.
Note: Zone bypassing on the KP-160 PG2 unit can be operated only if Bypass was enabled
via the control panel (see PowerMaster Installer Guide, section 3.5.2 "Configuring
Arming/Disarming and Exit/Entry Procedures").