terminals. Using an insulated adjustment tool adjust RV4 clockwise to increase reading or counter-clockwise to
reduce reading. Reading should be set 15 to 20 counts high at 1 ohm in order to stay within tolerance (+/-0.045) at 5
ohms.
3. Connect a known 5 ohm resistor to the 944i. Verify that the reading is within +/- 45 counts. If necessary adjust
RV4 to bring reading within tolerance (typically 30 counts low). If any adjustment is required then go back to step
2 and repeat until both points are within tolerance.
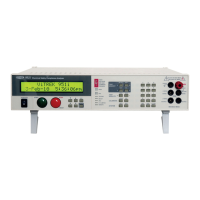
Vitrek 944i EPROM Upgrade Procedure
Caution! Use ESD workstation to prevent damage to components.
Warning! Dangerous voltages exist in this unit, even with AC power removed. Refer service to qualified
personnel.
1. Disconnect AC power input. Remove the two rear plastic end caps and the top cover.
2. Remove two existing EPROMS (U101 & U102) from the main bd.
3. Install the two new EPROM’s correctly in their proper sockets. Pin 1 of the EPROM should be closest to the front of
the unit.
4. Install PL102 header on the main board in the setup position (PL102 is located just to the rear and left of u101).
5. Power up unit. The unit should beep three times and the display should respond with:
V I T R E K 944I
DIGITAL HIPOT TESTER
FIRST TIME POWER UP
RAM CLEARED
VERSION
3.XX
SELF TEST
CHECKING ROM
DAY MONTH YEAR
HOUR MINUTE SECOND
6. Install PL102 header on the main board in the norm position. Failure to do so will result in RAM initialization on
reset or power-up causing loss of stored data.
7. The unit will now require an external calibration.