- SETTINGS: Tap to enter the selected camera’s settings.
- SHARE DEVICE: Tap to enter the Share screen and follow the prompts to share your
camera with another person. Note that this option is not available for a camera that is
being shared.
- CANCEL: Tap to exit the menu options.
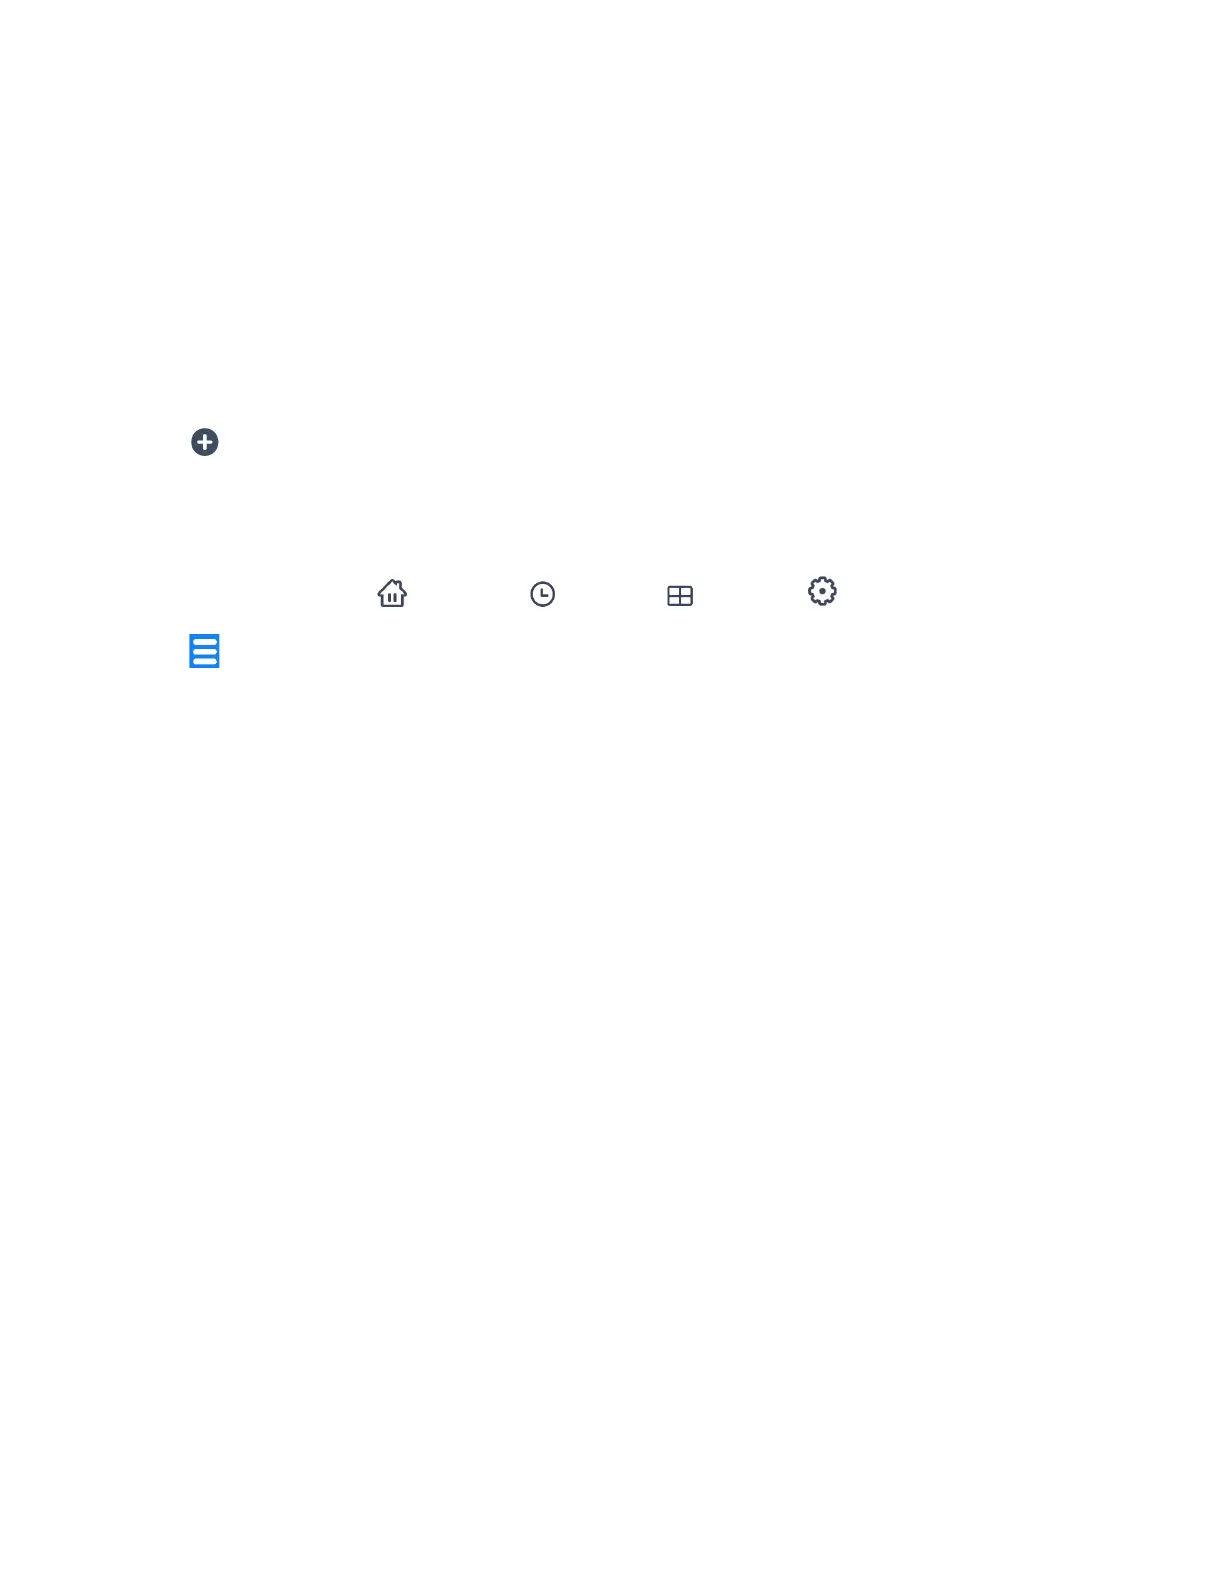
5. ‘IP Cameras’ screen - Navigation Options:
• Back: Tap the Back button to return to the Devices. Screen.
• Add Device: Tap Add Device to open the ‘Add new device’ screen and add a new
IP Camera from the list that appears.
• Navigation Bar: Tap one of the following options on the Navigation bar to enter the
selected screen: Devices, Events, Rooms, Settings.
• Main Menu: Tap the Main Menu button to open the main menu options.
6. Tap a Thumbnail to enter the Live IP Camera view for the selected camera.
NOTE: Please make sure the camera is connected. The ON symbol appears on the
Thumbnail when it is connected.