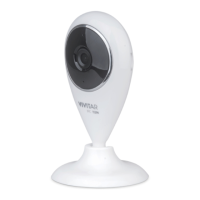
SHARING IP CAMERAS
You can share your IP Camera with another user. Your shared device can be used for viewing
your IP camera’s live stream.
SHARE YOUR DEVICE
1. To share your IP Camera with someone, please follow the steps below:
tap the following: Menu > Accounts > IP Cameras > Share devices
2. The ‘Share devices’ screen appears.
Tap on a device name to select it and to set up the sharing with another user.
NOTE:
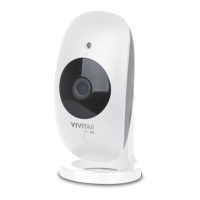
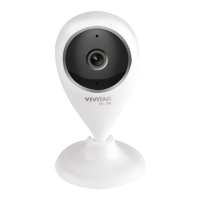
Connected IP Cameras appear in the camera list with a red IP Camera icon.
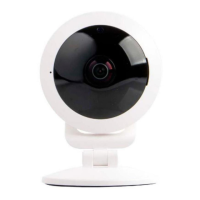
Those IP cameras that are not connected appear with a black IP Camera icon.
3. After the IP Camera is selected, the ‘Share’ window opens.
Enter the other user’s account name (registered email) and tap Share.
Alternatively: Go to the other user’s app, tap Menu > Accounts> IP Cameras and scan their
bar code. This automatically identifies the user’s name (email). Then tap Share.
4. The other user will get a Device sharing message in Menu > Accounts > IP Cameras >
Messages.
- The other user will need to view this message in order to accept or decline the device
sharing. The other user must tap Accept to see your shared IP Camera in
the Devices screen and in the Live IP Camera view.
- After accepting the device sharing, a new message is displayed in the user’s messages that
shows you have shared a device with him/her and that the status is ‘Accepted’.
You also receive a message that your device is being shared.
- The new shared device will appear on the user’s ‘Devices’ screen.
5. In your ‘Share’ screen, the other user’s name (email) appears in the ‘SHARED TO’ list.
6. In the ‘IP Cameras’ screen the shared camera’s video thumbnail is shown with the SHARED
icon indicator .