VIVOTEK
User's Manual - 7
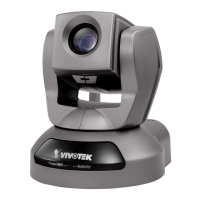
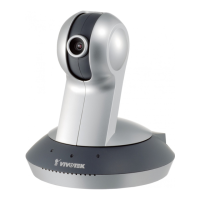
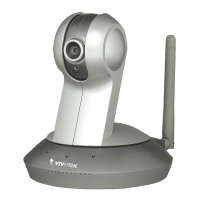
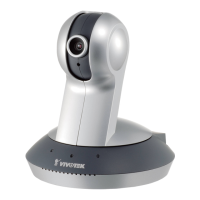
Installation
Hardware Installation
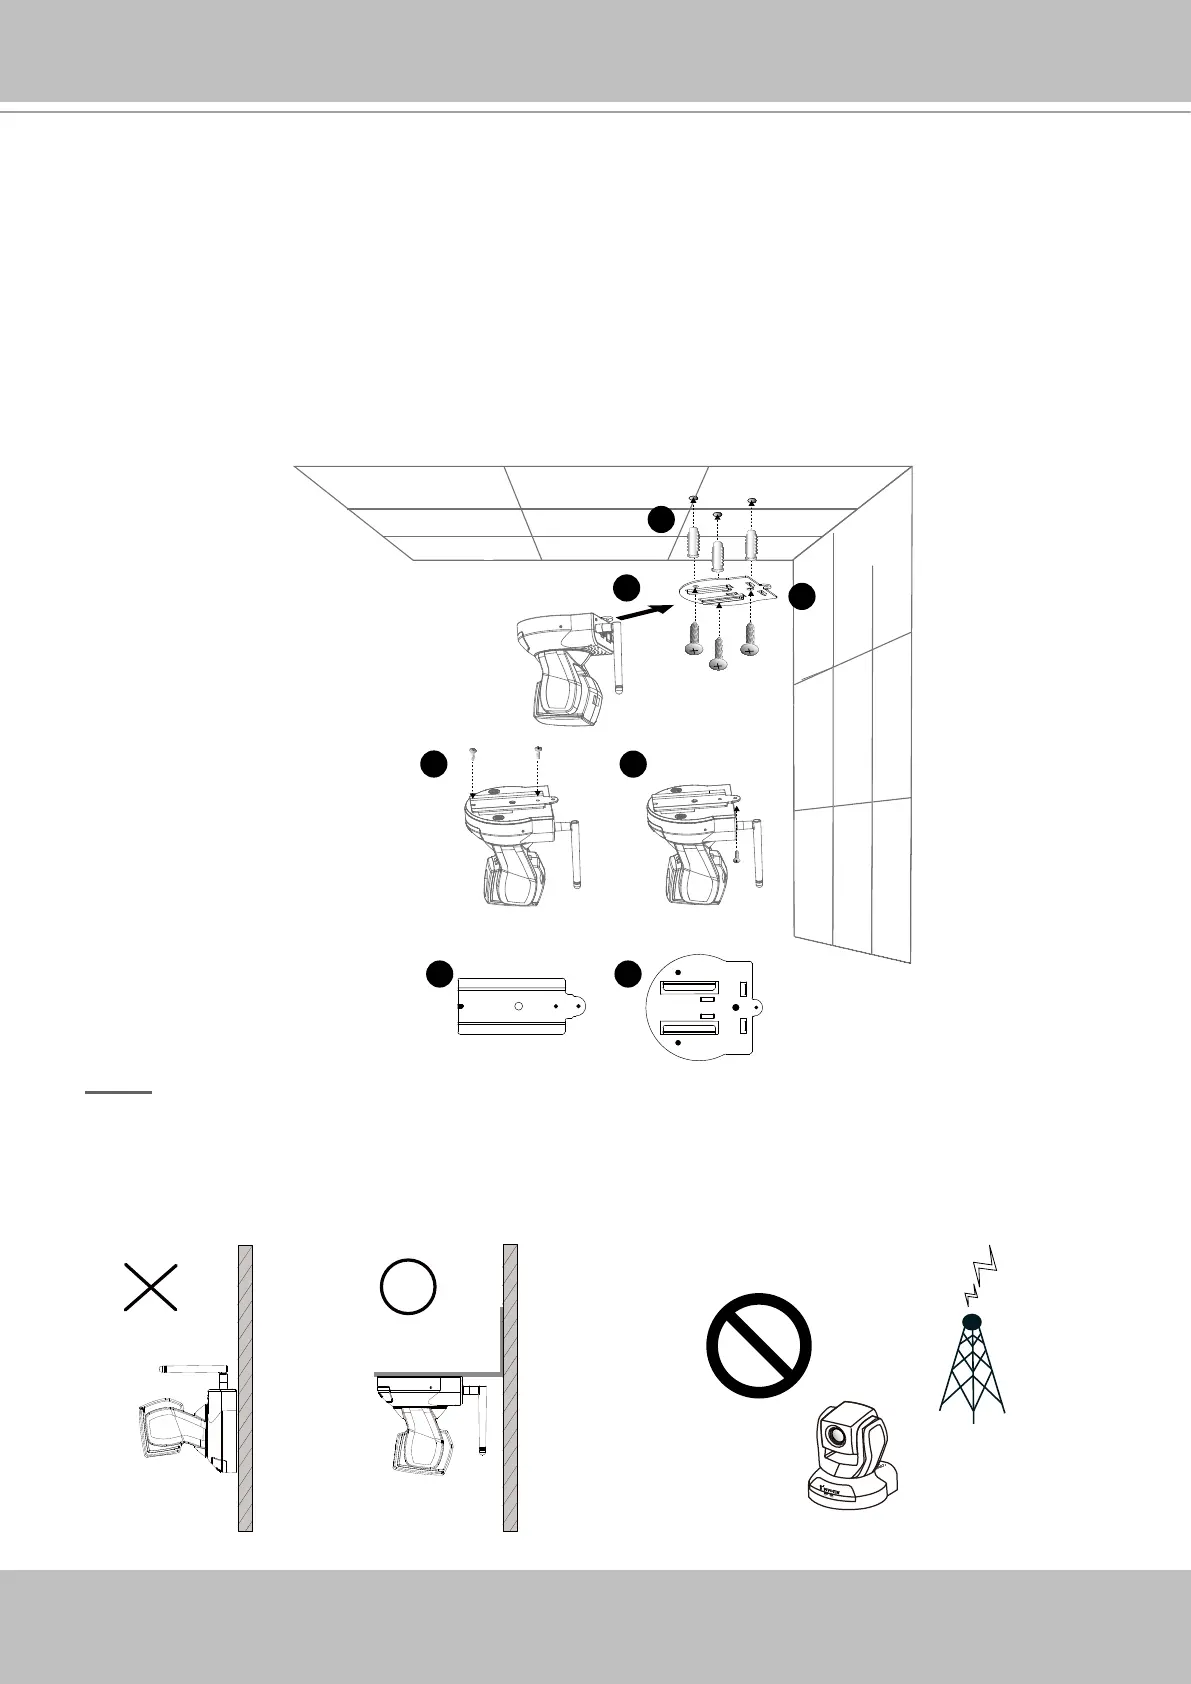
Follow the steps below to install the Network Camera to the ceiling:
1� Attach ceiling mount bracket A to the Network Camera and secure it with two small screws�
2� Drill three pilot holes into the ceiling; hammer the plastic anchors into the holes�
3� Fasten ceiling mount bracket B to the ceiling with three screws�
4� Slide the Network Camera into ceiling mount bracket B�
5� Secure the ceiling mount bracket A and B with a small screw�
NOTE
► If you want to intall the Network Camera on
the wall, please use the wall mount bracket
(optional, not included in the package)�
► Keep away from interference source to
make sure performance integrate, and
avoid snow or moiré patterning�