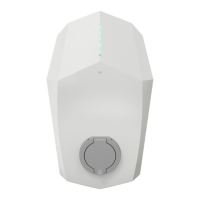
Volt Time Source 2 Installation Guide - alternative entry
Mounting the Source 2
Before mounting the Source 2, unscrew the 9 screws at the
back of the product and take off the cover.
CAUTION: For a socket variant, the cover can not be stored
separately as wires will still be connected to the internals.
Proceed with caution.
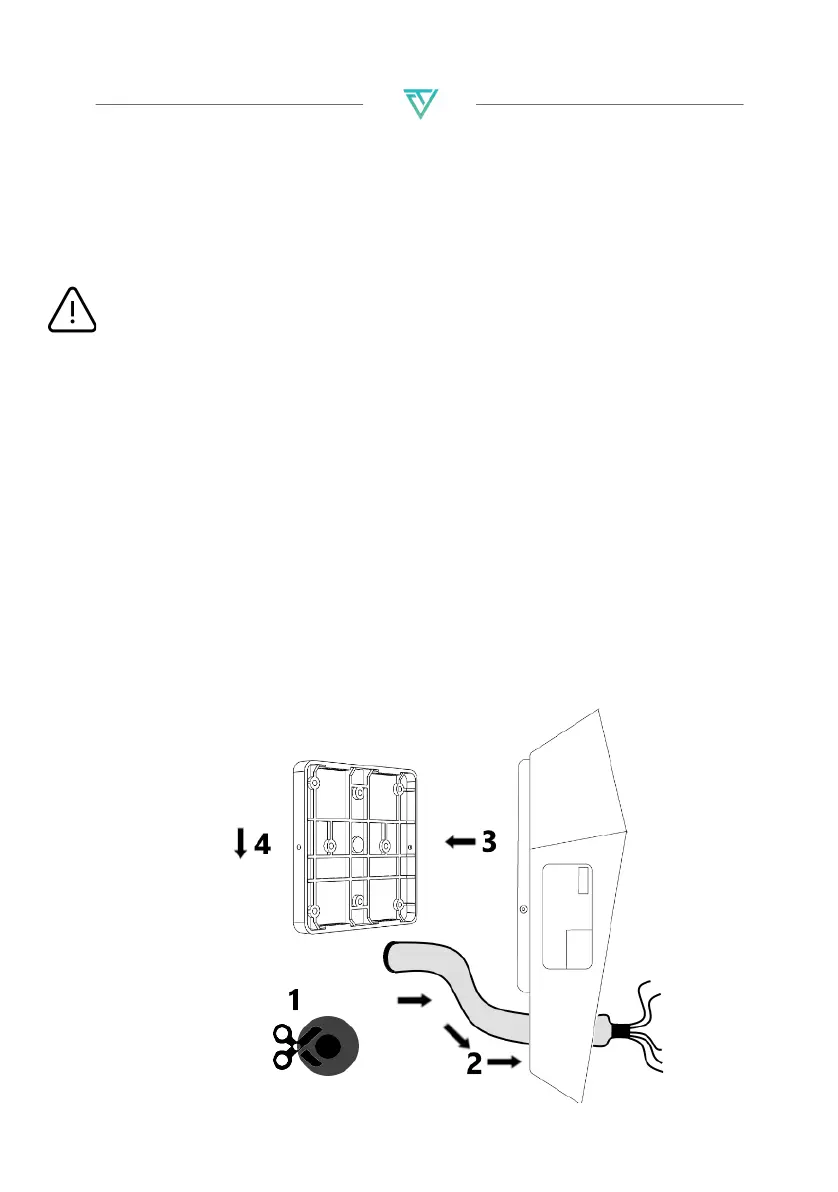
1. Cut the tip from the throughput on the back of the product as
well as 4 extra cuts 90 degrees from each othe.
2. Gently push the AC Mains cable through the throughput.
- (Optionally) Push one (or two) CAT5(e) ethernet cable(s)
through the throughput for an internet connection and/or
Load Management installation. Source 2 without Business
Upgrade requires at least one ethernet cable for an
internet connection.
3. Place the product over the mounting plate so that the
mounting hooks fit into the 4 slits of the plate.
4. Slide the product downwards until it snaps in place. Do not
lock the product onto the mounting plate yet with the locking
bolt.