WWW.VORONDESIGN.COM
CAD version: ERCF V2
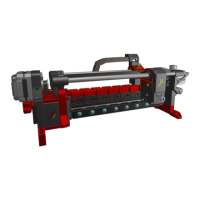
9797
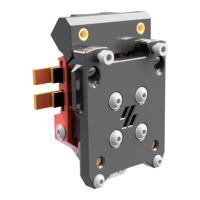
SELECTOR : ENCODER
ASSEMBLY
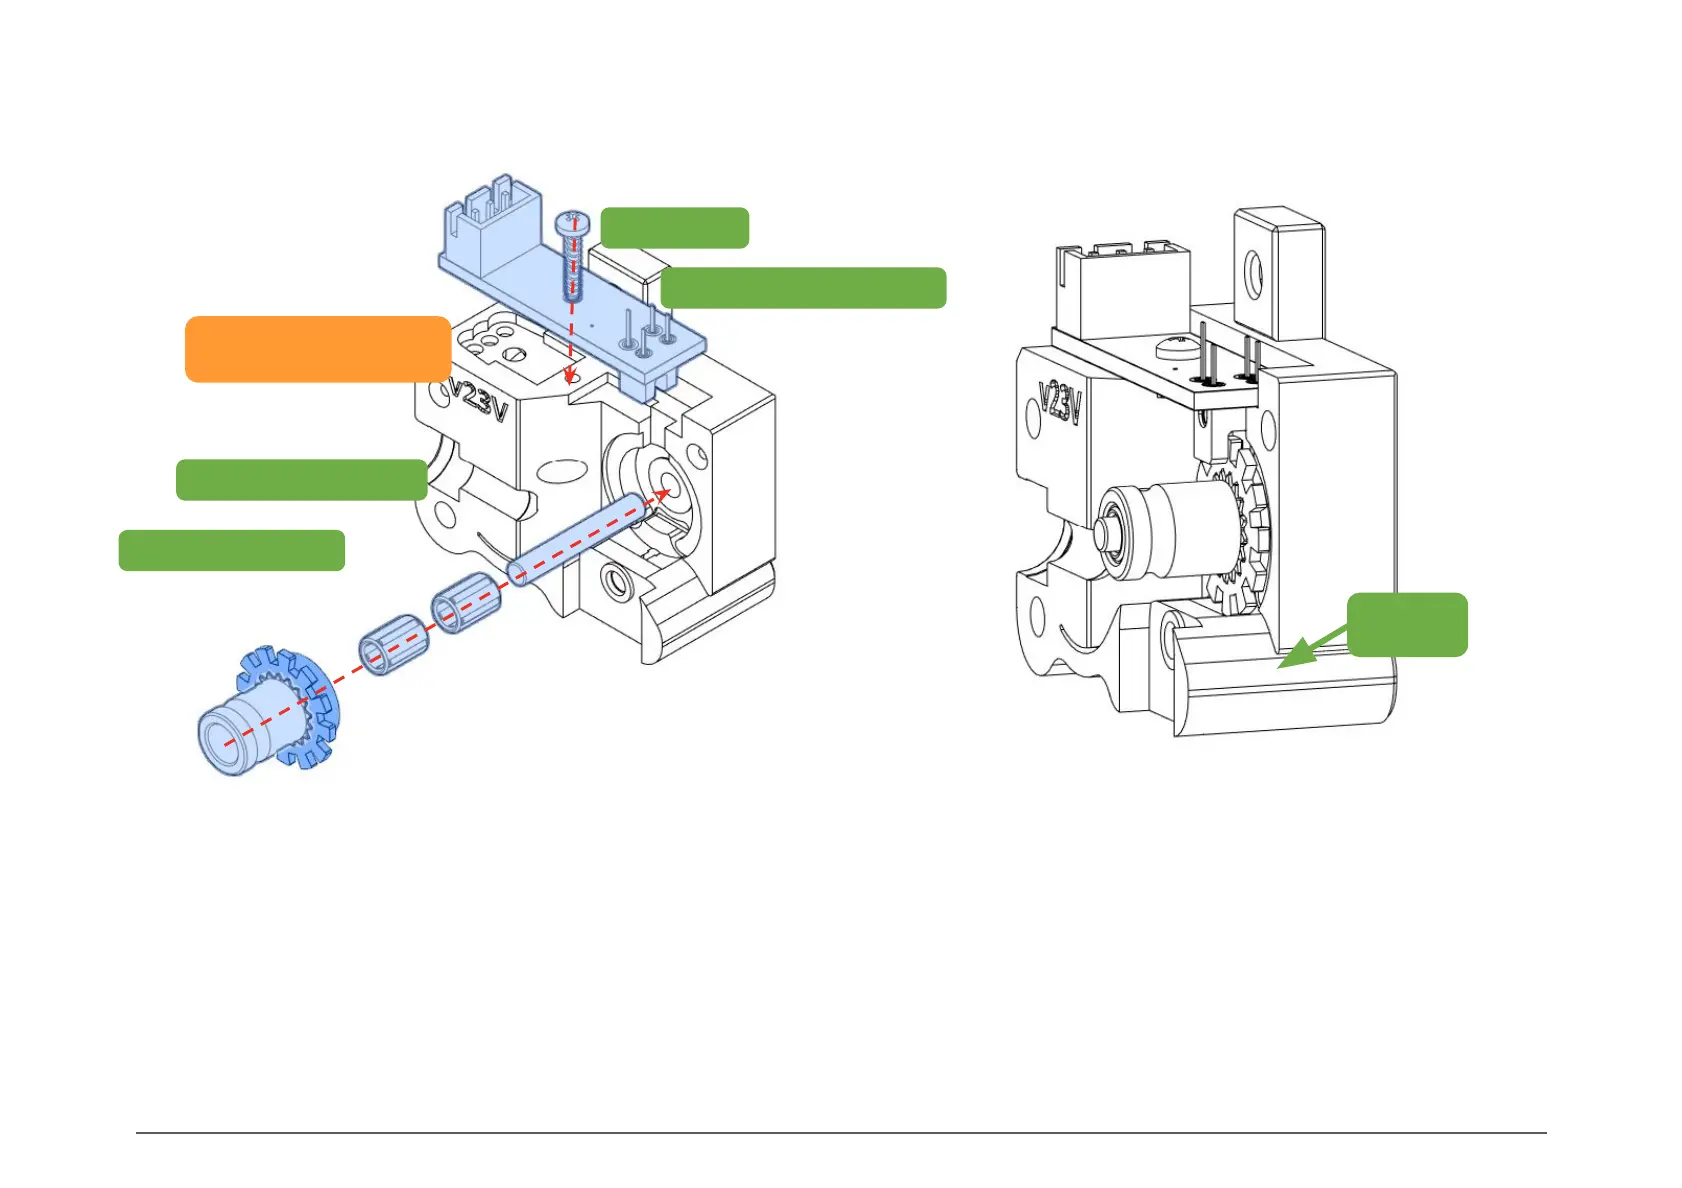
Start by fitting the metal rod into Encoder_Right. Next, slide on
the needle bearings and the Bondtech idler gear. Add a small
dab of grease (EP1/EP2 or Superlube) on the bearings for
lubrication. Slide the gear / slotted wheel assembly into place.
The slotted wheel should sit almost flush with the housing but
make sure it doesn't rub on the printed part.
Insert and secure the Binky PCB with an M2x8 or 10mm screw.
The sensor should fit snugly in the cutout provided.
CHECK POINT
With the first half assembled, gently pull down and hold
the Tension Spring to release the brake that prevents the
encoder wheel from free spinning when filament is
ejected.
The wheel should rotate easily and not rub on the
Encoder housing or Binky optical sensor.
Tension
Spring
ENCODER ASSEMBLY
Encoder_Left
M2x8 Self-Tapping Screw
Binky PCB
BMG Needle Bearings
BMG 3x20mm Rod