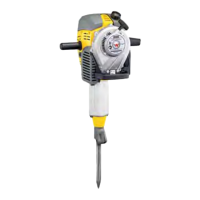
What to do if my Wacker Neuson Power Hammer is not in operation?
D
Dawn WongJul 31, 2025
If your Wacker Neuson Power Hammer isn't working, there are several potential causes. First, the input voltage might be too high (over 300 V or 150 V) or too low (below 80 V or 45 V). Ensure you are providing the correct voltage, and if needed, use an extension cable with an adequate cross-section. Another possibility is that the inverter has shut off because it's too hot; in this case, let the machine cool off. Finally, the power cable could be interrupted. Check the cable and replace it if it's defective.
K
Kristopher SmithAug 14, 2025
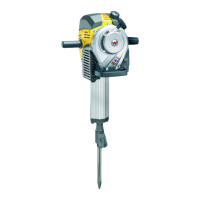
Why is my Wacker Neuson EH 9 BL Power Hammer percussion system blocked?
W
welchnancyAug 14, 2025
A blocked percussion system in your Wacker Neuson Power Hammer can be caused by high grease resistance due to very low temperatures. To resolve this, allow the machine to warm up in a warm environment, such as a heated room. Alternatively, the moving parts may be seizing, possibly due to prolonged dry running. If this is the case, have the defective components replaced.