20
GB
SETTING THE SPRAY GUN /STARTING OPERATION/
Mordants, glazes, im-
pregnations, oils
undiluted FineSpray spray
attachment
(brown) recom-
mended
Clear varnishes, syn-
thetic enamels, col-
oured paints, alkyd
resin varnishes
observe manufac-
turer’s instructions
Primers, radiator
paints, hammer ef-
fect enamels
observe manufac-
turer’s instructions
Anti-rust paints, spe-
cial-eect paints
observe manufac-
turer’s instructions
Multicolor paints,
textured paints
observe manufac-
turer’s instructions
WallSpray spray
attachment
(white) recom-
mended
7 SETTING THE SPRAY GUN
7.1 SETTING THE REQUIRED SPRAY PATTERN
Attention:
Never pull trigger while adjusting the air
cap settings.
The alignment of the spray jet can be determined by turning
the black adjusting ring (Fig. 3, 1).
A horizontal at jet
for vertical surfaces
B vertical at jet
for horizontal surfaces
It is also possible to switch between a wide ( ) and a compact
( ) spray jet with the adjusting lever (Fig. 4, 1).
7.2 SETTING THE AMOUNT OF MATERIAL FIG. 5)
The material volume can be adjusted incrementally from 1
(minimum) to 12 (maximum) by turning the material volume
control (Fig. 5, 1).
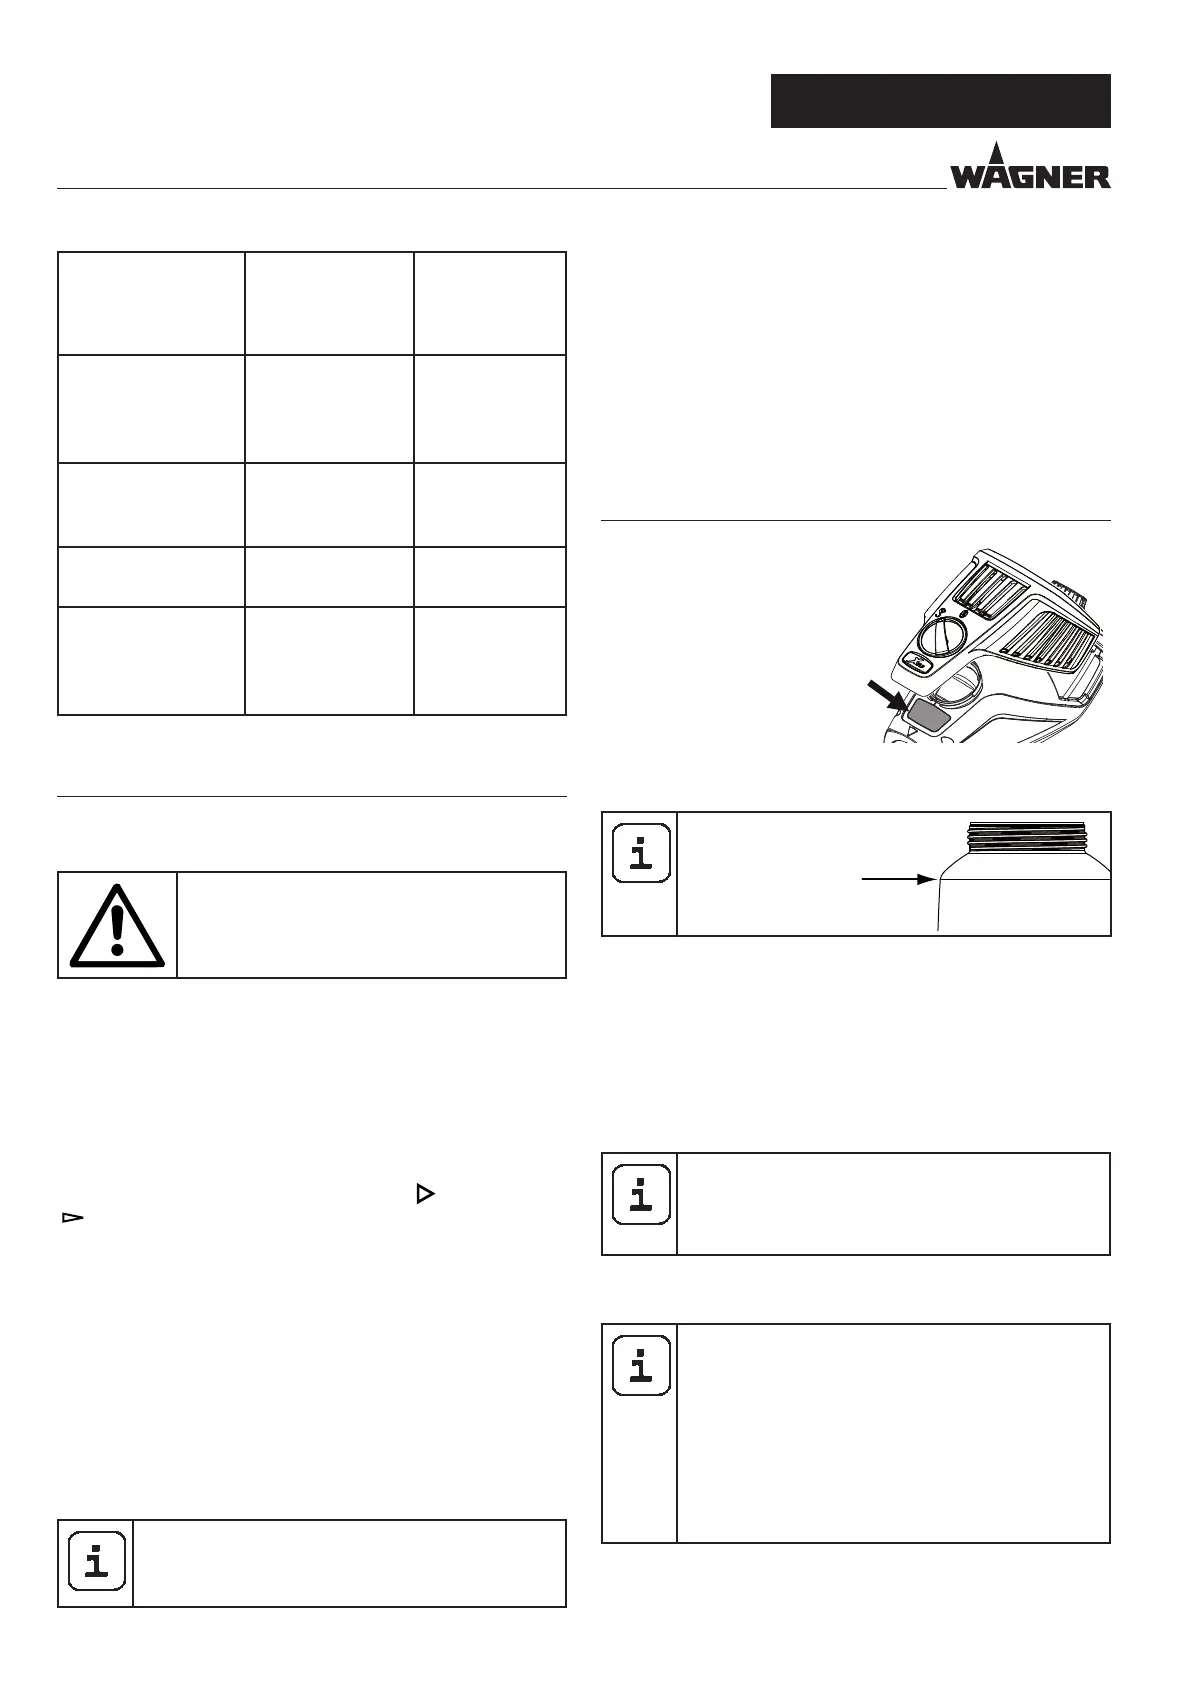
7.3 SETTING THE AMOUNT OF AIR FIG. 6
Turn the air volume control (Fig, 6, 1) clockwise to increase the
air volume or anti-clockwise to reduce the air volume (note
arrow on body of gun).
Setting the air and paint ow rate correctly is im-
portant for atomisation, overspray and working
speed.
7.4 ALIGN THE FEED TUBE
If the feed tube is positioned correctly, the container
contents can be sprayed without almost any residue.
When working on lying objects:
Turn the feed tube forwards. (Fig. 7 A)
Spraying work when working on overhead objects:
Turn the feed tube rearwards. (Fig. 7 B)
8 STARTING OPERATION
Before connecting to the
mains supply make sure that
the mains voltage corre-
sponds to the operating volt-
age on the rating plate. The
unit must be connected with
a properly earthed shock-
proof socket.
1. Unscrew the container from the spray attachment.
2. Pour in the prepared coating material.
Fill the container
with maximum
1000 ml.
1000ml
3.
Fit the appropriate lter to the feed tube depending on the
coating material used (Fig. 9, 1)
Low-viscosity coating materials
Fine lter (red)
Viscous coating materials
Coarse lter (white)
4.
Align the feed tube. (Fig. 7)
5. Screw the container rmly onto the spray attachment.
6. Connect spray attachment and FC 3500. (Fig. 2)
When working with the FC 3500 we recommend
using the supplied carrying strap. This enables the
weight of the FC 3500 to be better distributed and
the work can be carried out with less eort.
7.
Both carabiner locks on the carrying strap have to be
secured to the xture. (Fig. 8)
The xture for the carrying strap can be mounted
to the other side of the FC 3500 if this is preferred.
Do this by unscrewing the two large screws (g. 8,
1). Mount the xture to the other side by inserting
the screws into the relevant holes. Please make
sure that you use only the screws that have
been provided. Screws of the wrong length or
diameter can damage the device. Never tighten
the screws without the xture.
8.
Plug in the power cable.
9. The device is now ready for operation.