8 ProSpray 3.39
GB
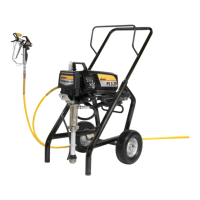
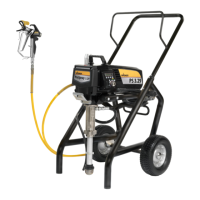
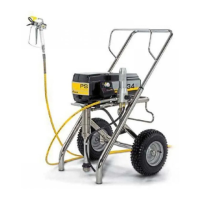
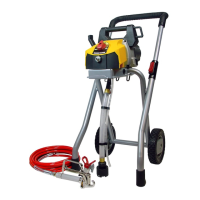
Description of unit
3.5 Technical data
Voltage: 100-110VoltAC,50Hz
Max. current consumption: 15 A / 20 A
Power cord: 3 x 1.5 mm
2
– 6 m or 4.6 m
Acceptance capacity: 2000 Watt
Max. operating pressure: 221 bar (22,1 MPa)
Volume ow at 12 MPa
(120 bar) with water: 5.0 l/min
Max tip size: 0.039 inch – 0.99 mm
Max. temperature of the
coating material: 43°C
Max viscosity: 30.000 MPa·s
Weight: 50 kg
Special high-pressure hose: DN 6 mm, 15 m, connection
thread M 16 x 1.5
Dimensions (L X W X H): 632 x 568 x 743 mm
Max sound pressure level: 80 dB (A) *
* Placeofmeasuring:1mindistancefromtheunitand1.6
m above the oor, 12 MPa (120 bar) operating pressure,
reverberant oor.
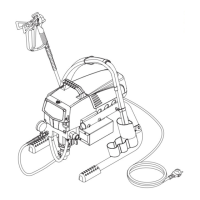
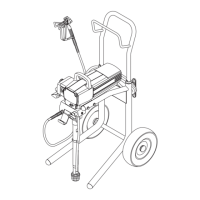
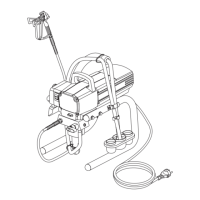
3.6 Transportation
Pushing or pulling the unit
Pull out the handle (Fig. 2, Item 1) until it will come no further. Insert
the handle – push the buttons (2) on the spars, and then push in the
handle.
2
1
2
3.7 Transportation in vehicle
Secure the unit with a suitable fastening.
3.8 Paint material setup
This sprayer comes with a lter assembly installed.
If you plan to spray with untextured painting
materials, leave the lter installed.
3.9 Textured material setup
i
This sprayer comes with a lter plug that should be
put in place of the lter whenever spraying textured
materials. Follow these steps to remove the lter
and install the plug.
1. Loosen and remove the lter housing (1) by hand.
2. Remove the adapter spring (2), lter (3), bearing ring (4) and
spring (5) from the housing (7).
3. Make sure the O-ring (6) is still in place. Thread the lter plug
(8) into the housing until secure.
The lter plug should be hand-tightened, but make
sure it is seated fully into the lter housing.
1
2
4
5
3
6
8
7
If using this sprayer with textured materials, it is
important that the lter inside of the spray gun be
removed. See section 8.3.
i
If the sprayer will be used for spraying textured
products, removal of the inlet screen in the foot
valve may be necessary. This will allow proper
priming and ow of the textured product. See
section 8.4.