T27i Maintenance Instructions
Replacing and Repairing
83
Fuel Filter
DANGER
Gasoline is extremely ammable and can
be highly explosive. To minimize danger:
● Before servicing the fuel system:
1. Disconnect the spark plug leads.
2. Disconnect the negative (-) battery
cable from battery.
● Use only an approved fuel container for
gasoline.
● DO NOT allow open ames or sparks
near the machine while performing
maintenance or refueling; DO NOT
smoke while working with fuel.
● Wipe up spilled gasoline immediately
and completely.
Model T27i is equipped with an in-line fuel lter
between the fuel tank and the fuel pump (low pres-
sure fuel pump). Visually inspect the lter periodi-
cally, and replace the lter yearly. Use Walker P/N
5020-3 or Kohler P/N 24-050-13, 9-12 microns for
replacement lter.
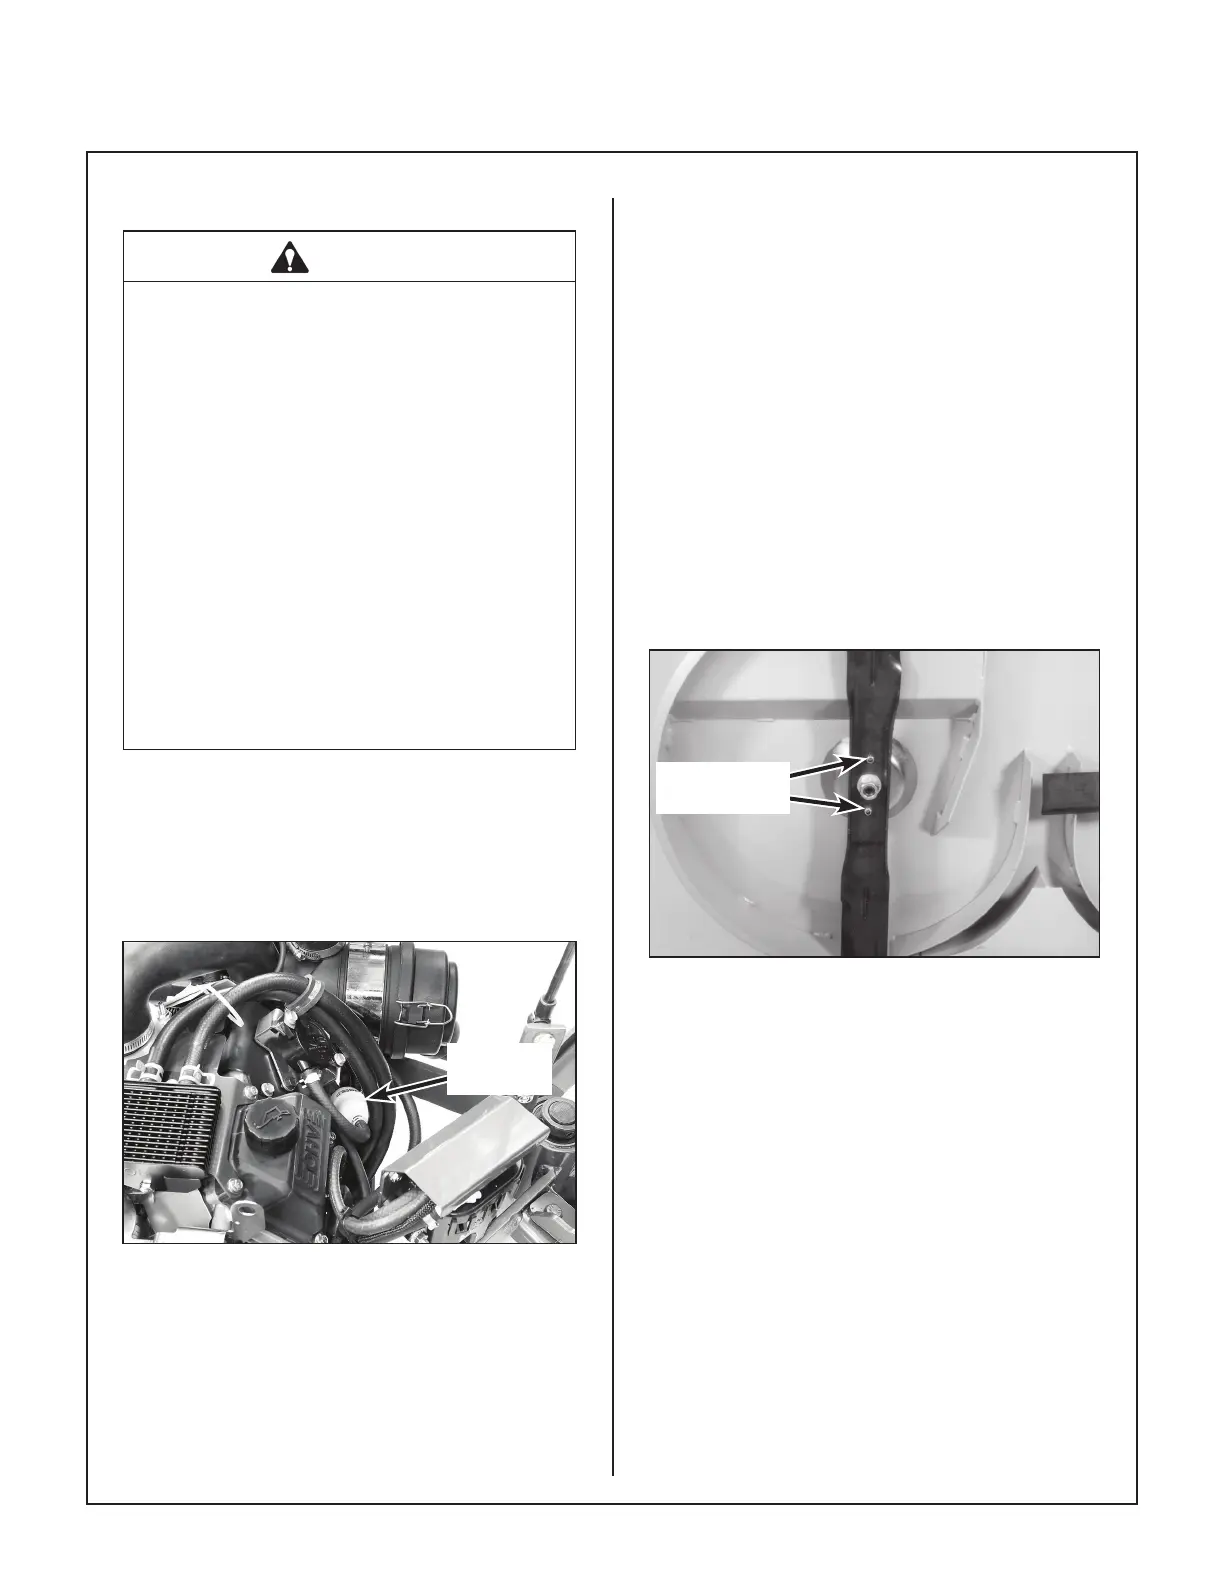
In-Line
Fuel Filter
Fuel Filter Location
IMPORTANT: Replace the fuel lter only in a clean
area where the fuel line and connections will not
be contaminated by dust and dirt.
1. Expand and slide clamps on either side of the
lter away from lter and pull fuel lines o lter.
2. Replace lter, making sure that the arrow on
the lter is aligned with the fuel ow through
the lter.
3. Verify that the fuel lines and clamps are se-
curely attached, and that no fuel leaks are
present.
Blade Overload Shear Bolts
NOTE: Blade shear bolts are not used on belt-
driven decks.
On gear-driven decks, each cutting blade is keyed
to the blade hub by two (2) shear bolts (10-24 x
5/8 in. stainless steel machine screws). These
bolts are designed to shear and protect the blade
drive gearbox from damage if the blade encounters
a shock load.
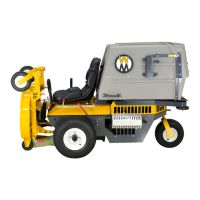
Cutting Blade
Shear Bolts
Cutting Blade Shear Bolts
NOTE: Tightening the 5/8-18 blade mounting nut
to 60 lb·ft (81 N·m) is also important for proper
shock load protection. It is important to not over-
tighten the mounting nut since this defeats (over-
rides) the function of the shear bolts.
If these bolts shear, remove the blade and install
new bolts. Refer to Sharpen Mower Blades on
page 73 which describes the blade removal and
installation procedure.
After reinstalling the blade, check blade timing (on
gear-driven decks) by moving blades through one
(1) complete revolution. Make sure blade tips
pass clear of each other. If timing is incorrect,
contact your Walker dealer.