36 37
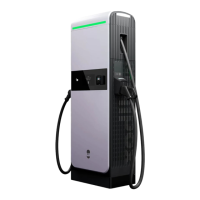
Grid Connection
ELECTRICAL INSTALLATION
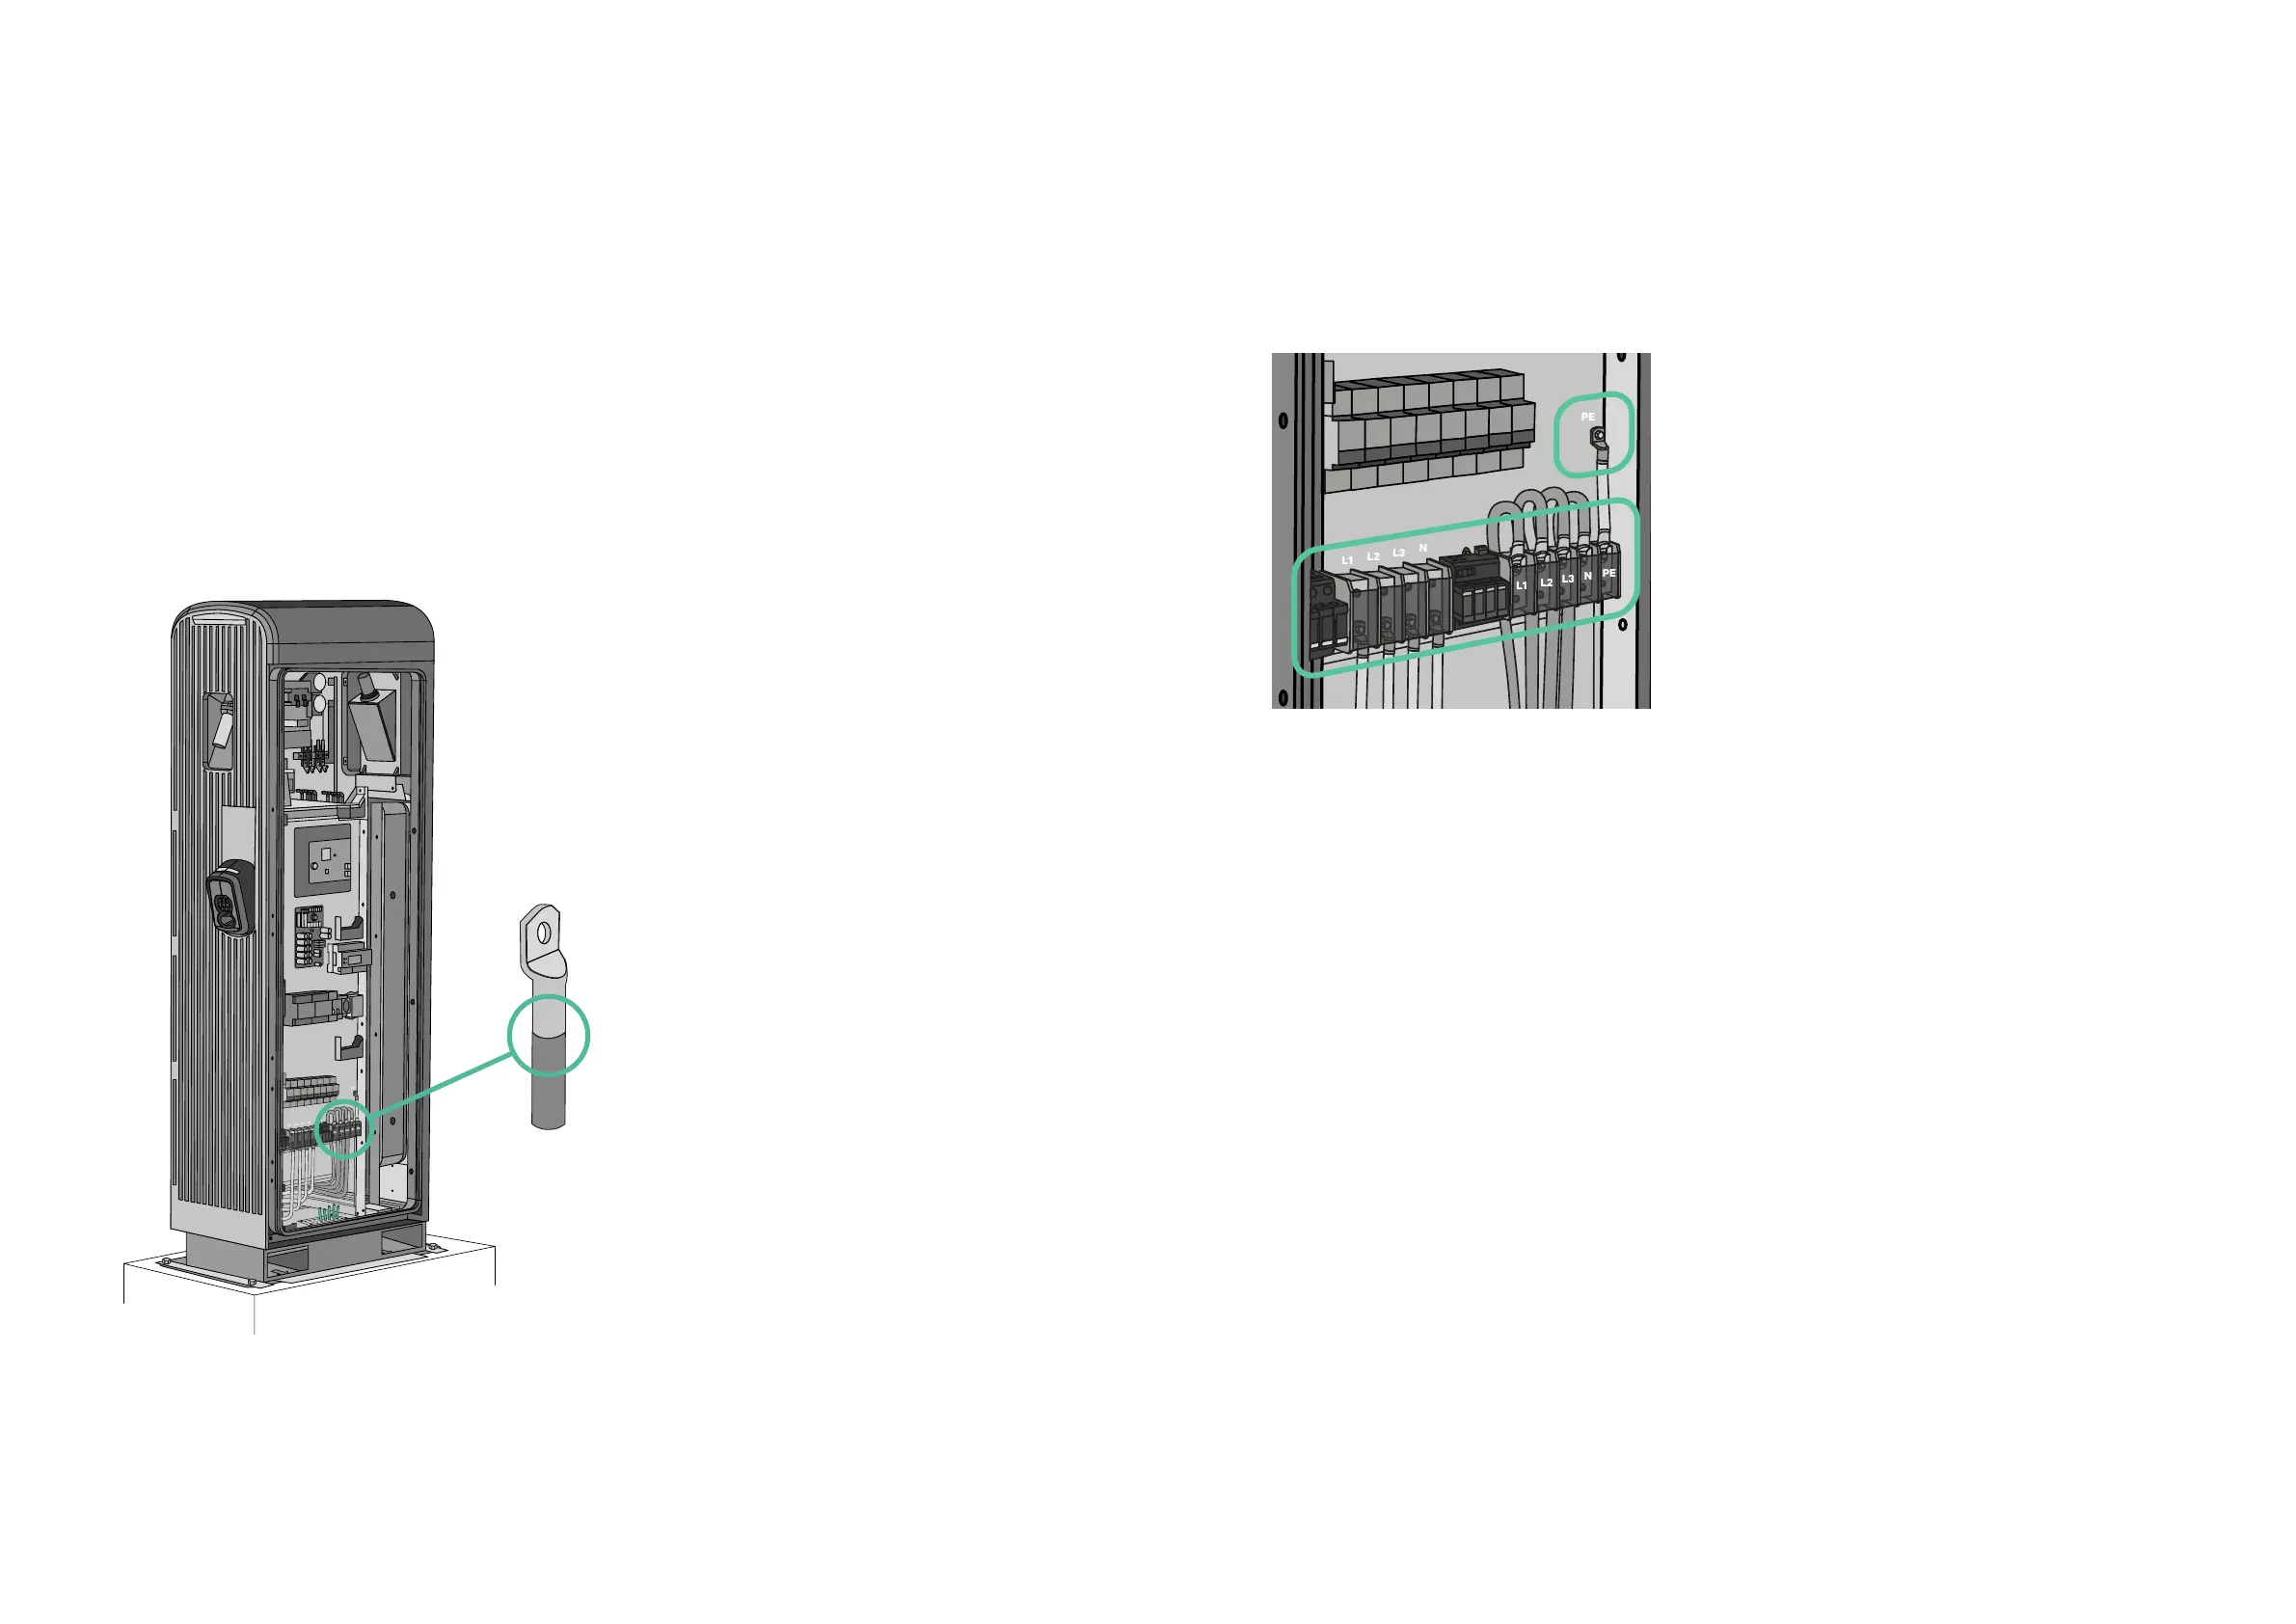
3. Cut the cables and strip them, then crimp using a M8
flat terminal with a diameter of 22 mm.
4. Depending on the power of the charging point, use a metallic electrical terminal
compatible with cable section. Check this requirement in the data sheet.
Grid Connection
ELECTRICAL INSTALLATION
5. Screw the crimped terminals
to L1, L2, L3, N and PE.
6. Before closing the electrical protection,
ensure that the mains-switch of the
charger is o. Then close the mains and
make sure that the voltage between
phases does not pass 400V (-/+10%)
and that all phases are in order.
IMPORTANT
The charger must be powered on only
by Wallbox service engineerings.