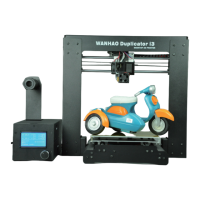
3. Remove the 7 Screws Holding the
Floor-Plate in Place. Do Not
Attempt to Remove the Plate as it
is Still Attached to the PSU. Place
these screws in a safe place.
4. Remove the 4 Screws Holding the
PSU in Place Against the Floor-
Plate. You May Now Remove the
Floor-Plate. NOTICE: These screws
are not the same size as the other.
Keep them in a safe place.
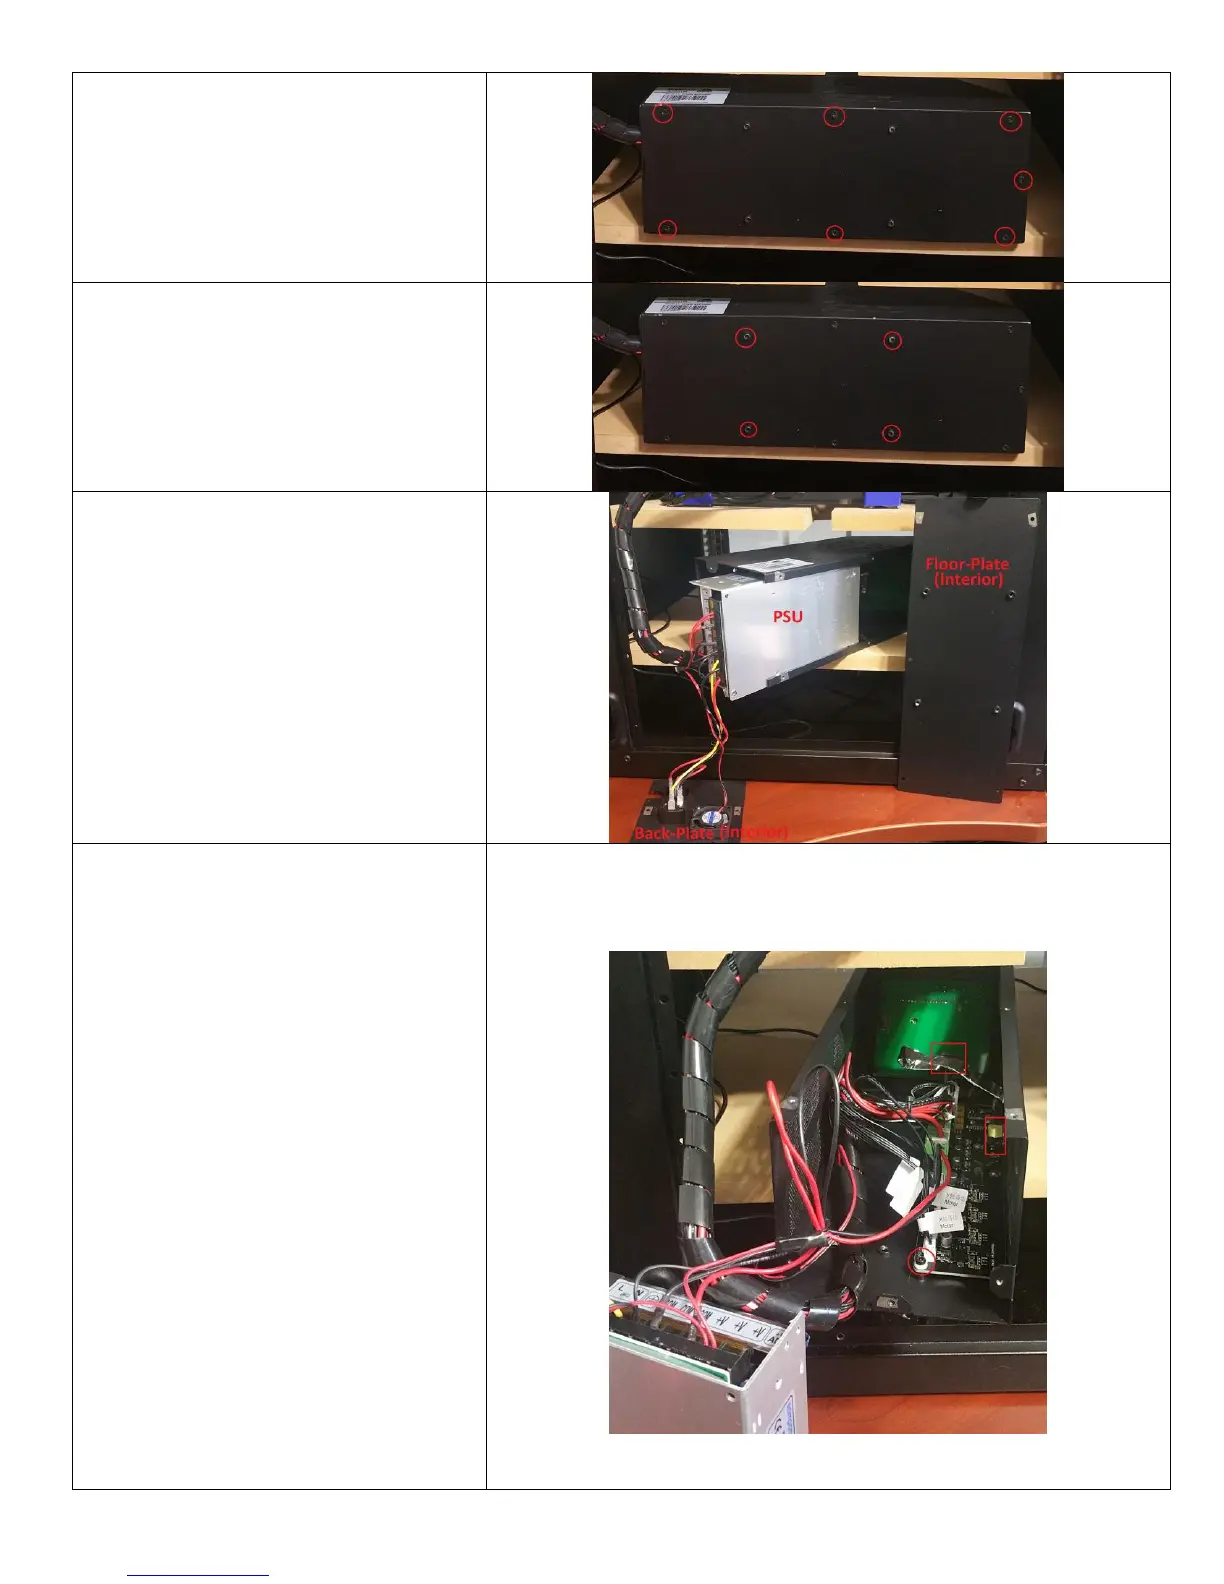
5. You May Now Partially Slide the
PSU Out of the Control Box.
Remember that it is Still Connected
to the Back-Plate and the Melzi
Board. NOTICE: You May Have to
Slightly Force the Walls of the
Control Box Open to Remove the
PSU. Be Gentle.
6. Set the PSU Aside, Remembering
that It Is Attached to the Back-Plate
and the Board.
7. MAKE SURE TO GROUND
YOURSELF.
8. Gently Disconnect the Cable
Connecting the Board to the LCD
Screen. It is Safer and Easier to do
this at the Connection Behind the
LCD Rather than at the Board. (Red
Square)
9. Remove the 4 Matching Screws and
Spacers that Hold the Board
Against the Control Box Body at
Each Corner (Red Circle). Do Not
Lose the Spacers or the Screws as
these are Different from the Rest.
Keep them in a safe place.
10. You May Now Gently Remove the
Board from the Case. Remember
that the USB Port and SD Card Slot
are Against the Control Box Wall
and be Careful Not to Damage
Them (Red Rectangle).
 Loading...