©2019 Warn Industries, Inc. WARN® and the WARN logo are trademarks of Warn Industries Inc. 5 106532A1
INSTALLATION INSTRUCTIONS
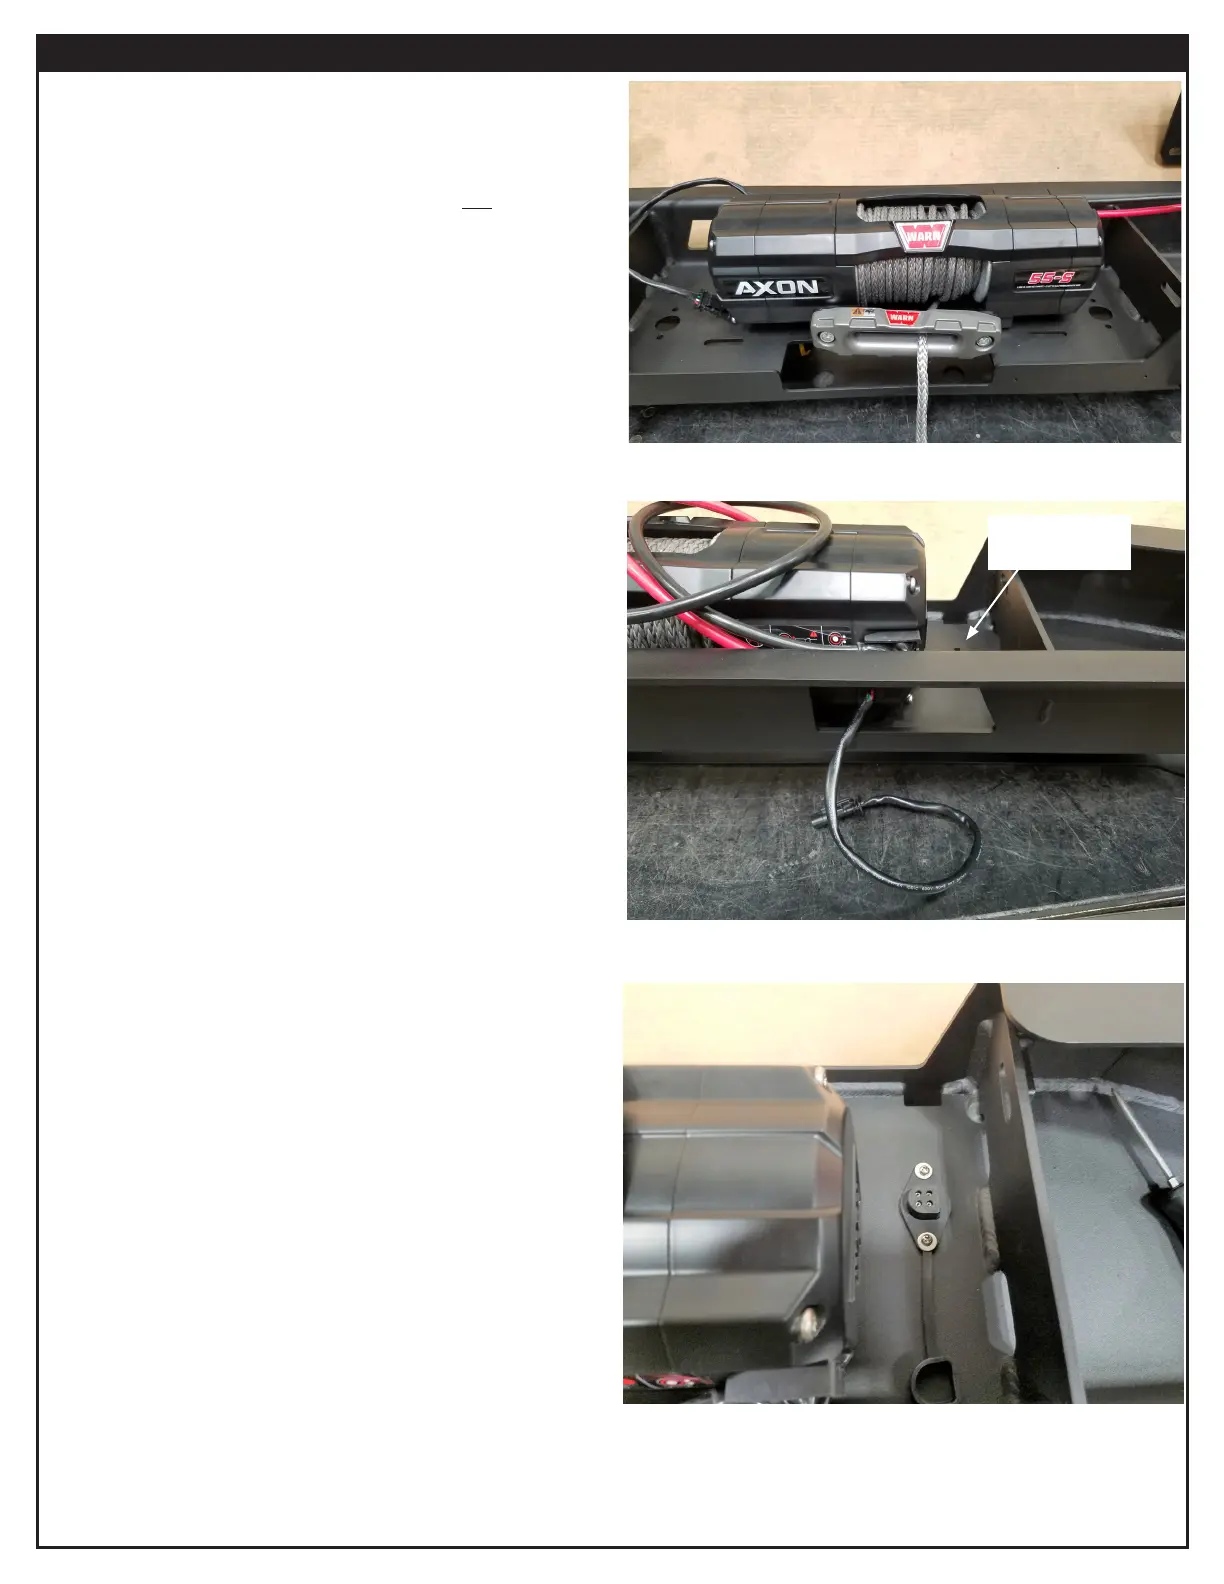
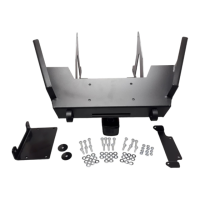
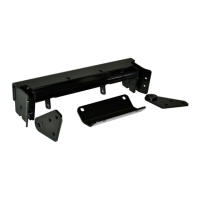
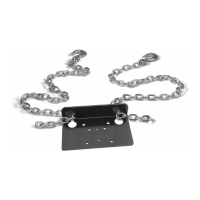
6. Place fairlead plate assembly on top of the semi-hidden
mount, aligning mounting holes.
7. Place winch on top of plate (aligning holes) and secure
using the four M8 ange head bolts (B5) from this kit.
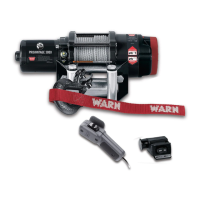
8. With winch in freespool (disengage clutch), feed the
winch rope through the fairlead opening.
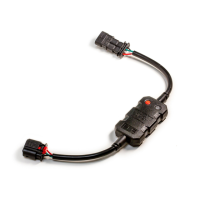
9. Route the winch switch harness connector out the cut
out in the rear of the weldment and move the red and
black cables up and out of the way, as shown. Figure 6.
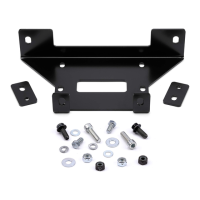
10. Determine the mounting location for the remote socket
(left or right of the winch mounting locations available).
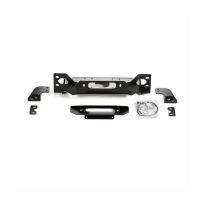
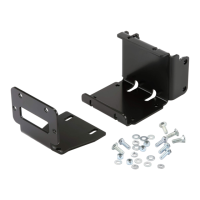
11. From underneath the weldment, feed the remote socket
through the largest drilled hole.
12. Place the rubber remote socket cover over the remote
socket and secure with the two screws and washers from
your winch kit.
Figure 5
Figure 6
Figure 7
Remote socket
mounting location