Do you have a question about the Warn 86766 and is the answer not in the manual?
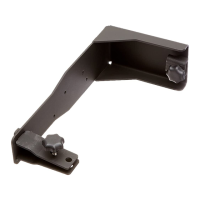
Assemble the plow lever arm using a shoulder bolt, spring, and lock nut, ensuring free rotation.
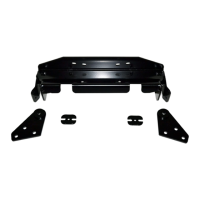
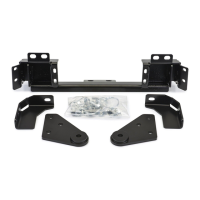
Attach socket screws to the side flanges of the plow base with lock nuts, noting recommended hole placement.
Secure the wear bar to the plow blade using carriage bolts and lock nuts through square holes.
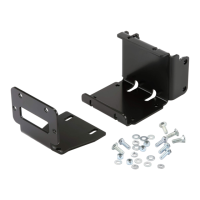
Mount the plow blade to the tube base using a large carriage bolt, bushing, and lock nut.
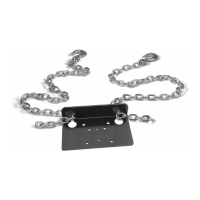
Assemble plow springs by hooking them onto the plow blade eyebolt and plow base side flange.
Attach heavy-duty plow skids to the plow blade using skid pins for adjustable height.
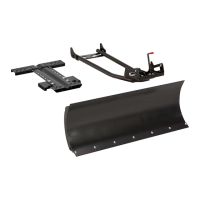
The document describes the installation and maintenance of an ATV Plow Blade, manufactured by WARN® Industries. This product is designed for use with All Terrain Vehicles (ATVs) to facilitate snow removal and other plowing tasks.
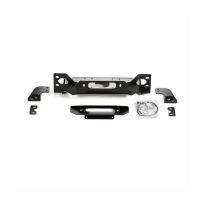
The WARN ATV Plow Blade is an attachment for ATVs that allows users to clear snow and other loose materials. It consists of a plow blade, a plow tube base kit (sold separately), a WARN specific vehicle plow mount (sold separately), and a lift mechanism such as a winch, electric actuator, or universal manual lift (sold separately). The plow blade is designed to be robust and features heavy-duty plow springs and skids to manage varying terrain and plowing conditions. The system allows for adjustment of the blade's angle and height to optimize performance for different surfaces and tasks.
The plow blade is available in three sizes, each with a specific part number:
The hardware kit for all plows includes:
The manual emphasizes the importance of safety through "WARNING," "CAUTION," and "NOTICE" signal words.
| Brand | Warn |
|---|---|
| Model | 86766 |
| Category | Automobile Accessories |
| Language | English |